ABB Turbocharger VTC..4 Seite / Page 13
Demontage und Montage Kap. / Chap. 5 Disassembly and assembly
ABB Turbo Systems Ltd
HZTL 10104
- D -
ABB
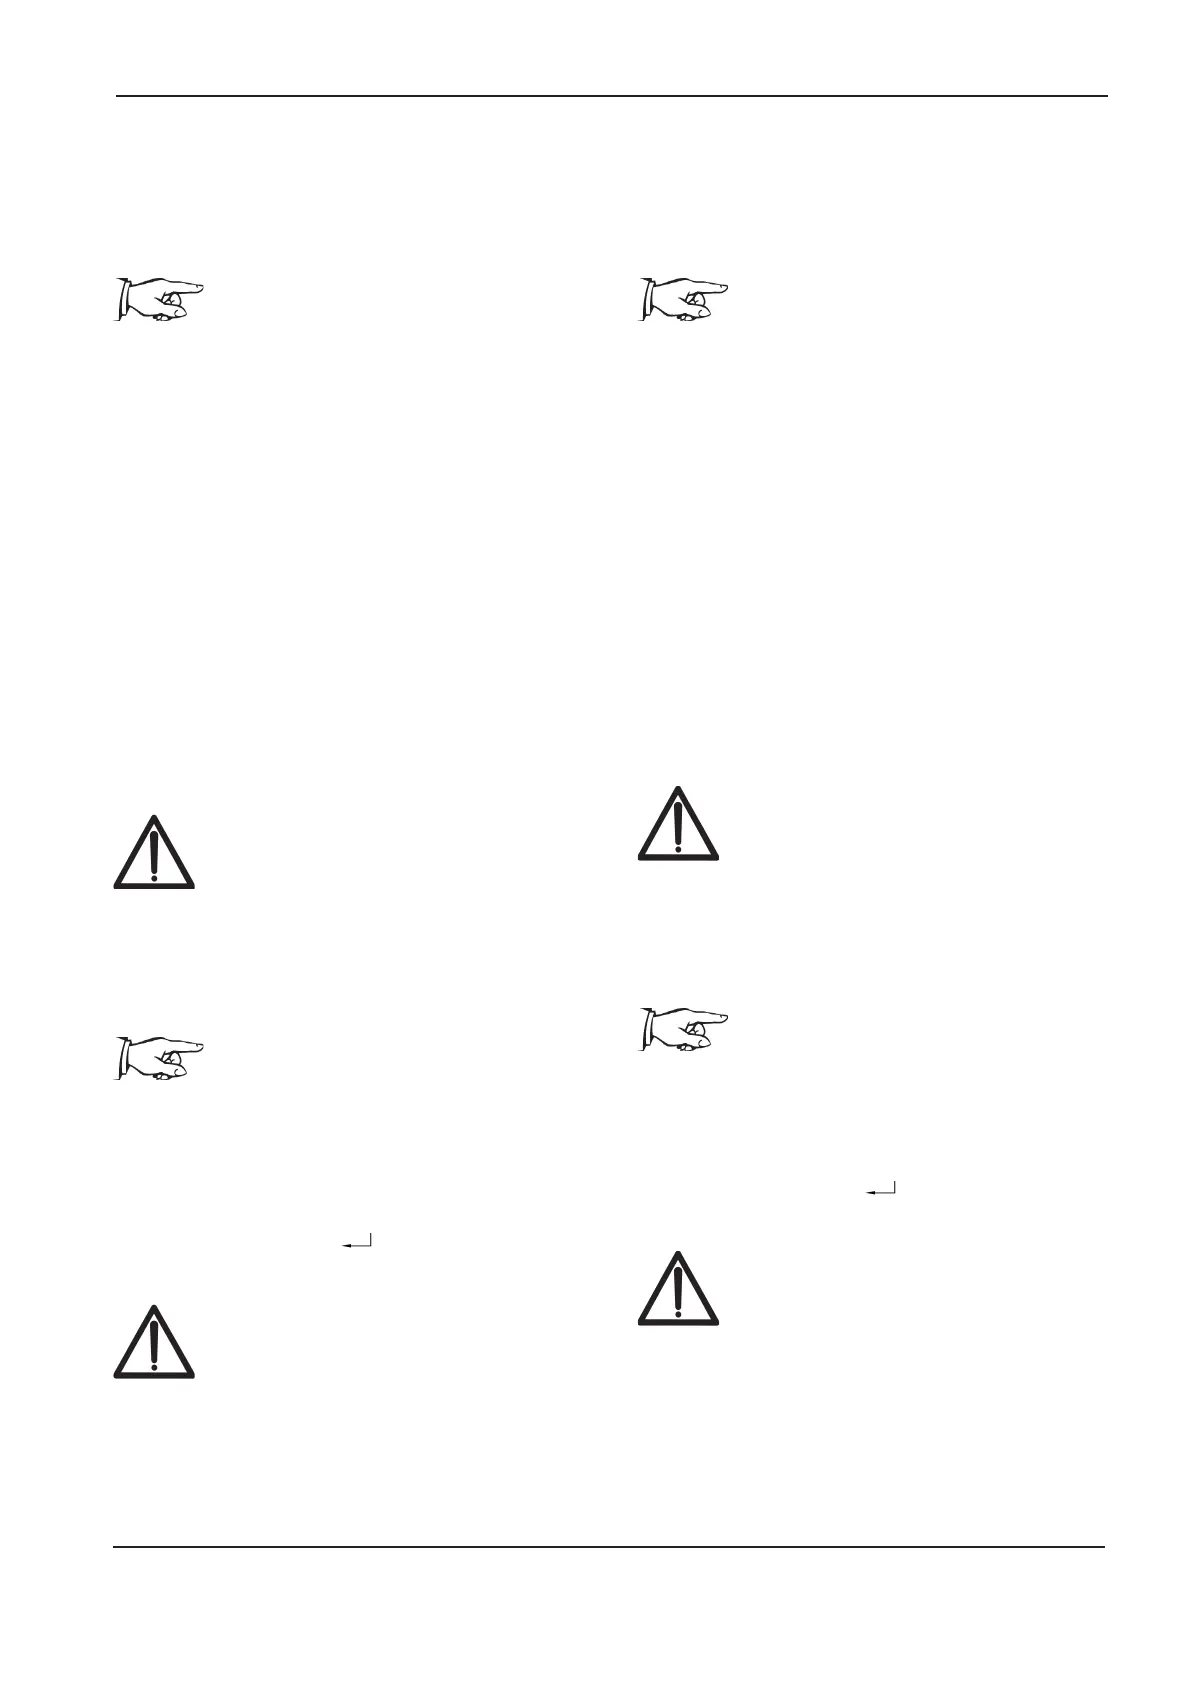
- Press off the assembly of air outlet casing (74001),
diffuser (79001) and wall insert (77001) from the
bearing casing with 3 screws (74006) and extract
ithorizontally(seeg.5-4/1).
Note Before removing the diffuser mark its
position on the air outlet casing.
- Secure the bearing casing (42000) with a rope to
thecranehook(seeg.5-4/2).
- Remove hex.-headed screws (61007).
- Use 3 hex.-headed screws (74006) for pressing
off the cartridge group from the gas outlet casing
(61000).
- By crane carefully remove the loosened cartridge
group (42000) from the gas outlet casing (61000).
- Fix the supports (90070) to the hanging cartridge
group.
- Lowerthecartridgegrouponaatsurface.
Caution ! Measure and note the axial and radial
clearances. (see sec. 4.2)
If the clearances are out of tolerance
disassemble and check the bearings
parts end replace defective ones (see
sec. 5).
Note Further disassembling of the cartridge
group is possible only with the exten-
ded set of tools.
If this tool set is not available call the
next service-station (see chap. 8).
Follow these instructions in the reverse order for as-
sembly.
Caution ! VTC..4P with silencer:
In order to avoid that the lter silen-
cer be consequently deformed during
assem blyof the connecting brackets,
the clea rances may be compensated
with the discs which make part of the
usual supply.
- Luftaustrittsgehäuse (74001) mit Diffusor (79001)
und Einsatzwand (77001) mit 3 Schrauben (74006)
vom Lagergehäuse (42000) abdrücken und hori-
zontal ausfahren (s. Fig. 5-4/1).
Hinweis Vor der Demontage des Diffusors, die
Lage des Diffusors am Luftaustrittsge-
häuse markieren.
- Lagergehäuse (42000) mit Seil am Kranhaken
einhängen (s. Fig. 5-4/2).
- 6kt-Schrauben (61007) entfernen.
- Mit 3 6kt-Schrauben (74006) den Rotorblock vom
Gasaustrittsgehäuse (61000) abdrücken.
- Gelöster Rotorblock (42000) vorsichtig mit dem
Kran aus dem Gasaustrittsgehäuse (61000) he-
rausziehen.
- Abstützungen (90070) am hängenden Rotorblock
montieren.
- Rotorblock auf eine ebene Unterlage stellen.
Vorsicht ! Axiale- und radiale Spiele messen und
notieren. (siehe Abschn. 4.2)
Sind die Spiele ausserhalb der Tole-
ranz, Lager demontieren, ausgebaute
Lager teile kontrollieren und defekte
Teile ersetzen (s. Abschn. 5).
Hinweis Die weitere Demontage des Rotor-
blockes ist nur mit dem erweiterten
Werkzeugsatz möglich.
Ist ein solcher Werkzeugsatz nicht vor-
handen, die nächstgelegene Service-Sta-
tion anrufen (s. Kap. 8).
In sinngemäss umgekehrter Reihenfolge zusammen-
bauen.
Vorsicht ! VTC..4P mit Schalldämpfer:
Damit der Filterschalldämpfer nicht ver-
spannt wird, muss bei der Montage der
Verbindungsbügel das Spiel mittels den
mitgelieferten Ringscheiben ausgegli-
chen werden.