EN - 18
6 Putting into operation CAT2
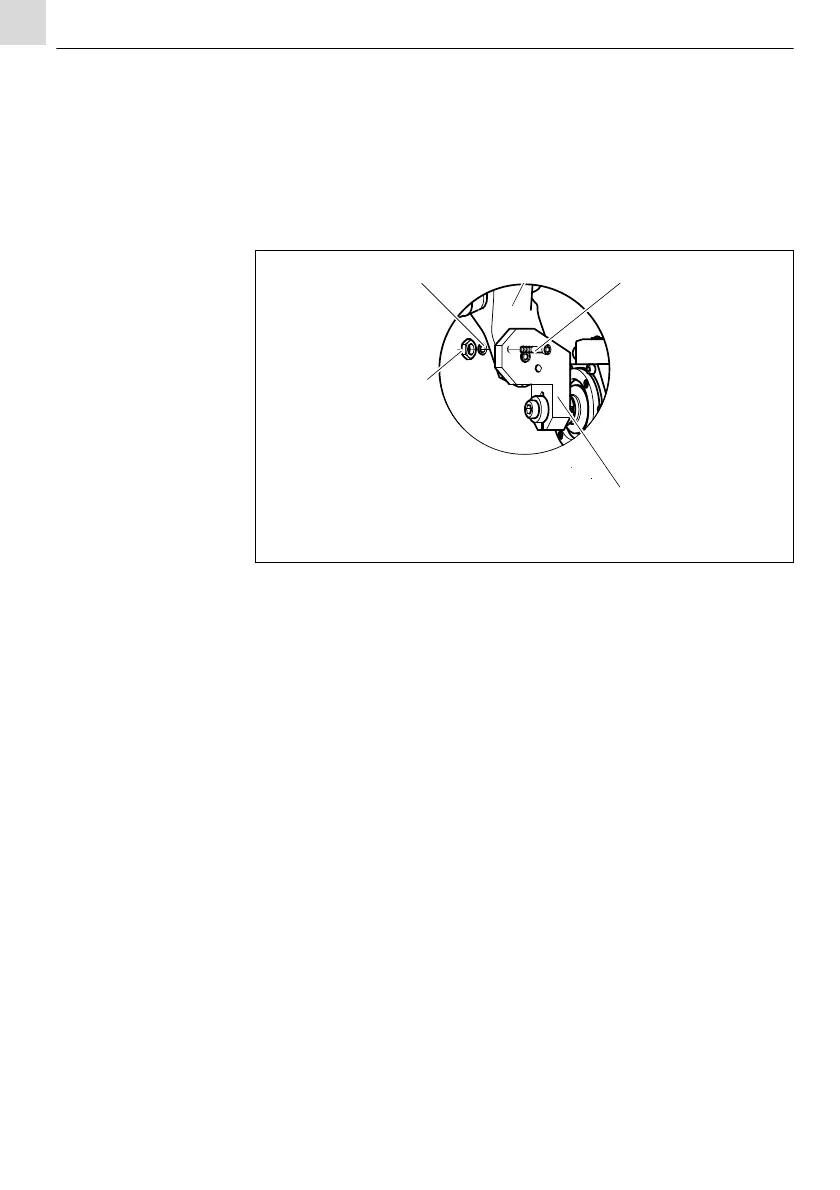
6.2 Adjusting TCP
Fig. 6 Mount CAT2 on the robot on page EN-15
1 Loosen the nut (15) and adjust the torch mount (2) on the desired TCP.
2 Screw down the nut (15) and tighten it.
To fix the adjusted position proceed as follows:
3 Drill the mount (4) with Ø
5.8mm and ream the bore for the dowel
screw (3) using a reamer.
4 Fix both mounts (4) and (2) using dowel screw (3).
6.3 Connect the helix cable
Fig. 6 Mount CAT2 on the robot on page EN-15
1 Plug the helix cable (4) with a right angle plug on the connector
housing (5).
2 Plug the flange plug on the torch and cable assembly.
3 Lock both plugs against unintentional loosening.
For the switching function please see the functional diagram.
Fig. 5 Functional diagram on page EN-13
6.4 Activating the LED function
The green LED shows a trouble-free operation of the CAT2 robot mount. In case
of collision the switching voltage is switched off and the LED goes out.
Fig. 5 Functional diagram on page EN-13
1 Assign GND on PIN 1 on the plug.
1 Washer
2 Torch mount
3 Dowel screw 6H7
4 Mount
5 Nut
Fig. 8 Adjusting TCP