REMOVAL PROCEDURE OF OUTDOOR UNIT
Step Procedure
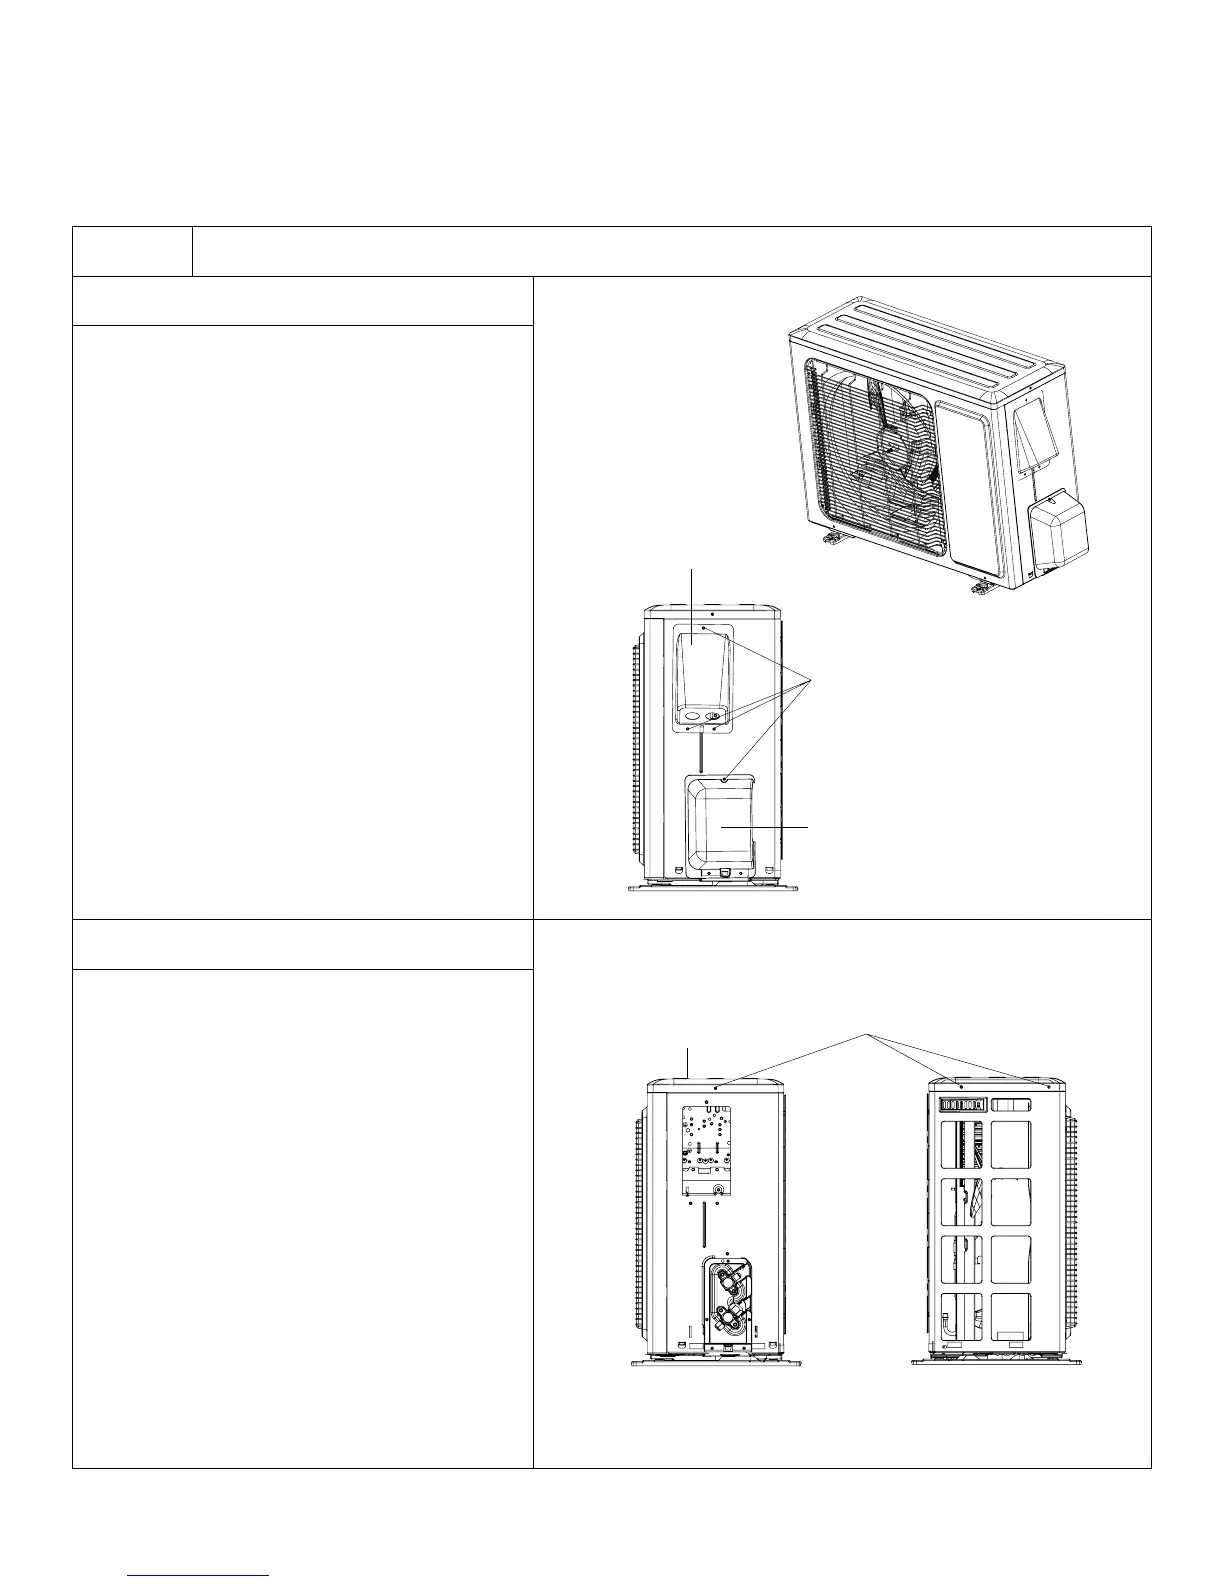
1.Remove cable cross plate 2 and valve cover
Before disassamble.
Remove 3 connection screws fixing cable
cross plate 2 and then remove the cable
cross plate 2.
Remove 1 connection screw fixing valve
cover and then remove the valve cover.
2. Remove top cover
Remove 3 screws connecting the top cover
plate with front panel and right side plate,
then remove the top cover.
Warning: Be sure to wait a minimum of 20 minutes
after turning off all power supplies and discharge the
refrigerant completely before removal.
132
Installation and Maintenance
Service Manual
11.2 Removal Procedure of Outdoor Unit
Warning: Be sure to wait for a minimum of 20 minutes
after turning off all power supplies and discharge the
refrigerant completely before removal.
Procedure Steps
1.Remove cable cross plate 2 and valve cover
2.Remove top cover
Before disassamble.
Remove 3 connection screw fixing cable
cross plate 2 and then remove the Cable
cross plate 2.
Remove 1 connection screw fixing valve cover
and then remove the valve cover.
Remove 3 connection screws among
top cover plate, front panel and right
side plate. Then remove top cover
plate.
screw
Cable cross plate 2
Valve Cover
screw
top cover plate
NOTE: Take GWH12QC-D3DNA6E/O for example.