Step Procedure
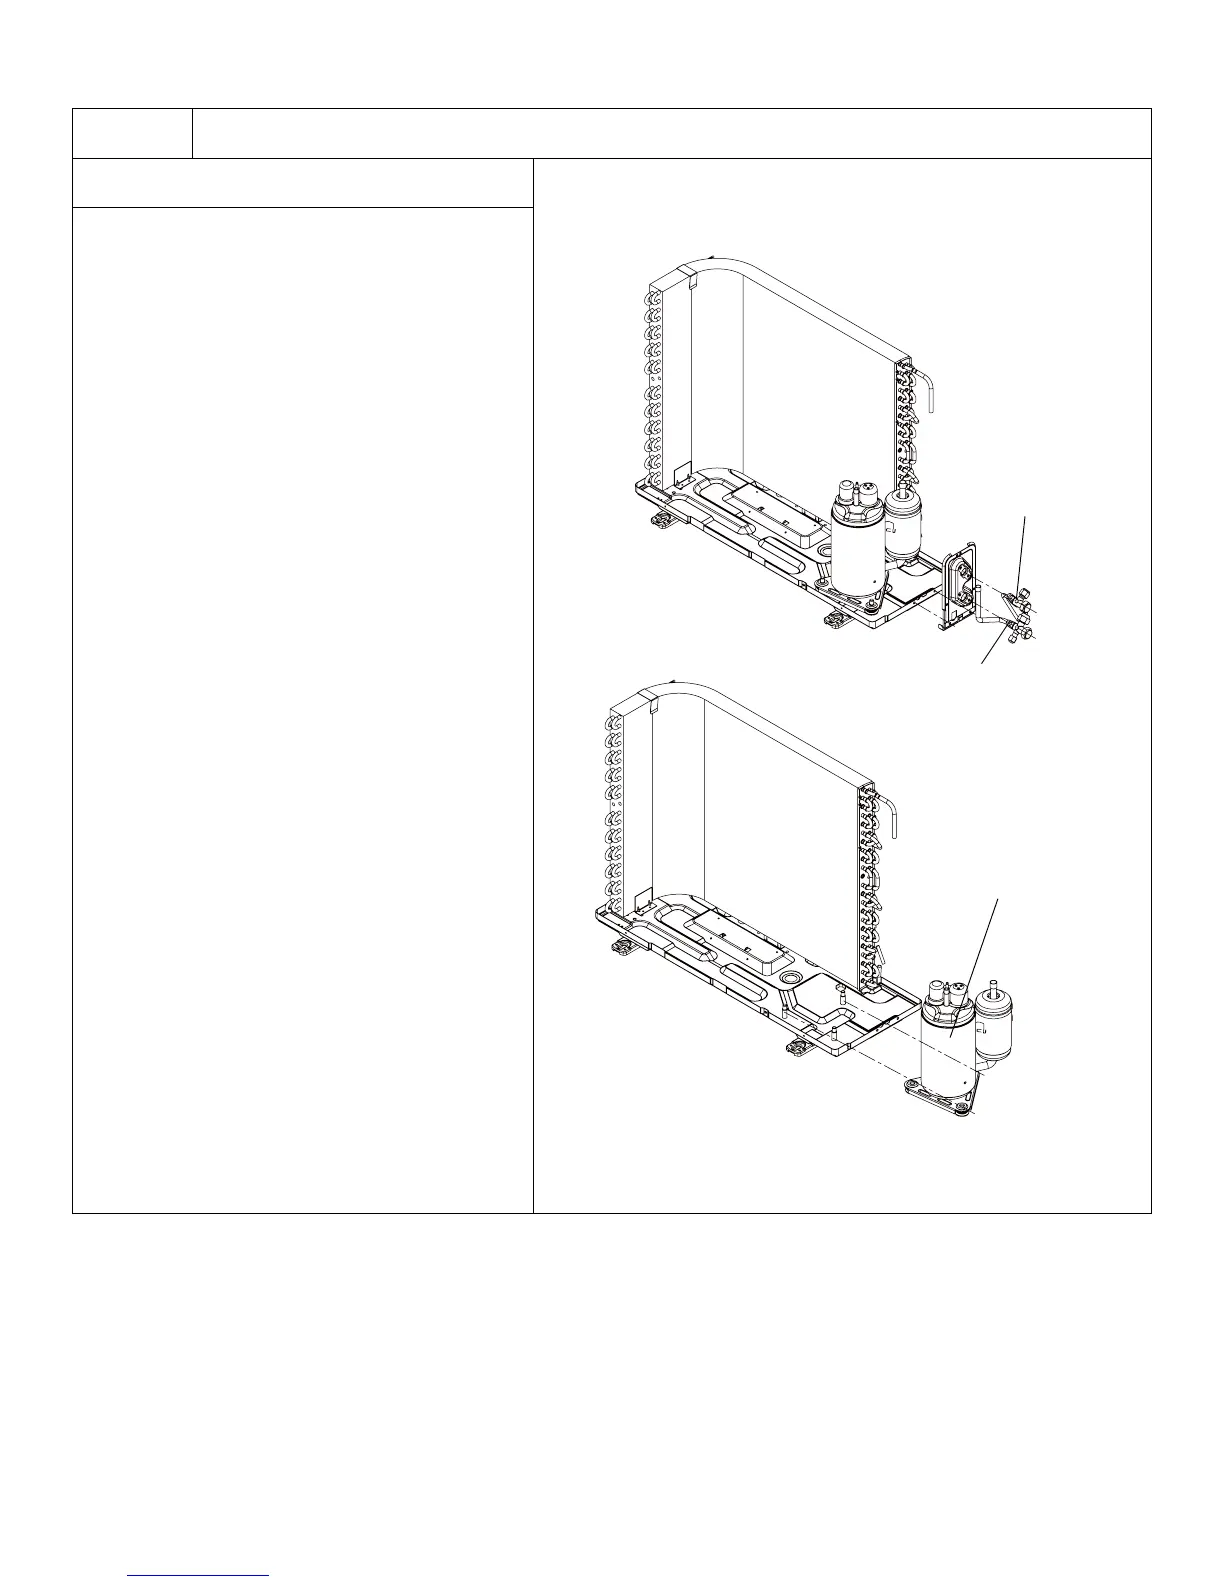
11. Remove Compressor
A. Remove the 2 screws fixing the gas valve.
Unsolder the welding spot connecting gas
valve and air return pipe and remove the gas
valve. (Note: it is necessary to warp the gas
valve when unsoldering the welding spot.)
Remove the 2 screws fixing liquid valve.
Unsolder the welding spot connecting liquid
valve and remove the liquid valve.
B. Remove the 3 footing screws of the
compressor and remove the compressor.
136
Installation and Maintenance
Service Manual
11.Remove Compressor
a Remove the 2 screws fixing the gas valve.
Unsolder the welding spot connecting gas valve
and air return pipe and remove the gas valve.
(Note: it is necessary to warp the gas valve when
unsoldering the welding spot.) Remove the 2
screws fixing liquid valve. Unsolder the weld-
ing spot connecting liquid valve and remove the
liquid valve.
bRemove the 3 footing screws of the compressor
and remove the compressor.
Compressor
Gas valve
Liquid valve