9
2
Steps before testing
2
1
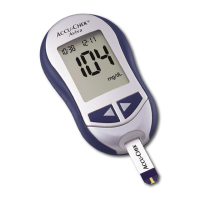
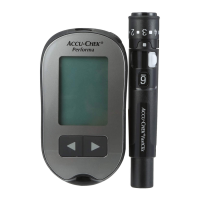
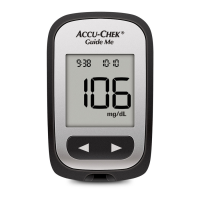
Inserting the code chip
A code chip is used to give the meter information about the properties of the test strips. This is why each
test strip box contains a code chip.
W
• Each time you open a new
test strip box, you must
replace the old code chip
from the meter with the new
one from the new test strip
box. Code chips from other
test strip boxes may contain
information that is incorrect
for your new test strips, and
can therefore lead to
incorrect test results.
Incorrect test results can
cause the wrong therapy
recommendation to be
made and so produce
serious adverse health
eects.
• If the code number on the
display does not match the
code number on the test
strip container, do not
perform blood glucose tests.
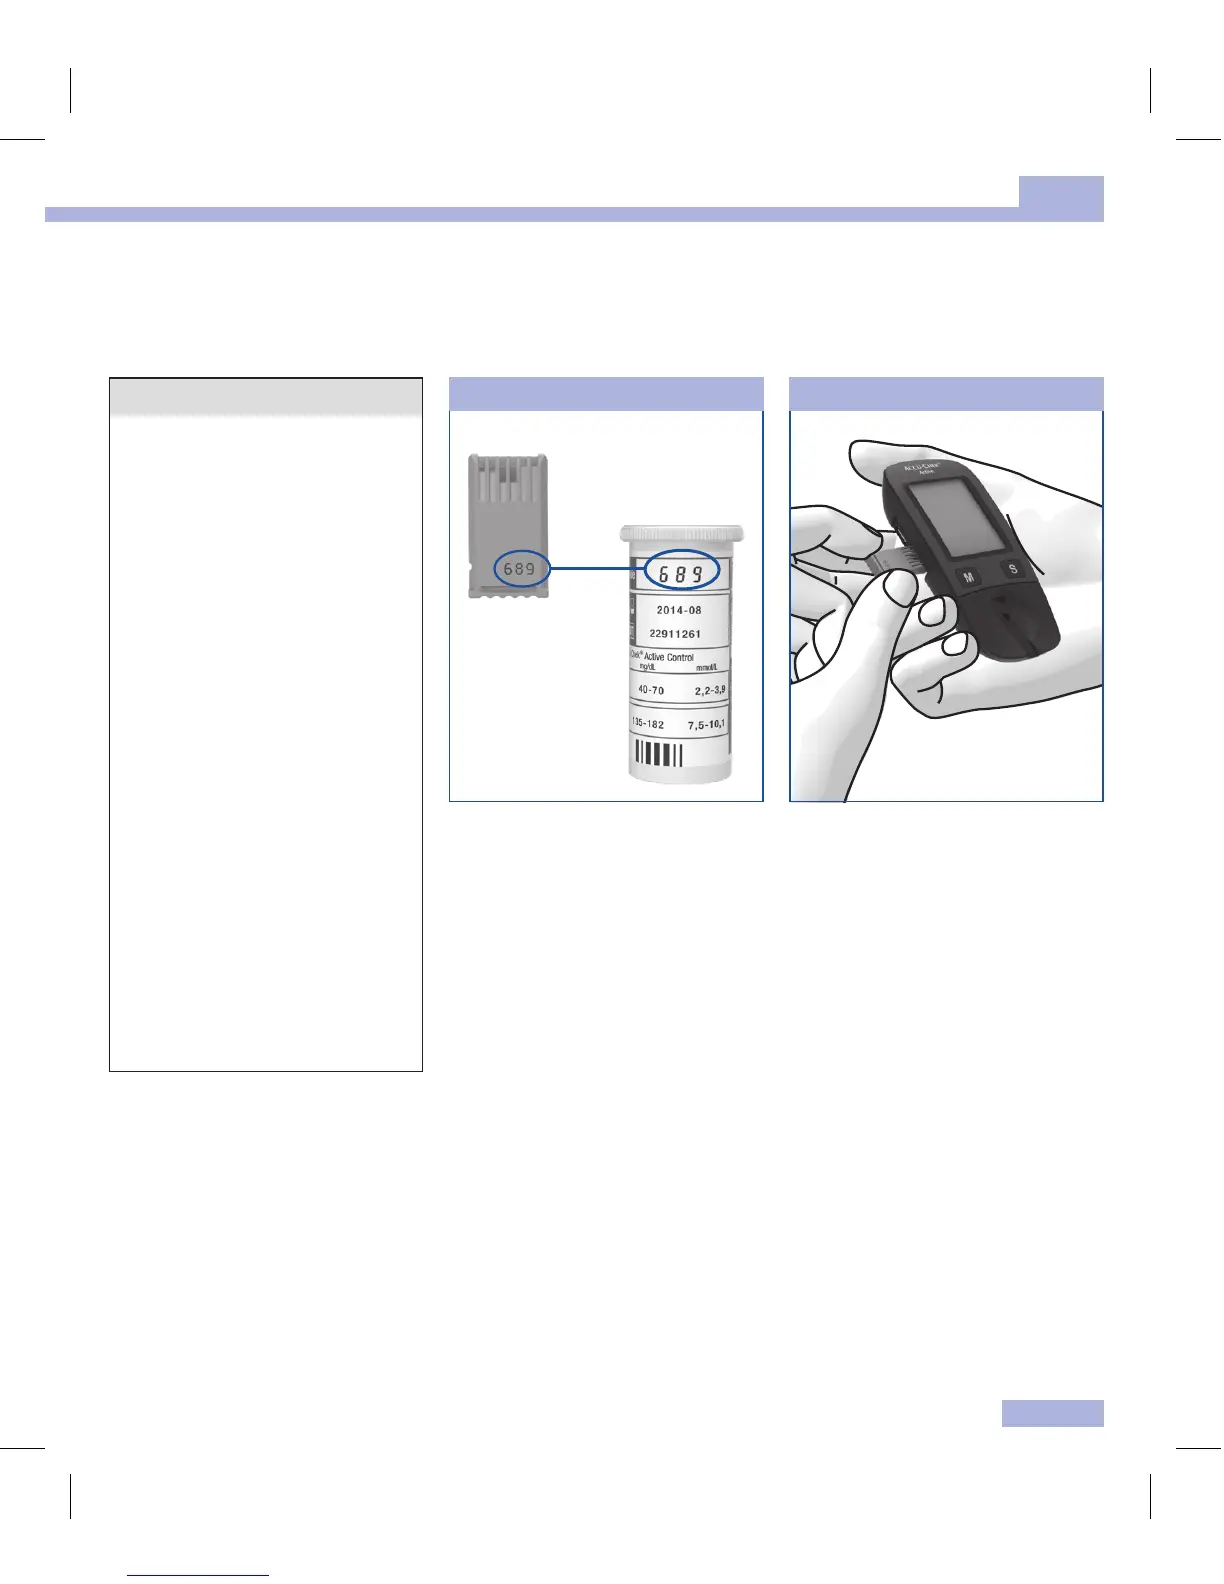
Compare the code number on
the code chip with the
corresponding code number on
the label of the test strip
container.
The three‑digit number on the
code chip (e.g. 689) must match
the three‑digit number on the
label.
Leave the meter turned o.
Gently slide the code chip
straight into the code chip slot on
the side of the blood glucose
meter.
You must feel the code chip lock
into place.
 Loading...