EasyManuals Logo

Accu-Chek Aviva User Manual

Accu-Chek Aviva
204 pages
To Next Page IconTo Next Page
To Previous Page IconTo Previous Page
Page #44 background imageLoading...
Page #44 background image
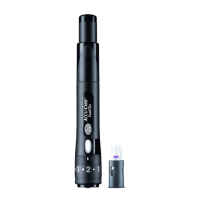
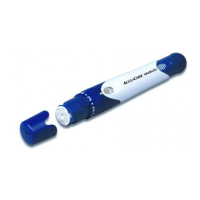
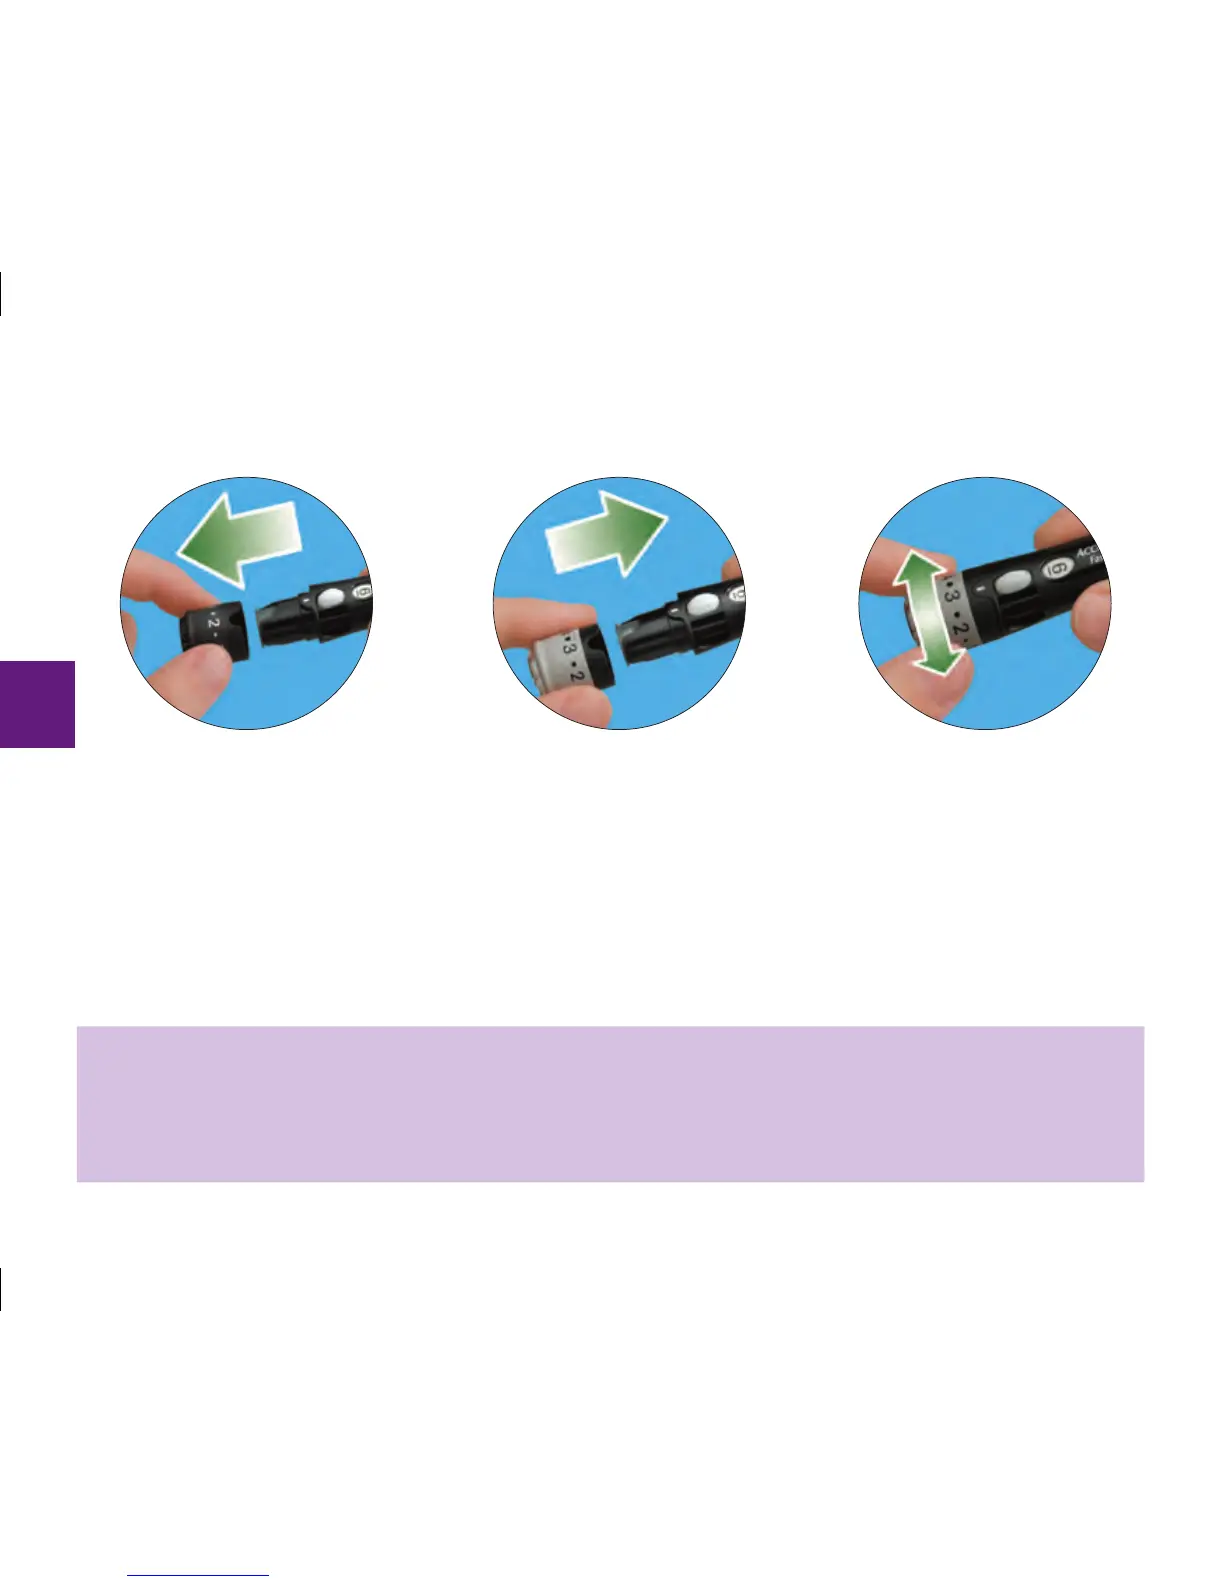
3. Remove the black cap from the
lancing device by pulling it
straight o. It is not a twist
cap. The easiest way to do this
is to place your thumb to the
side of the notch as seen in
the illustration.
4. Put the AST cap on by lining
up the notched sections on the
cap and the lancing device.
5. Dial the depth selection
appropriate for your testing
site. Set the lancing device
aside until later in the test.
NOTE
We suggest starting at a depth setting of for forearm or upper arm testing, and 3 for palm testing.
Once you perform a successful test, you may want to find the lowest depth setting that provides enough
blood with the least amount of pain.
42

Table of Contents

Other manuals for Accu-Chek Aviva

Questions and Answers:

Question and Answer IconNeed help?

Do you have a question about the Accu-Chek Aviva and is the answer not in the manual?

Accu-Chek Aviva Specifications

General IconGeneral
Sample Size0.6 µL
Test Time5 seconds
CodingNo coding required
Battery LifeApproximately 1000 tests
Memory500 test results
Battery Type1 x 3V lithium (CR2032)
Operating Humidity10% to 90% RH
Meter Weight59 g
Measuring Range10 mg/dL to 600 mg/dL
Automatic Shut OffAfter 90 seconds of inactivity

Related product manuals