30
To clean the air filter:
1 Switch the projector off and unplug
the power cable from the wall
socket.
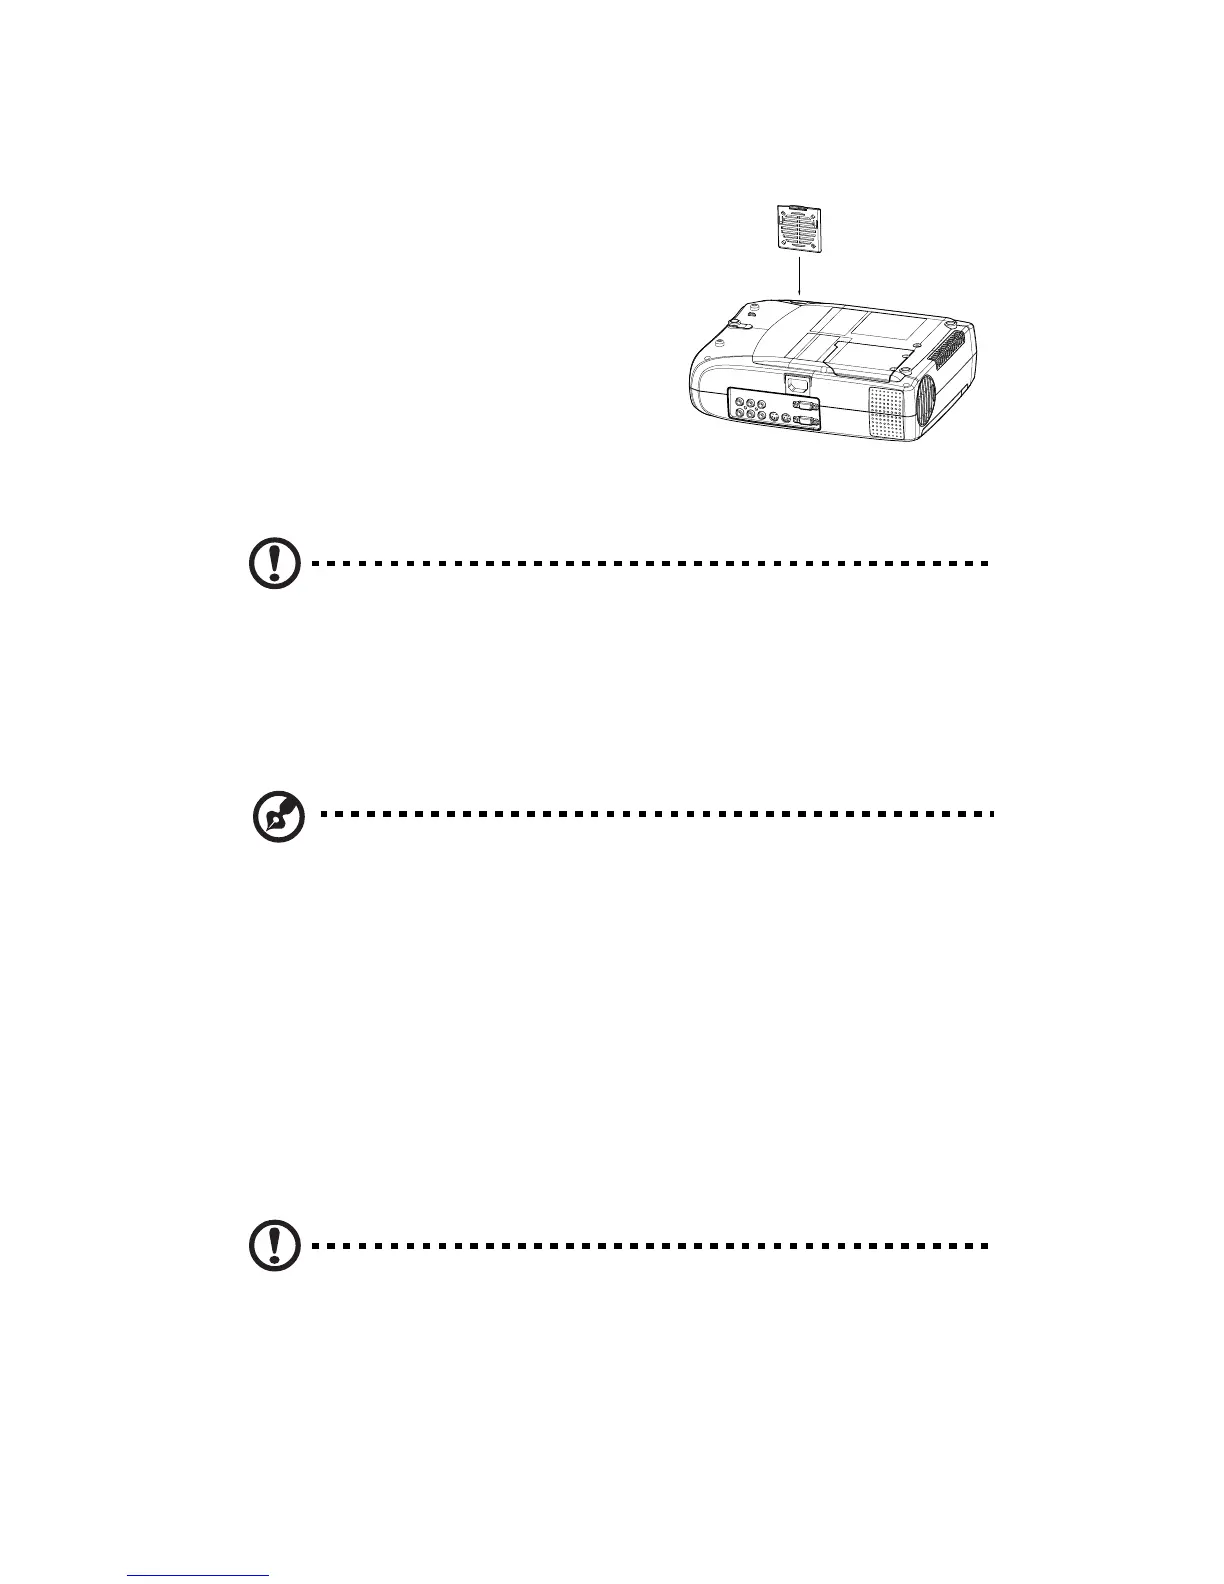
2 Place a protective sheet (cloth)
beneath the projector. Turn the
projector over so you can see its
underside.
3 Remove the air filter by pulling the
filter tab.
4 Clean the air filter.
Caution: To clean the filter, you are advised to use a small vacuum
cleaner designed for computers and other office equipment.
If the dirt is difficult to remove or if the filter is torn, replace it.
5 Replace the filter.
6 Plug the power back into the projector.
Note: Be sure that the projector is stable after turning it over.
When replacing the filter, make sure it is inserted in the correct
direction as shown illustration.
Replacing the Lamp
The projector lamp used for the light source has a certain life. It is time
to replace them lamp when:
• The lamp dims, the projected image gets darker or starts to
deteriorate.
• The projector lamp LED indicator turns to red (See page 14).
Caution: The lamp becomes high temperature after turning off
the projector with the power button. If you touch the lamp, you
may scald your finger. When you replace the lamp, wait for at
least an hour for the lamp to cool. Be sure to turn off the
projector and unplug the power cord before replacing the lamp.