Index
lxxxix
3.5.2 Removing the Power Supply
Before you can install components into the housing, you must first remove the power
supply. Follow these steps to remove the power supply:
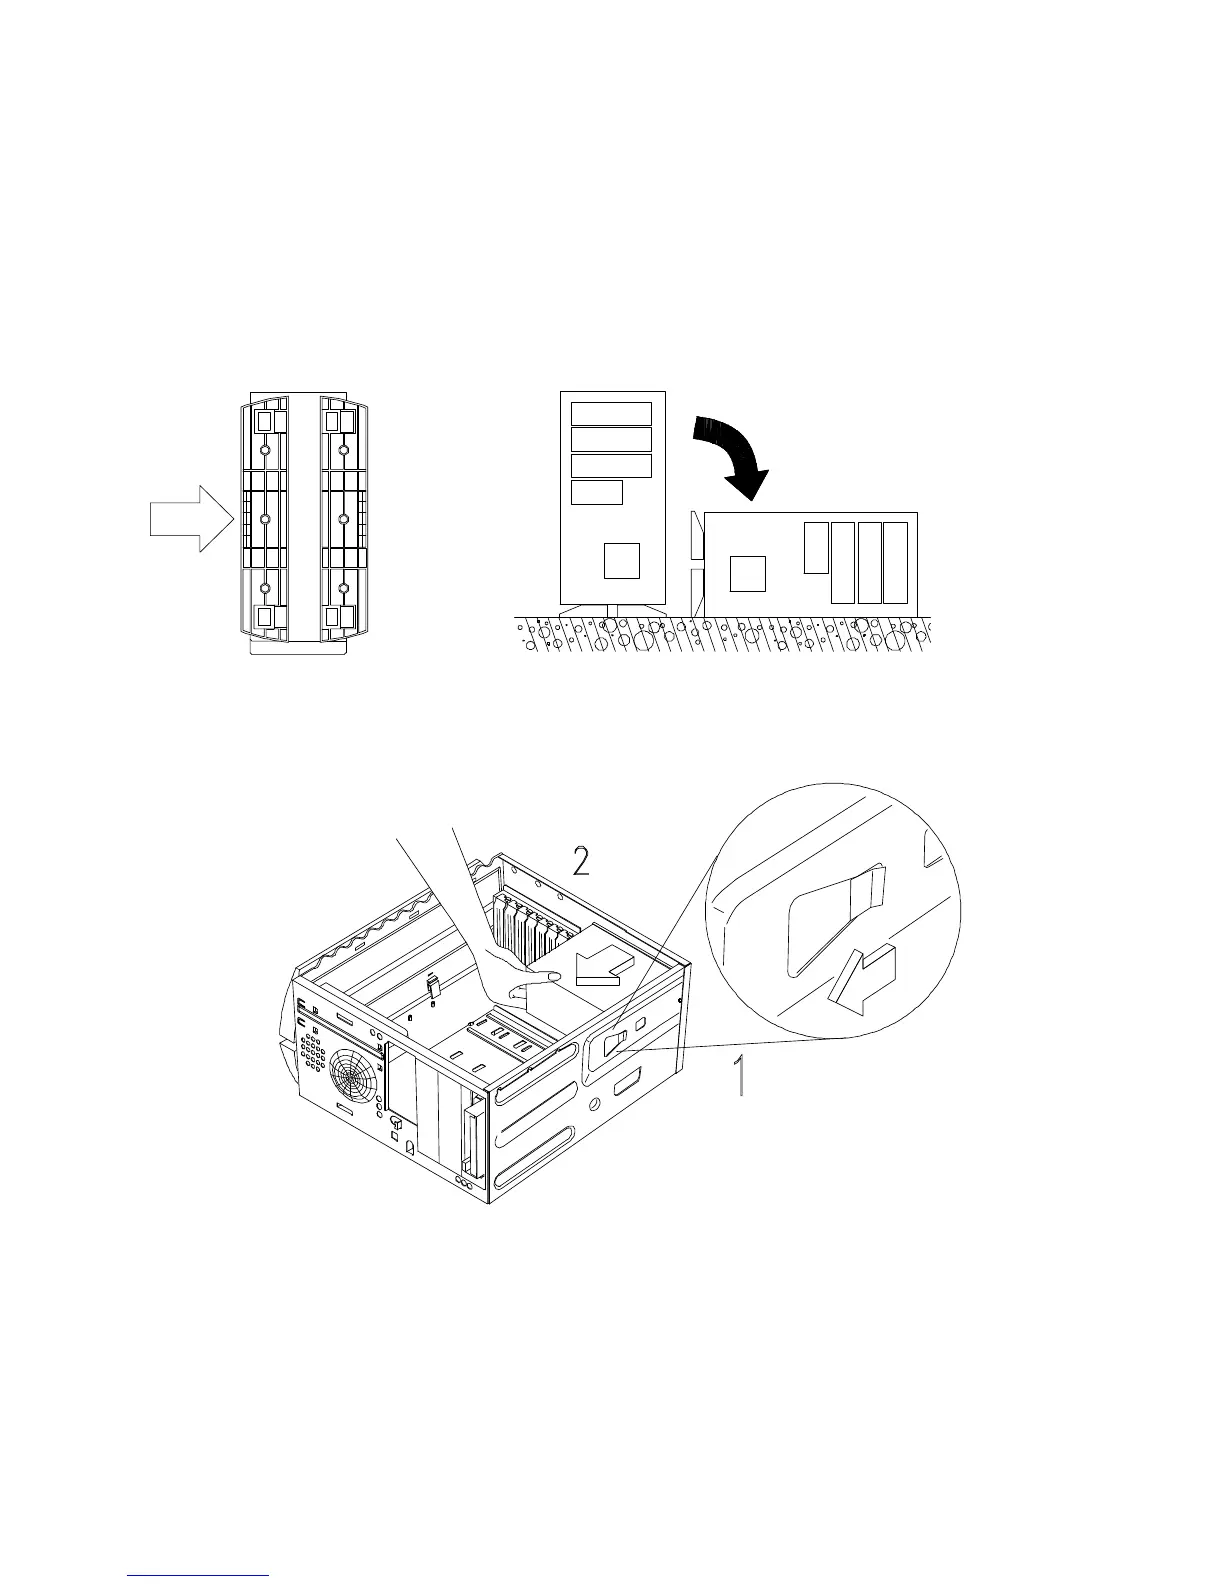
1. Arrange the legs as shown in the figure and put the housing in a flat position.
2. Locate the power supply. Remove any attached power cables, remembering where
they were located (refer to Figure 1-1). Remove the screw from the top rear of the
chassis, then press the tab located on top of the housing frame just above the power
supply.