Chapter 2 Quick Start
To Check the Rated Voltages of the Power Supply
25
2
To Check the Rated Voltages of the Power Supply
The following procedures check to ensure that the power supply produces it s
rated voltag e output with no load and properly responds to operation from the
front panel.
For each step, use the keys shown on the left margins.
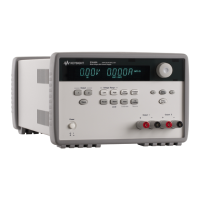
1 Turn on the power supply.
The power supply will go into the
power- on / reset
state; the output is disabled
(the
OFF
annunciator turns on); the 8V/20A* or 25 V/7 A** range is selected (the
8V
* or
25V
** annunciator turns on); and the knob is selected for
voltage
control.
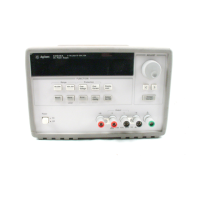
2 Enable the outputs.
The
OFF
annunciator turns off and the
8V
* or
25V
**,
OVP
,
OCP
, and
CV
annunciators are lit. The flashi ng digi t can be adj us ted by turn ing the knob.
Notice that the displ ay is in the meter mode. “Meter mode’’ means that th e
displ ay shows the actual output voltage and current.
3 Check that the front-panel voltmeter properly responds to knob
control.
Turn the knob clockwise or counter clockwise to check that the voltmeter
responds to knob control and the ammeter indicates nearly zero.
4 Ensure that the voltage can be adjusted from zero to the maximum
rated value.
Adjust the knob until the voltmeter indicates 0 volts and then adjust the knob
until the voltm eter indicates ‘‘8.0 volts ’’* or ‘‘25.0 volts’’** .
1
You can use the resolution selection keys to move the flashing digit to the
right or left w hen settin g the voltage
.
Power
Output
On/Off
1
*For Agilent E3633A Model **For Agilent E3634A Model
 Loading...