Getting Started
Turning On the Power Meter
Agilent E4419B User’s Guide 1-3
Turning On the Power Meter
The following steps show you how to turn on the power meter and verify
that it is operating correctly.
1. Connect the power cord and turn on the power meter.
The front panel display and the green power LED light up when
the power meter is switched on. The power meter performs it’s
power on self test. If the self test is not successful the error
annunciator turns on. If this occurs contact your Agilent
Technologies Sales and Service office for instructions on returning
the power meter to Agilent Technologies for service.
Caution This instrument is designed for use in Installation Category II and
Pollution Degree 2 per IEC 1010 and 664 respectively.
Caution This instrument has an autoranging line voltage input, be sure
the supply voltage is within the range of 85 to 264 V
ac
.
Note If the power meter has been stored at extremely low temperatures
outwith the operating range of the power meter, the display may
take a few minutes to operate.
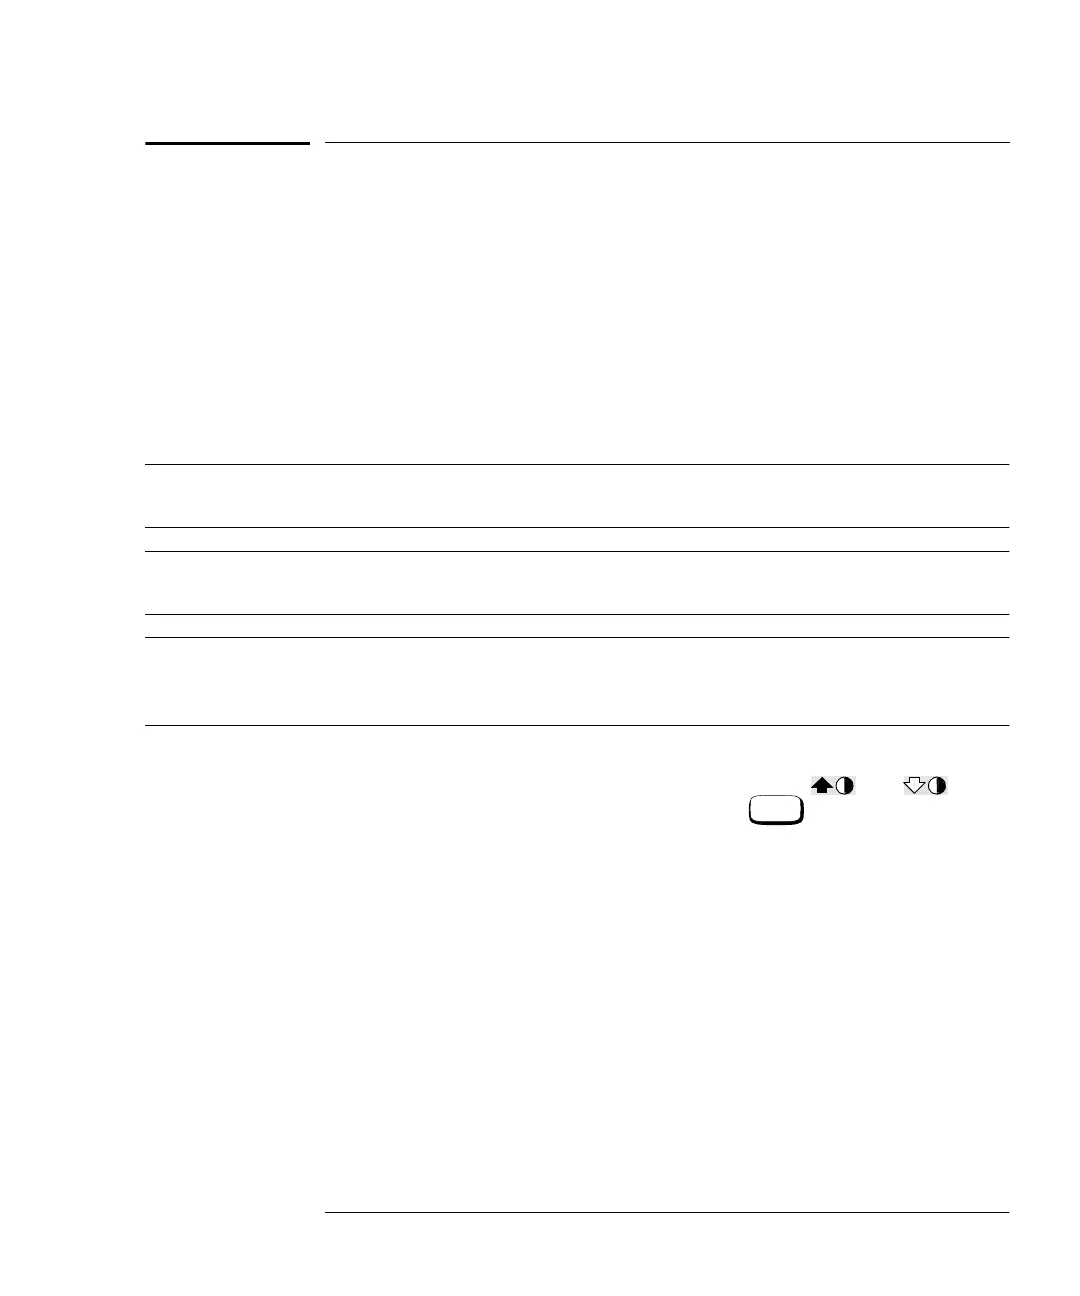
2. Set the display contrast if required.
The display contrast is adjusted by pressing and . If
these softkeys are not displayed press repeatedly until they
appear.
3. Connect the power sensors.
Connect one end of each of the sensor cables to the power meter’s
channel inputs and the other ends to the power sensors.
4. Making a measurement.
A minimum warm up time of 30 minutes is recommended before
accurate measurements can be made.
Prior to making your first measurement you must zero and
calibrate the sensor and meter combination. Refer to Chapter 2 for
further information if you are not familiar with zeroing,
calibrating or making measurements with a power meter.
Prev
HP4402.book Page 3 Thursday, November 30, 2000 1:39 PM