20 Single-wheel power hoe 3100 Edition 03.95
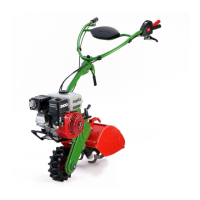
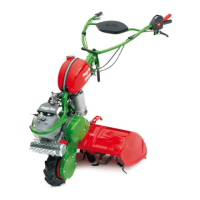
3. Devices and Operating Elements
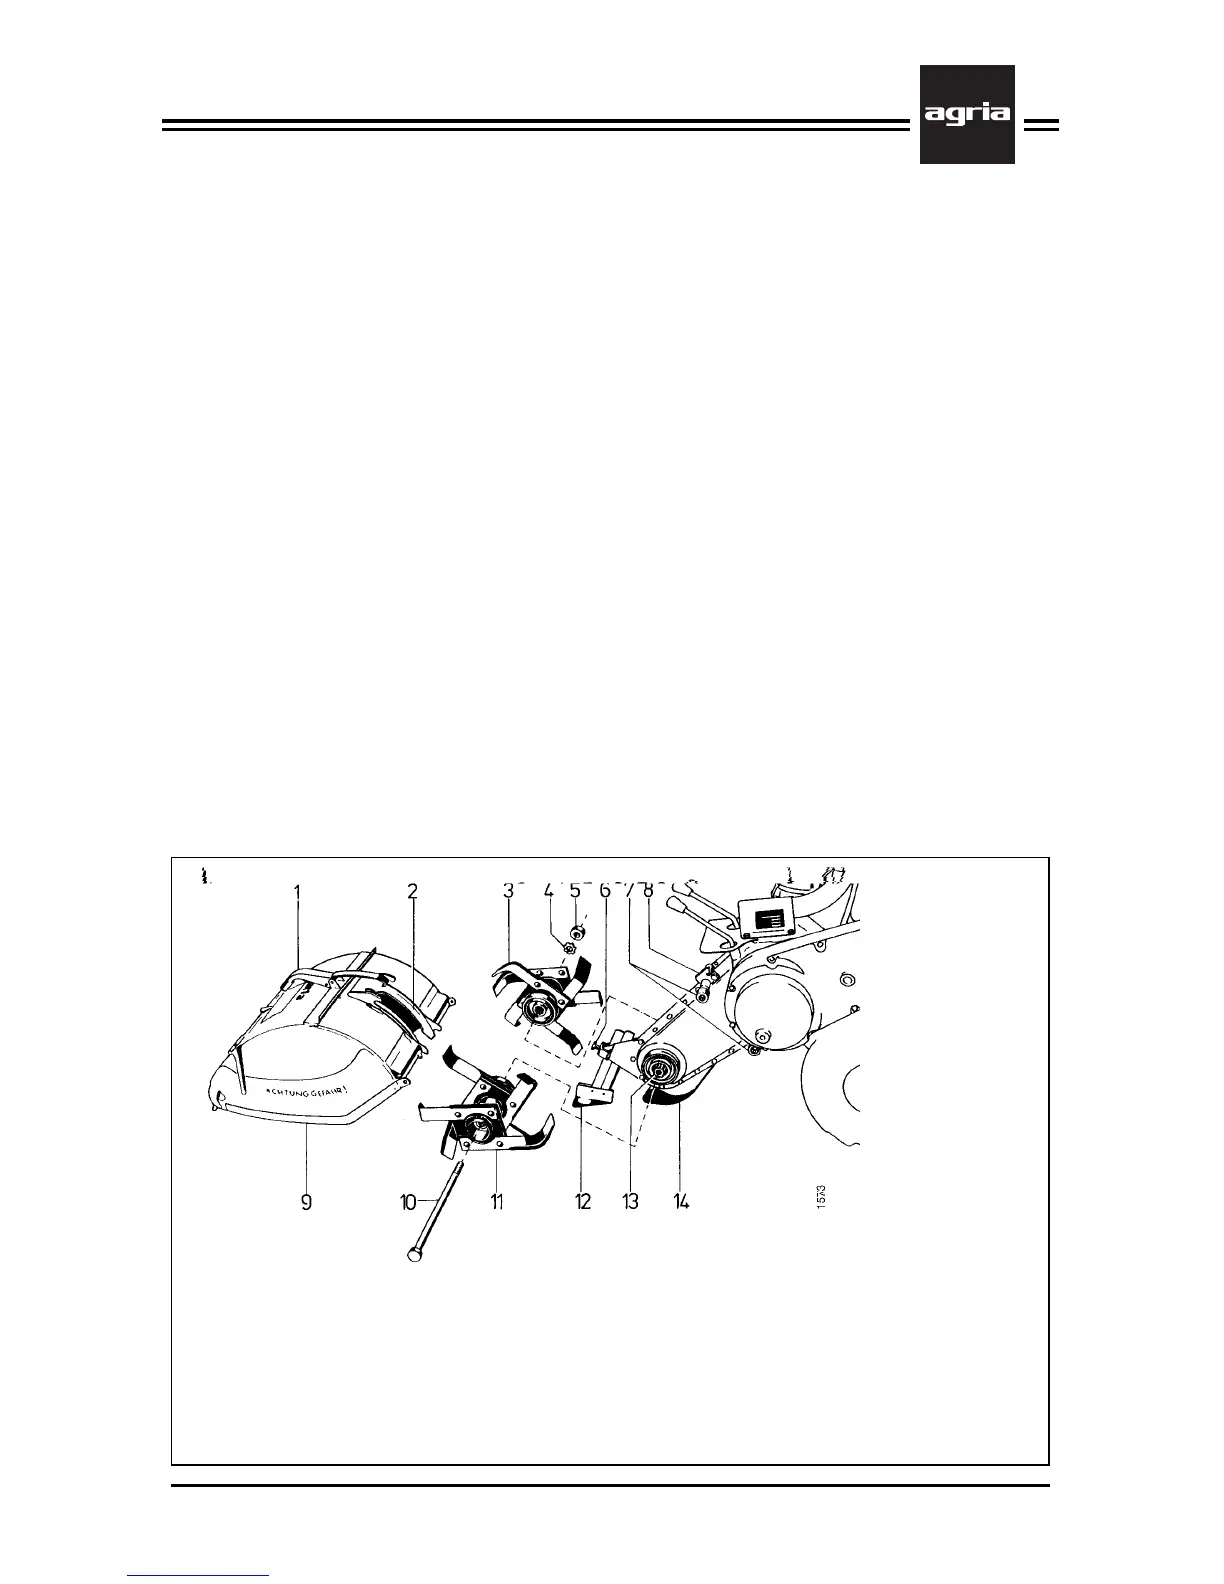
8 Spike plate
9 Protective hood
10 Tensioning screw
11 Tilling tool, right
12 Skid tine
13 Tilling shaft
14 Sword
1 Tensioning lever with tensioning spring
2 Hood supporting sheet metal
3 Tilling tool, left
4 Toothed washer
5 Hexagonal nut
6 Clamping screw for skid
7 Hood carrier
Tilling Tools
Mounting Tilling Tools
l
Mount tilling tools (3) (11) onto the left
and right end of the tilling shaft (13). Tine
blades must point into rotating direction
(forwards). Mount both tools in such a
way that tines of both tools pointing to
the housing are staggered and not paral-
lel to the tines on the opposite side.
l
Insert tensioning screw (10) from right
to left, fit toothed washer (4) and tighten
tilling tools with hexagonal nut (5).
l
Adjust hoeing skid (12) to desired till-
ing depth and tighten with clamping screw
(6).
Hoeing Skid
l
For heavy soil and coarse tilling:
– adjust tine point to a downward posi-
tion.
l
For light soil and fine tilling:
– adjust tine to a horizontal position.
l
For sandy soils:
– adjust tine point to an upward position.
W
No tilling without skid!
Mounting Protective Hood
l
Slide hood supporting device (2) over
hood carriers (7).
l
Hang tensioning spring (1) into spike
plate (8) and fold tensioning lever back.
W
No tilling without protective
hood!
 Loading...