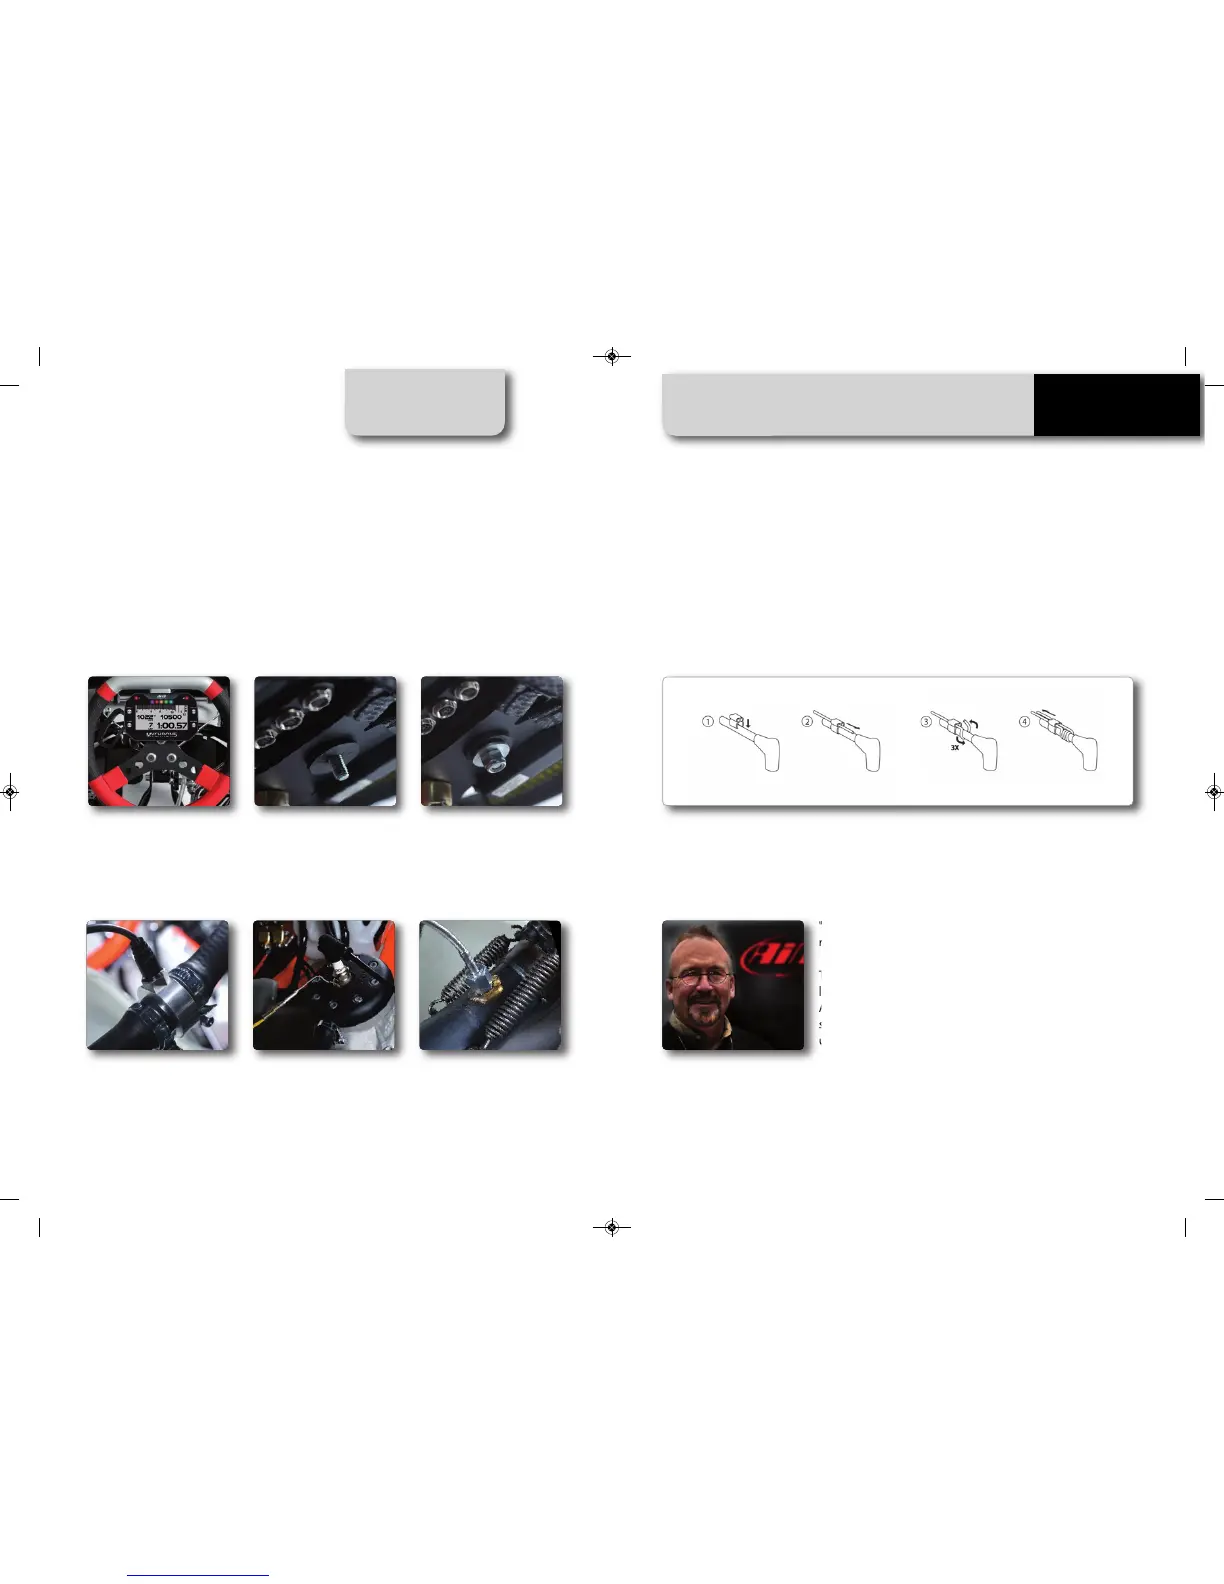
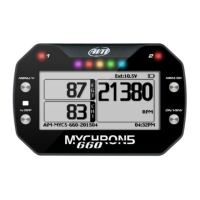
3. Installation RPM Clip Installation
Your MyChron5 has been designed for being installed on the steering wheel of your
kart.
In order to reduce vibrations to your MyChron5, please mount the rubber washer
above and under the spoke of the steering wheel, as shown the picture below:
Temperature sensor Installation
CHAPTER 3 INSTALLATION
10 11
MYCHRON5
"Do not run the RPM lead in any type of tubing; it should be run
right along the frame rail.
Take care not to overtighten the tie wraps. If your lead is too
long, don't coil it up; just cut the tach end to length.
At the tach end, make sure that the lead loops through the two
small holes and then extends out about half an inch and then
use a small tie wrap to keep it snug.
It is very important to pul
l t
he RPM wire about four inches through one side of the clip then
wrap the wire around your plug lead a couple of times and back through the opposite side of
the clip."
A clean RPM signal is key to good performance from your MyChron. To get a clean
signal, it's important that the RPM lead be installed correctly in order to pick up a
strong signal from the plug wire.
MyChron Mike,
our historical support
at the track,
says:
MANUALE IMPAGINATO.qxp_Layout 1 25/11/15 16:04 Pagina 13