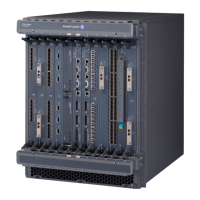
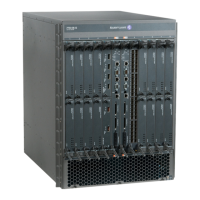
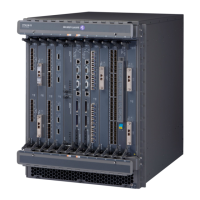
Installing a 7750 SR-a Chassis Horizontally in a Rack
84 7750 SR-a4 and SR-a8 Installation Guide
• a torque driver for the ETSI rack screws. Refer to the rack manufacturer’s
documentation for instructions.
• a #2 or #3 Phillips torque driver, depending on the screw size that you use
To install the chassis horizontally in the ETSI rack:
Step 1. Install screws in the rack rail in the bottom-most hole of the allocated U space to
support the chassis temporarily during installation. Make sure that the screws are
installed at least half way into the hole. Do not tighten the screw. (Key 2 in
Figure 21 and Figure 22).
Step 2. With at least two people and, if necessary, using an equipment lift, position the
chassis in front of the rack.
Step 3. Lift the chassis from the bottom and position it in the rack, resting the bottom of the
ETSI brackets (Key 3 in Figure 21 and Figure 22) on the temporary screws (Key 2
in Figure 21 and Figure 22).
Step 4. Insert a screw into each mounting hole. Do not skip any holes. Do not tighten the
screws fully.
Step 5. Align the chassis in the rack, if required.
Step 6. Tighten all screws. Refer to the rack manufacturer’s documentation for
instructions. See Torque Specifications for Rack Mounting on page 59 for more
information.
Step 7. Ground the chassis to the building ground. See Chassis Ground Wiring on page 85.
Note: The oval-shaped holes in the mounting flanges enable you to adjust the alignment of
the chassis during installation before you tighten the screws.