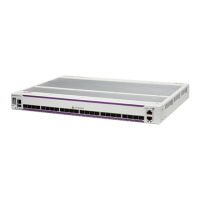
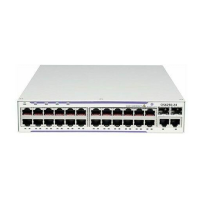
Mounting OS6250 Switches Mounting OS6250 Switches
OmniSwitch 6250 Hardware Users Guide September 2015 page 4-21
Table-Mounting OS6250 Switches
General Table-Mounting Guidelines
OmniSwitch 6250 switches can be installed freestanding as tabletop-mounted units. If you will be table-
mounting your switch(es), refer to the important guidelines below before installing.
• When choosing a location for the switch, be sure that adequate clearance has been provided for chassis
airflow and access to the front, back, and sides of the chassis. For recommended clearances, refer to
“Recommended Clearances” on page 4-4.
• The power cord for OmniSwitch 6250 switches measures two (2) meters (approximately 6.5 feet) in
length. When table mounting the switch, be sure that the mounting location is within the reach of all
the required power sources.
• An additional mounting kit is needed to table-mount the chassis.
Table-Mounting Installation
1 Follow the proper assembly instructions based on the configuration of the chassis and power supply
trays described in “Assembling OS6250 Switches” on page 4-6.
2 Orient the table-mount brackets so that the rubber bumpers are facing down. Attach the brackets to
both sides of the switch, as shown.
Bracket Orientation for Table Mounting
3 Attach the additional mounting brackets to the rear portion of the power supply tray that was installed
at step 1 (again, so that the rubber bumpers are facing down). Attach the brackets to both the left and right
side of the tray.
 Loading...