28 Rockwell Automation Publication 1756-UM001M-EN-P - February 2012
Chapter 1 Install the 1756-L7x Controller
Install the ESM
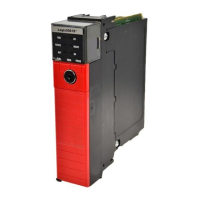
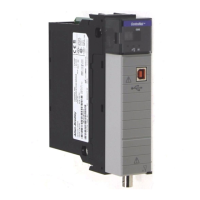
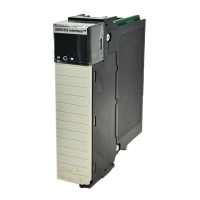
To install an ESM in the 1756-L7x controller, complete these steps.
1. Align the tongue-and-groove slots of the ESM and controller.
2. Slide the ESM back until it snaps into place.
The ESM begins charging after installation. Charging status is indicated by
one of these status messages:
• ESM Charging
• CHRG
After you install the ESM, it may take up to 15 seconds for the charging
status messages to display.
Allow the ESM to finish charging before removing power from the controller.
To verify that the ESM is fully charged, check the status display to confirm that
messages CHRG or ESM charging are no longer indicated.
We recommend that you check the WallClockTime object attributes after
installing an ESM to verify that time of the controller is correct.

 Loading...


