Getting Started
Accessory List
Turning Power On and O
Detaching and Attaching the Front Pane
.
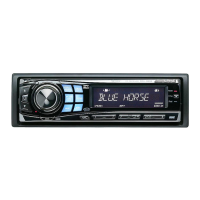
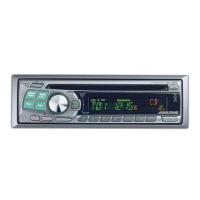
Head unit ..................................................................................1
.
Power cable...............................................................................1
.
USB Cable..................................................................................1
.
Interface cable for iPod............................................................1
.
Microphone...............................................................................1
.
Mounting sleeve.......................................................................1
.
Carrying case ............................................................................1
.
Bracket key ...............................................................................2
.
Screw (M5 × 8) ..........................................................................4
.
Remote Control ........................................................................1
.
Battery (AAA size).....................................................................2
.
Owner's Manual..................................................................1 set
Press SOURCE/
C
to turn on the unit.
Note
Press and hold SOURCE/
C
for at least 2 seconds to turn o
the unit.
Note
•
•
e unit can be turned on by pressing any other button except .
e rst time power is turned on, the volume will start from level 12.
1
3
2
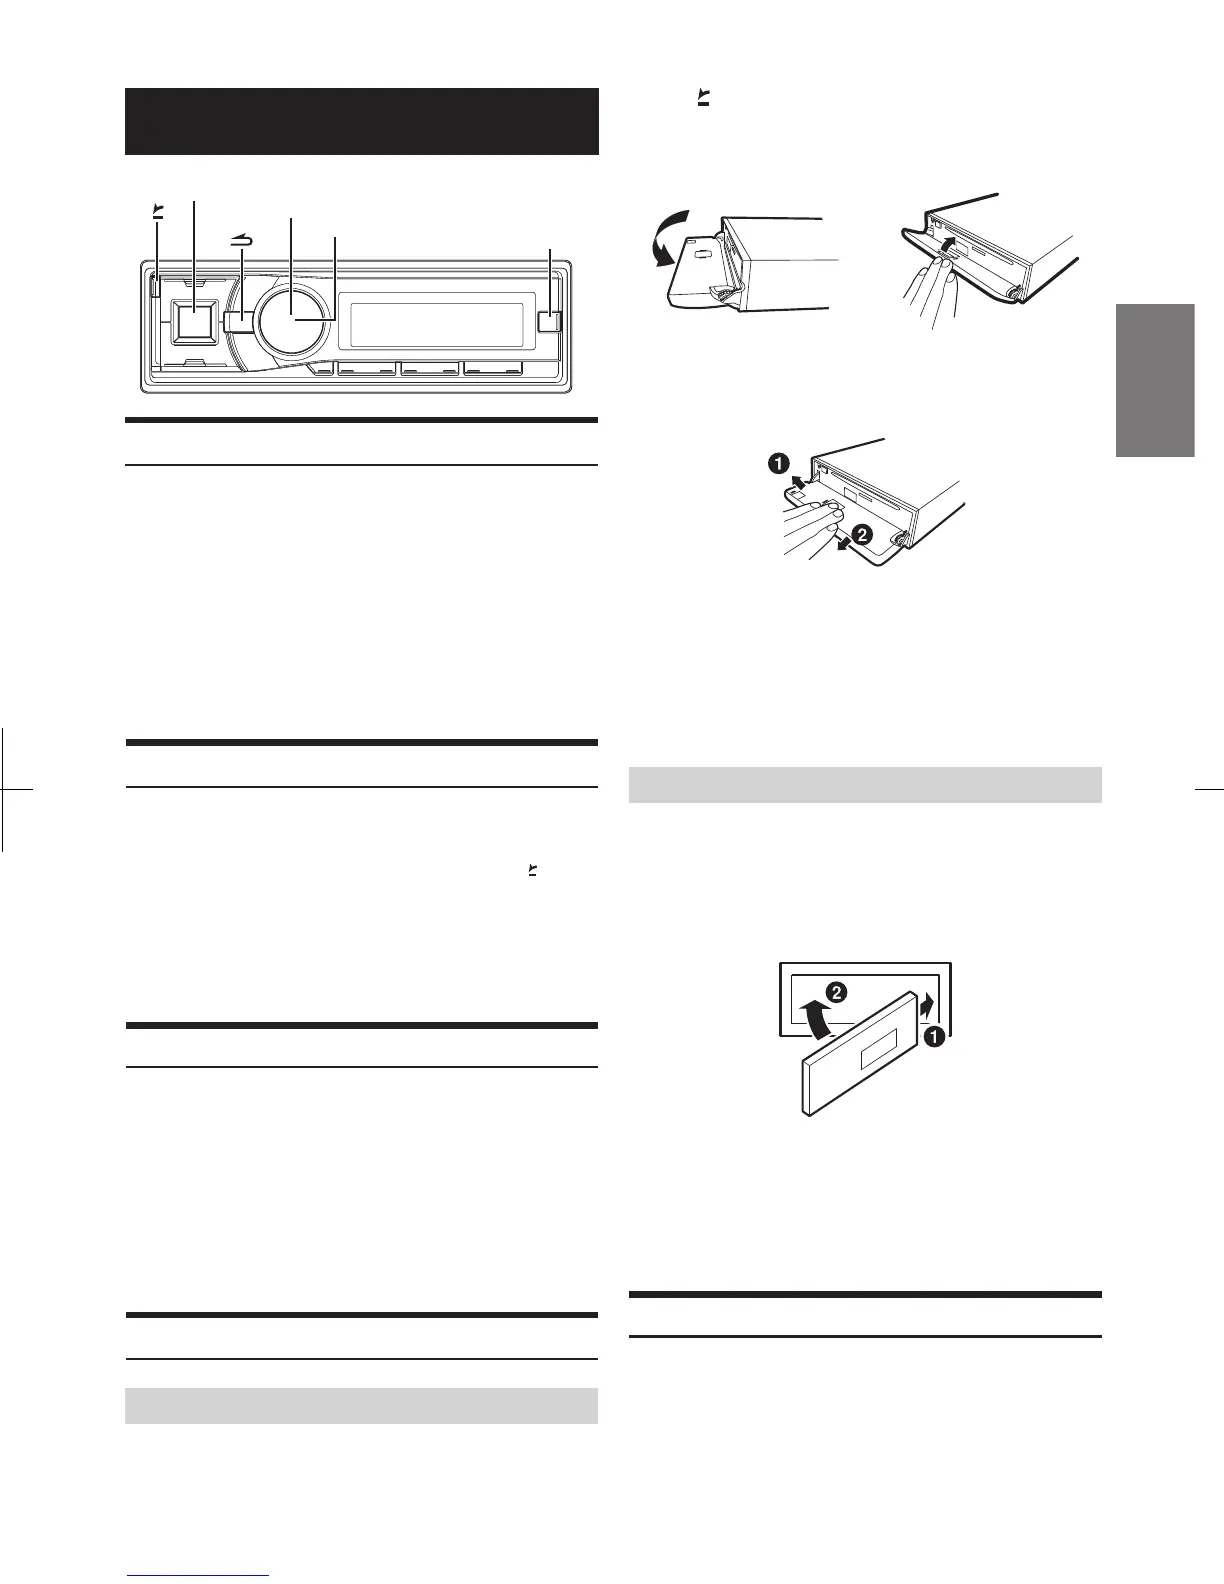
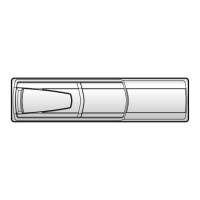
Turn o the unit power.
Press
(OPEN) to open the front panel (gure 1).
To close the front panel, press the left side until it locks as shown
in the gure 2.
Be sure to press the
RESET
switch when using the unit for the rst
time, after changing the car battery, etc.
Turn o the unit power.
Grasp the front panel rmly, slide to the left
a
, and then
pull
b
to remove.
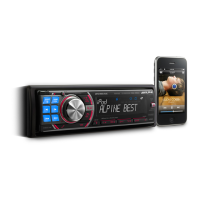
Source Selection
Initial System Start-Up
Press SOURCE/
C
to change the source.
TUNER
d
DISC
d
USB/USB iPod
*1
d
Bluetooth Audio
*2
d
CHANGER
*3
d
AUXILIARY
*4
d
TUNER
*1
*2
*3
*4
Displayed only when the iPod/iPhone is connected.
Displayed only when Bluetooth Audio is set to ON, refer to "Setting
the BLUETOOTH Connection (BT IN)" on page 22.
Only when the CD changer is connected .
Displayed only when the AUX IN is set to ON, refer to "Setting the
AUX Mode (V-Link)" on page 18.
Detaching
2 erugif1 erugif
•
•
•
•
Note
e front panel may become hot in normal usage (especially the connector
terminals on the back of the front panel). is is not a malfunction.
To protect the front panel, place it in the supplied carrying case.
When detaching the front panel, do not apply excessive force as it may
result in malfunction.
Do not leave the front panel open, or drive the car with the panel open as
it may result in an accident or malfunction.
Attaching
1
2
Insert the right side of the front panel into the main unit.
Align the groove on the front panel with the projections on
the main unit.
Push the left side of the front panel until it locks rmly into
the main unit.
•
•
Note
Before attaching the front panel, make sure that there is no dirt or dust
on the connector terminals and no foreign object between the front panel
and the main unit.
Attach the front panel carefully, holding the sides of the front panel to
avoid pushing buttons by mistake.
1
Turn o the unit power.
7
-EN
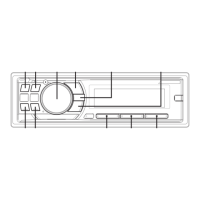
SETUP
SOURCE/
/ENTER
Rotary encoder