123200 03 26-03-2004 27
D. Removal of well
Please follow steps A, B and C for all models.
(Section 4.2, exploded view -
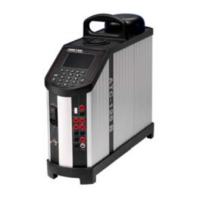
CTC-140 A, MTC-140 A)
1. Remove the plate (pos. 14) in front of the well by pulling
it up.
2. Pull out the well (pos. 15). Remember that it is necessary
to calibrate the instrument after the well has been
removed/replaced.
3. When reassembling the unit ensure that the well and the
plates are placed in the exact same slots as before
removal.
(Section 4.3, exploded view -
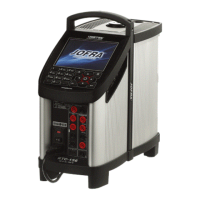
CTC-320 A, MTC-320 A)
1. Remove the plate (pos. 15) in front of the well by pulling
it up.
2. Loosen the ground wire (pos. 22) connecting the well unit
to the bottom part.
3. Cut the straps holding the wire from the fan close to the
wires from the well.
4. Pull out the well (pos. 20). Remember that it is necessary
to calibrate the instrument after the well has been
removed/replaced.
5. When reassembling the unit ensure that the well and the
plates are placed in the exact same slots as before
removal.
(Section 4.4, exploded view -
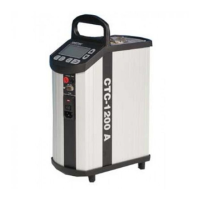
CTC-650 A, MTC-650 A)
1. Remove the 2 plates (pos. 15) in front of the well by
pulling them up.
2. Loosen the ground wire (pos. 22) connecting the well unit
to the bottom part.
3. Cut the straps holding the wire from the fan close to the
wires from the well.
4. Pull out the well (pos. 20). Remember that it is necessary
to calibrate the instrument after the well has been
removed/replaced.
 Loading...