13
ME580 Series
User’s Manual
Geng Started
Assembly
1. First, take the styrofoam containers out of the cardboard carton and lay them on their side, paying aenon
to which side is labeled up. Remove the tape and open the container scarefully so as to avoid dropping and
damaging the opcal items. Check carefully to ensure that all parts and accessories are intact.
2. Check the packing list on www.amscope.com or included in your package to ensure that you’re received all
items that are to be included. Note: We have several dierent packages, so, checking the web lisng for the
specic SKU ordered will have the most accurate packing list:
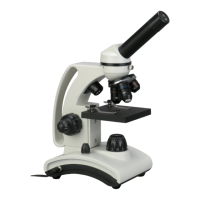
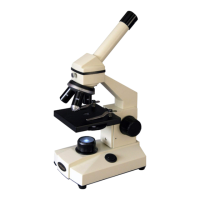
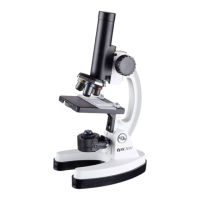
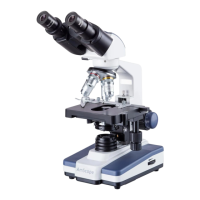
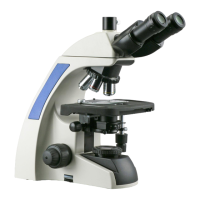
- One Binocular (B-)/Trinocular (T-) 580 Series Microscope Body & Head
- Three LM Plan Objecves (5x, 10x, 50x)
- Three Achromac Objecves (4x, 10x, 40x) (-2L Models Only)
- One Substage Condenser (-2L Models Only)
- One Pair Plan 10x Wideeld Eyepieces
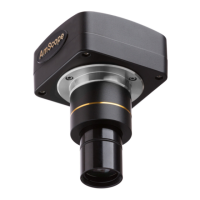
- One Episcopic Illuminator Module
- Two Halogen Bulbs
- One Power Adapter
- One Dust Cover
- One Sample Bole of Immersion Oil
- Six Filters (Polarizer, Analyzer, Green, Yellow, Blue, Diuser) (-PZ Models Only)
- One Pack of Lens Tissue
- One Tension Wrench
3. Remove the microscope body from the box and remove the plasc protecve covering.
4. Screw the objecves into the microscope nosepiece from the lowest magnicaon to the highest, avoiding
touching the lenses. Touching the glass on a lens will transfer oil from the skin, as well as dust, obscuring your
eld of view. If accidental contact occurs, please use a so opcal cloth with Sparkle or a Kimwipe to clean the
lens o.
5. Remove the head and illuminaon module from the styrofoam container. Aer loosening the head lock
screw, insert the illuminaon module into posion in the opening (circular opening down) at the top of the
microscope body, and ghten the head lock screw to secure it. Repeat above the illuminaon path with the
microscope’s opcal head.
6. Remove the caps covering the ocular tubes, and slide your included 10x eyepieces into the ocular tubes.
7. Insert the illuminator group (with installed bulb) onto the rear of the illuminaon module and secure with
the locking screw. Connect to the microscope to power the light group.
8. Plug in the microscope and ip the switch to the desired light. If no light emerges from the light source,
adjust the dimmer dial.
 Loading...