Installation
7
AXB-TPI/3 Touch Panel Interface 3
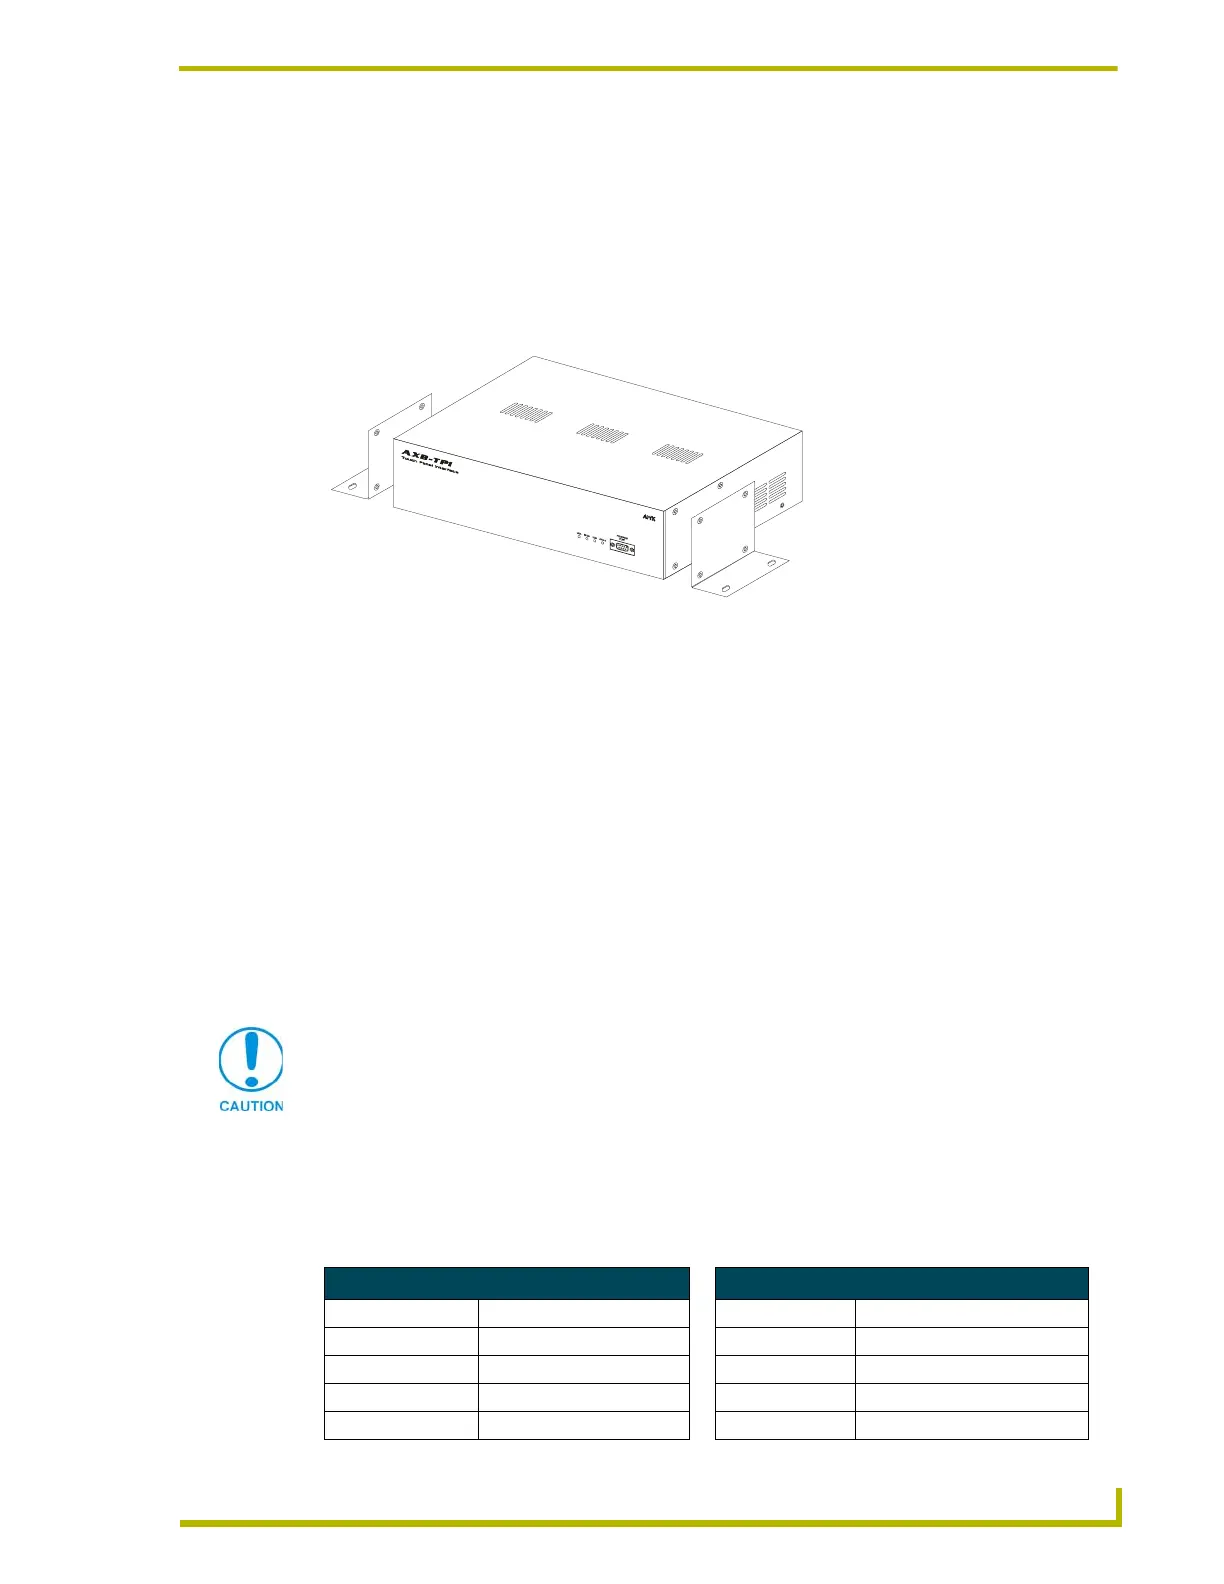
Other Mounting Options
Rotate the mounting brackets to mount the AXB-TPI/3 on top of a flat surface, under a flat surface,
or vertically. The following steps apply to all of these mounting options.
1. Discharge the static electricity from your body by touching a grounded object.
2. Position and install the mounting brackets, as shown in FIG. 4, using the screws supplied with
the unit. The mounting brackets can be rotated to accommodate your mounting needs.
3. Disconnect the AXlink connector from the Controller, the RS-232, and optional video/graphic
wiring from the source equipment.
4. Connect the AXlink, power, and video/graphic wiring to the AXB-TPI/3. Refer to the Wiring
the AXB-TPI/3 section below for wiring diagrams and pinout descriptions.
5. Connect the AXlink wiring to the Controller, RS-232, and optional video/graphic wiring to the
source equipment. The AXB-TPI/3 beeps when you apply power, and again when AXlink
communication is detected.
Wiring the AXB-TPI/3
The AXB-TPI/3 uses a 4-pin AXlink connector for power and data. If the distance between the
AXB-TPI/3 and the Controller exceeds power consumption limits, you must connect an optional
12 VDC power supply to the 2-pin PWR connector.
Wiring guidelines
The AXB-TPI/3 requires 12 VDC power to operate properly. An auxiliary 12 VDC power supply
provides power to the TPI/3. Each module adds 500 mA of current consumption (in addition to the
baseline 630 mA on the TPI/3 system. The unit should only have one source of incoming power.
FIG. 4 Mounting TPI/3 on a flat surface
Do not connect power to the TPI/3 until wiring is complete. If you are using a 12 VDC
power supply, apply power to the TPI/3 only after installation is complete.
Wiring Guidelines - No Module Wiring Guidelines - One Module
Wire size Maximum wiring length Wire size Maximum wiring length
18 AWG 186.30 feet (56.78 meters) 18 AWG 103.87 feet (31.66 meters)
20 AWG 117.87 feet (35.93 meters) 20 AWG 65.72 feet (20.03 meters)
22 AWG 73.49 feet (22.40 meters) 22 AWG 40.97 feet (12.49 meters)
24 AWG 46.32 feet (14.12 meters) 24 AWG 25.83 feet (7.87 meters)

 Loading...


