Installation and Upgrading
18
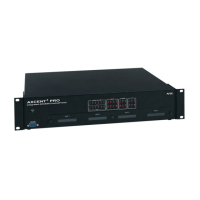
NI-2100, NI-3100, NI-4100 Hardware Reference Guide
3. Thread the cables through the opening in the equipment rack. Allow for enough slack in the cables to
accommodate for movement during the installation process.
4. Reconnect all cables to their appropriate source/terminal locations. Refer to theConnections and
Wiring section on page 19 for more detailed wiring and connection information.
Verify that the terminal end of the power cable is not connected to the a power supply before
plugging in the 2-pin power connector.
5. Slide the unit into the rack until the attachment holes, along both sides, align to their corresponding
locations on the mounting brackets, as shown in FIG. 7.
6. Secure the AC-RK to the rack by using the four #10-32 screws (80-0186) and four #10 washers
(80-0342) supplied in the kit.
7. Apply power to the unit to complete the installation.
To prevent repetition of the installation, test the incoming wiring by connecting the
Controller’s connectors to their terminal locations and applying power. Verify that the
unit is receiving power and functioning properly. Disconnect the terminal end of the
power cable from the connected 12 VDC-compliant power supply.

 Loading...