6
Installation
3. Installation
Important!
Please check first whether the shipment is complete (see Packing list 2.1.). If it is complete fol
-
low the instructions below, otherwise please contact your distributor immediately.
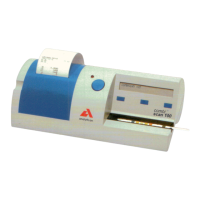
The CombiScan
®
100 is shipped in a carton box. Prior to unpacking, clear the area where the
instrument is to be operated. Please take care of shipping marks on the box while handling. It
is recommended to keep the packaging materials, in case the instrument needs to be moved to
another location or must be shipped for repair.
Prepare the accessories: power adapter and printer paper, and if required, USB cable, keyboard
and/or barcode reader.
Place the CombiScan
®
100 to its working position.
Connect power adapter first to DC socket at the back of the equipment, then to the
mains. The CombiScan
®
100 will automatically switch on. (Disconnect the instrument
from the mains to switch off.)
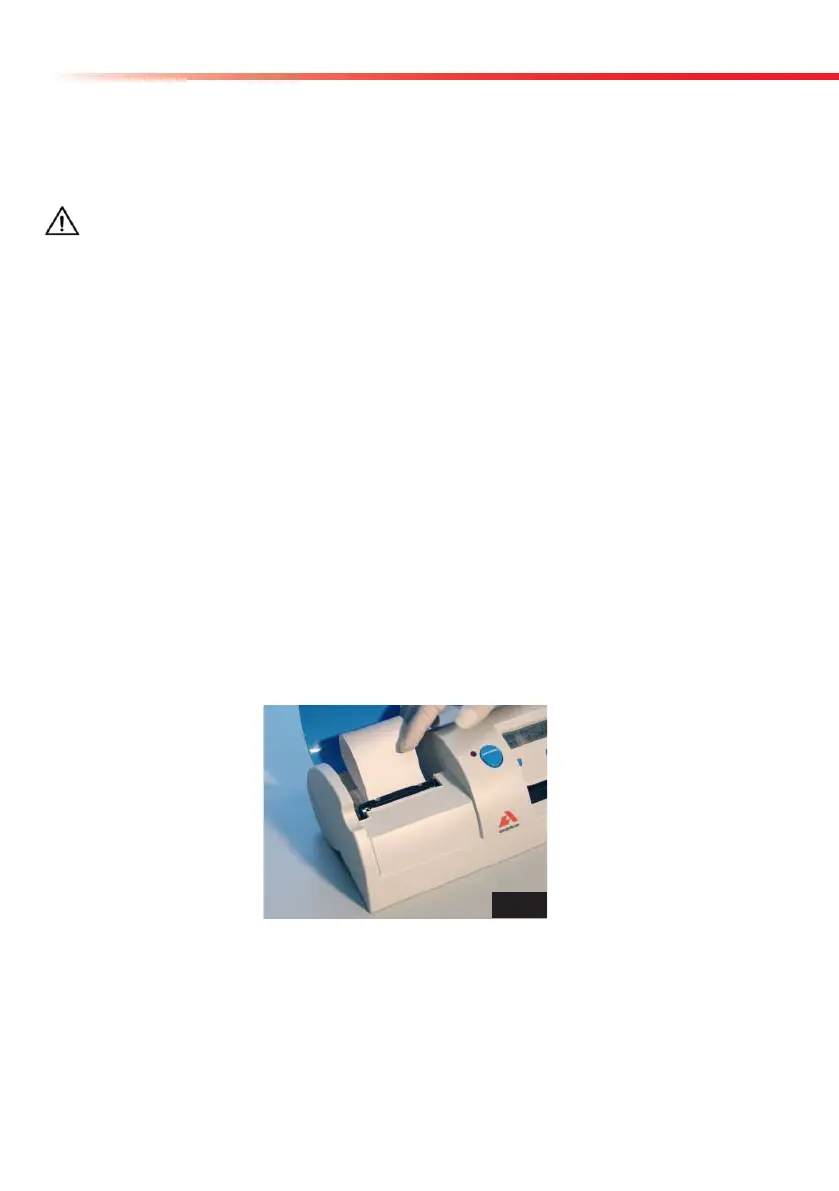
Open the printer cover.
Take a roll of printer paper. If the edge of the paper is not straight, cut it. Insert the roll
into its cave and load the free end of paper into the printer by inserting paper into the
feeding slot. The paper will be loaded automatically. Feed the end of the paper through
the slot of the cover and close it.
If you want to use the worklist, connect your external keyboard and/or barcode reader
to the interface connector.
If you want to transfer data to a host, use the included USB cable, connect the Com-
biScan
®
100 to your computer’s USB port (see section 4.7.)
Now, the CombiScan
®
100 is ready to work.
Fig. 3 View into the paper roll cave
Fig. 3