English - 53 -
Note: Viewing main menu and menu items will not ve available
during the playback.
INFO (Details): Displays the short extended
programmes in detail.
(Resume): Recommences the recordings.
Conditional Access
• Press the “MENU” button to display the main menu and
use the “ ” or “ ” button to highlight the “Conditional
Access” line and press the “OK” button:
Some Digital Terrestrial channels operate on a Pay
Per View basis. These require a subscription and a
hardware decoder.
Obtain the Conditional Access Module (CAM) and the
viewing card by subscribing to a pay channel company,
then insert those to the TV using the following procedure.
• Switch off the TV and unplug from the mains.
• The CAM should be correctly inserted, it is impossible
to insert fully if reversed. The CAM or the TV terminal
may be damaged if the CAM is forcefully inserted.
• Connect the TV to the mains supply, switch on and then
wait for few moments until the card is activated.
• Some CAMs may require the following set up. Please
set the CAM by entering the IDTV menu, Conditional
Access then pressing the “OK” button. (CAM set up
menu is not displayed when it is not required.)
• To see the viewing contract information: enter IDTV;
press the
“MENU” button, then highlight Conditional
Access and press the “OK” button.
• When no module is inserted, “No Conditional Access
module detected” message appears on the screen.
• Refer to the module instruction manual for details of
the settings.
Note: Insert or remove the CI module only when the TV is
switched off or in standby mode.
TV Setup
You can use this item to display the TV functions.
The digital TV Setup menu screen is accessed from
the main menu. Press the
“MENU” button to display
the main menu and use “ ” or “ ” button to highlight
“TV Setup”, press the “OK” button to display TV Setup
menu screen.
You can fi nd detailed information for all menu items in
“Analogue TV Menu System” section.
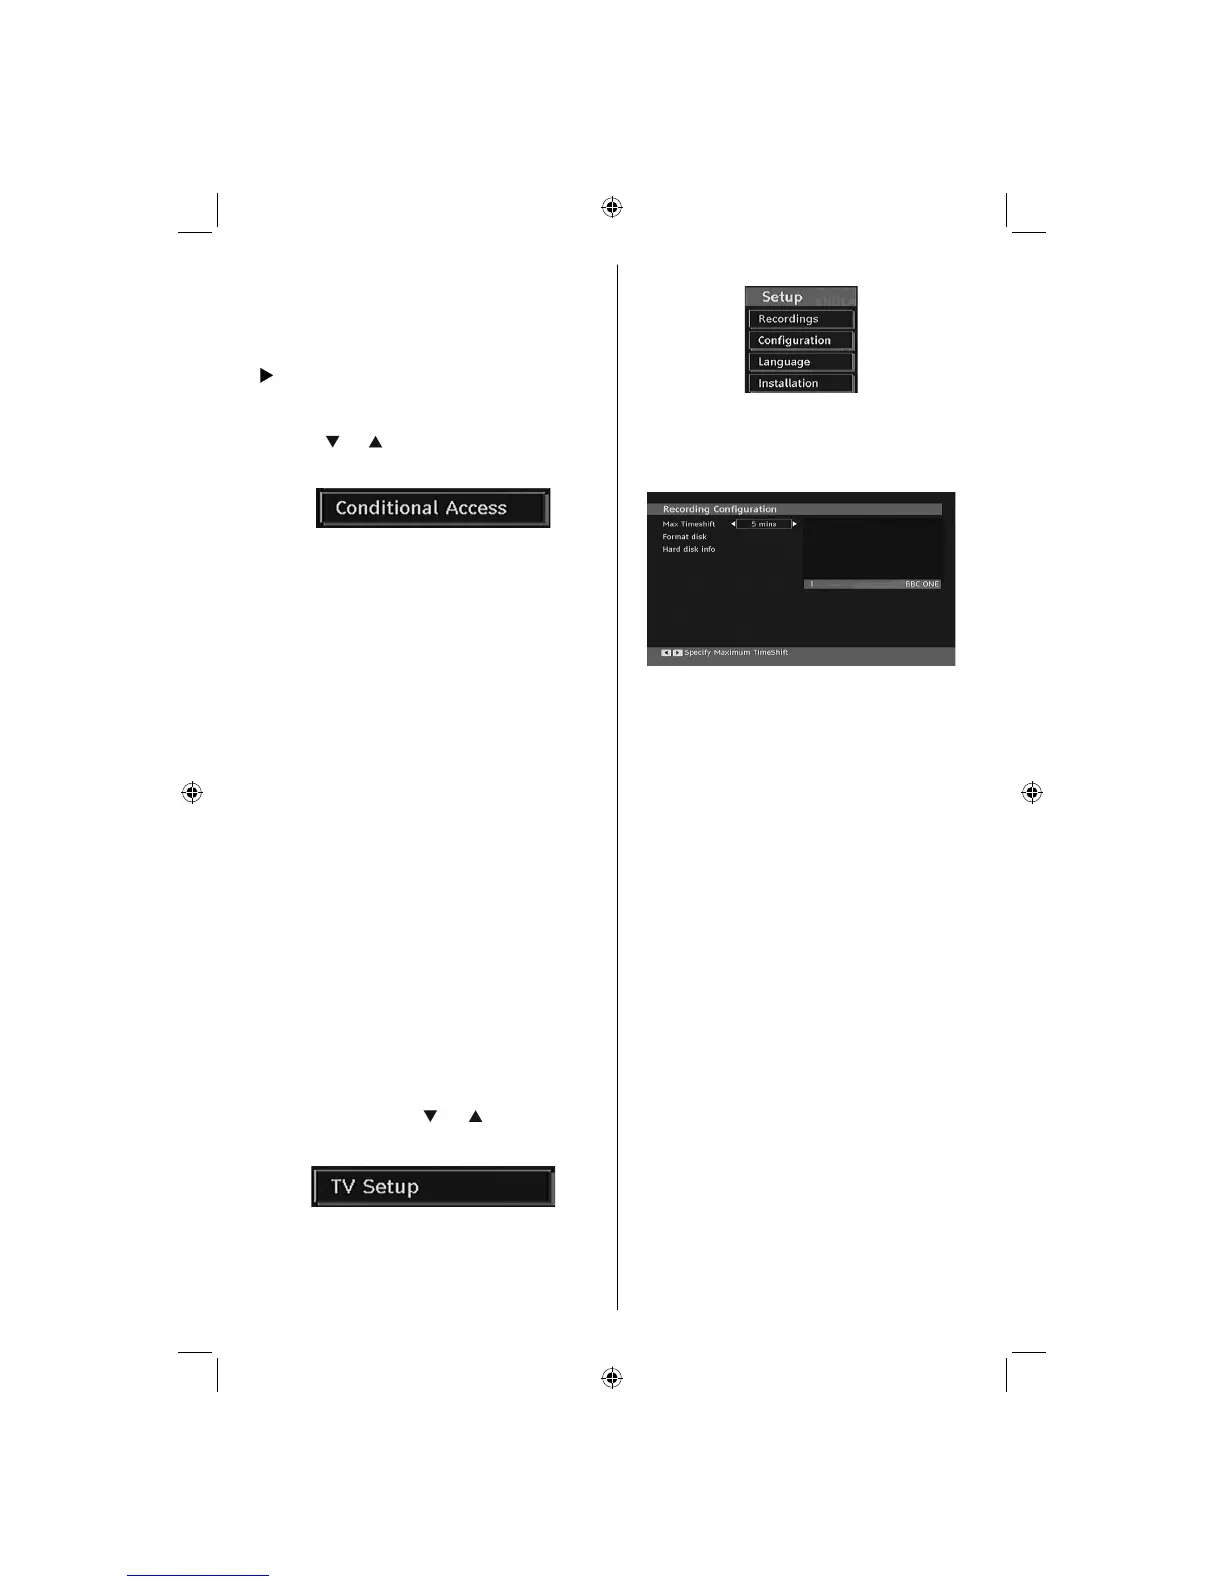
Setup
The adjustments in this menu are given as the following:
Recordings
Select Recordings item in the Setup menu to confi gure
recording settings. The following menu is displayed
for recording confi guration.
The following options are available for adjustments:
Start Early (*)
You set recording timer’s starting time to start earlier
by using this setting.
(*) Available only for EU country options.
End Late (*)
You set recording timer’s starting time to start later
by using this setting.
(*) Available only for EU country options.
Max Timeshift
This setting allows you to set the maximum time
allowed for timeshifting. Duration options are
approximate and can change accordingly, depending
on the broadcast received.
Format Disk
IMPORTANT: Note that ALL the data stored on the USB disk
will be lost and then the disk format will be converted to FAT32
if you activate this feature.
•If you want to delete all fi les on the connected USB
hard disk drive or memory stick, you can use Format
Disk option.
• Also, if your USB disk malfunctions, you can try
formatting the USB disk. In most cases formatting
the USB disk will restore normal operation; however,
ALL the data stored on the USB disk will be lost in
such a case.
• Press OK button while the Format Disk option
is highlighted. A menu will appear on the screen,
requiring you to enter a pin number. If you have not
changed the pin number, the factory default is 0000.
After you enter the pin, a pop-up menu appears on
02_MB45M_[GB]_5110UK_PVR_IDTV_SILVER8_(psm)_32843W_10071150_50180023.indd 1802_MB45M_[GB]_5110UK_PVR_IDTV_SILVER8_(psm)_32843W_10071150_50180023.indd 18 25.11.2010 13:11:1125.11.2010 13:11:11