27
7. The initial settings may need to be adjusted after stopping and carefully inspecting the weld. Please refer
to 6.7 Lift TIG Welding parameters table,Proper welding takes experience.
8. Open valve on TIG Torch to start gas flow.
9. To initiate welding arc, touch Electrode to work piece and lift.
10. When welding puddle is hot enough, tilt Torch backward about 10-15 degrees from vertical and
move it back slightly. Add TIG Rod material as needed to the front end of the weld puddle.
11. Alternate between pushing the torch/weld puddle and adding the TIG Rod material.
NOTE: Remove the TIG Rod each time the Electrode is advanced, but do not remove it from the gas shield.
This prevents oxidation from contaminating the weld.
12. When finished welding, pull Torch away from work piece until welding arc is broken, then return the gas
coverage until weld solidifies.
13. Close valve on TIG Torch and turn Right Knob to OFF to turn off power to TIG Torch.
14. Set TIG Torch down on nonconductive, nonflammable surface away from any grounded objects.
15. Turn the Power Switch OFF.
16. To prevent accidents, after use:
• Allow Welder to cool down.
• Unplug Welder’s power cord from outlet.
• Remove Ground Clamp from workpiece or table.
• Disconnect TIG Torch and Ground Cables.
• Close gas cylinder’s valve securely, remove regulator and replace cap.
• Disconnect Gas Hose from Welder.
• Store and secure gas cylinder.
• Clean, then store Welder and its accessories indoors out of children’s reach.
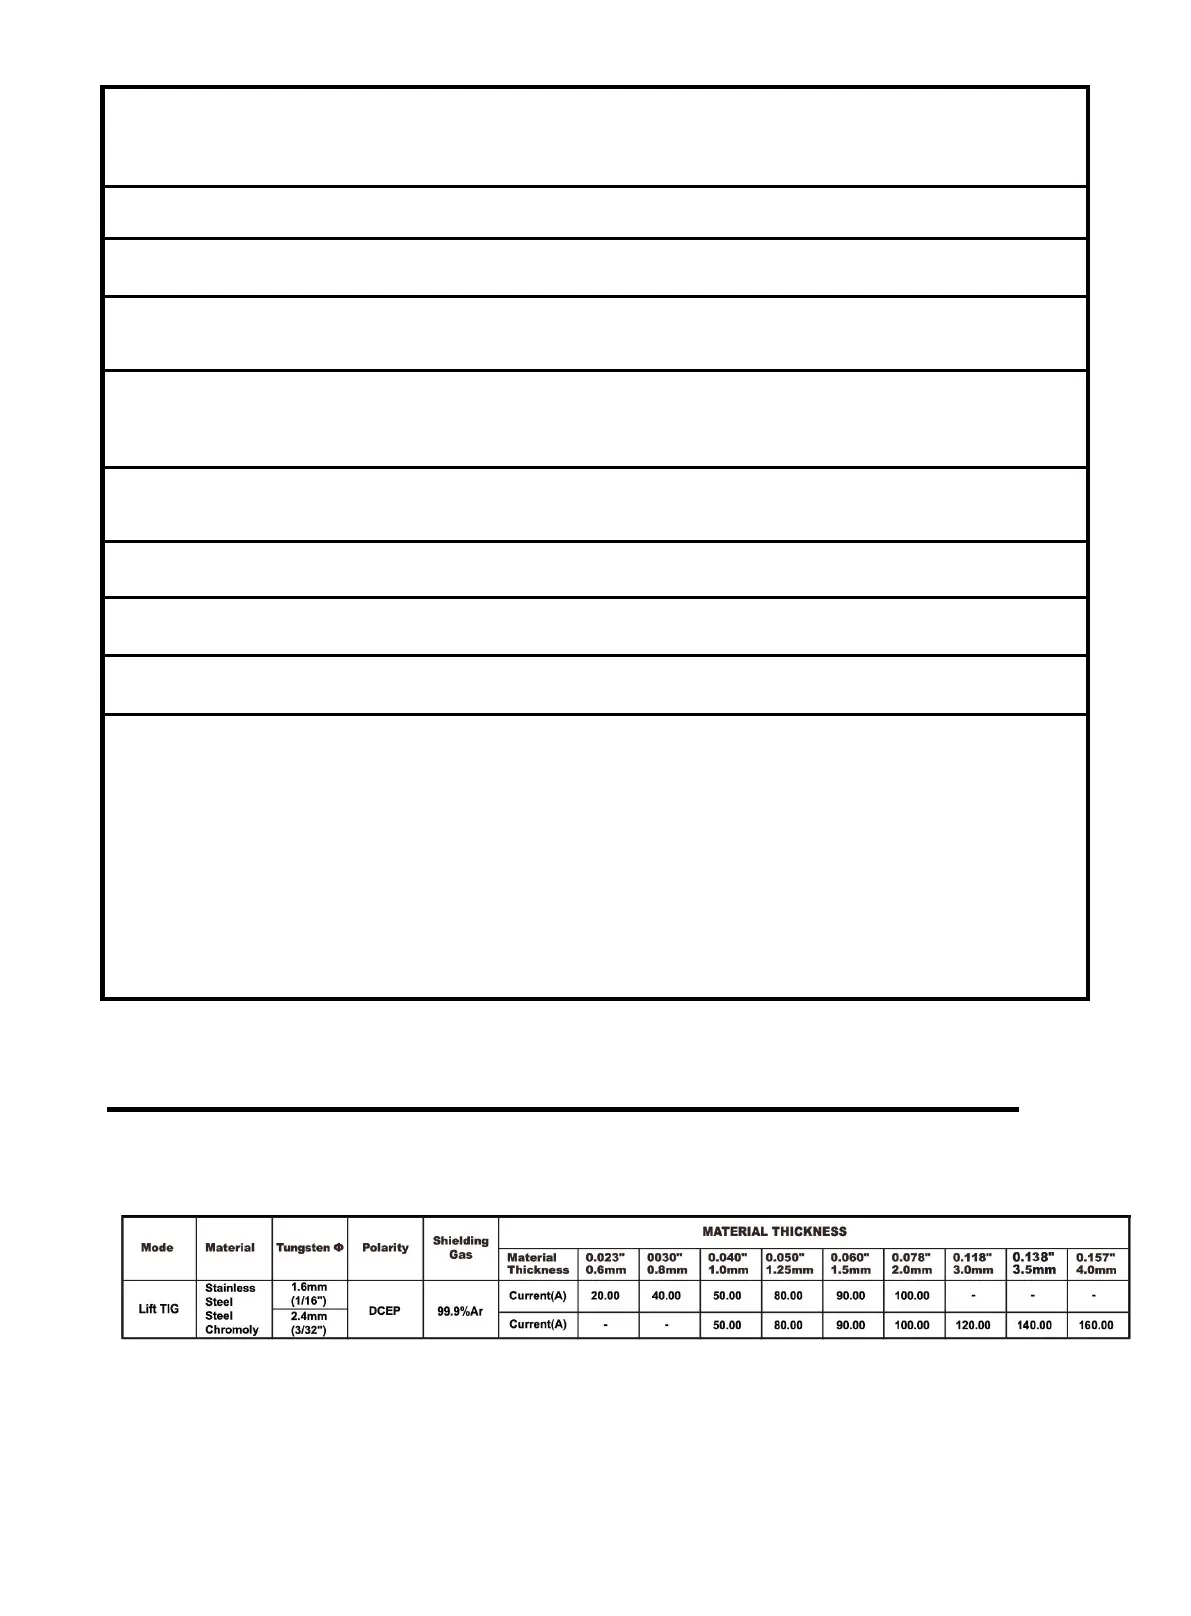
7.6 Lift TIG Welding parameters table
Following table is suitable for stainless steel welding. For other materials, consult
related materials and welding process for reference.
https://www.arccaptain.com/