Background parameters
initialization
Restore factory default
(Select “1” to restore factory default)
Current value when tungsten and
workpiece are shorted at Lift TIG
10. INSTALLATION, DEBUGGING AND OPERATION
Note: Please install the machine according to the following steps.
Turn off the power switch of distribution box before any electric connection.
The enclosure class of this machine is IP21S, so do not use it in rain.
10.1 Installation and operation for MMA welding
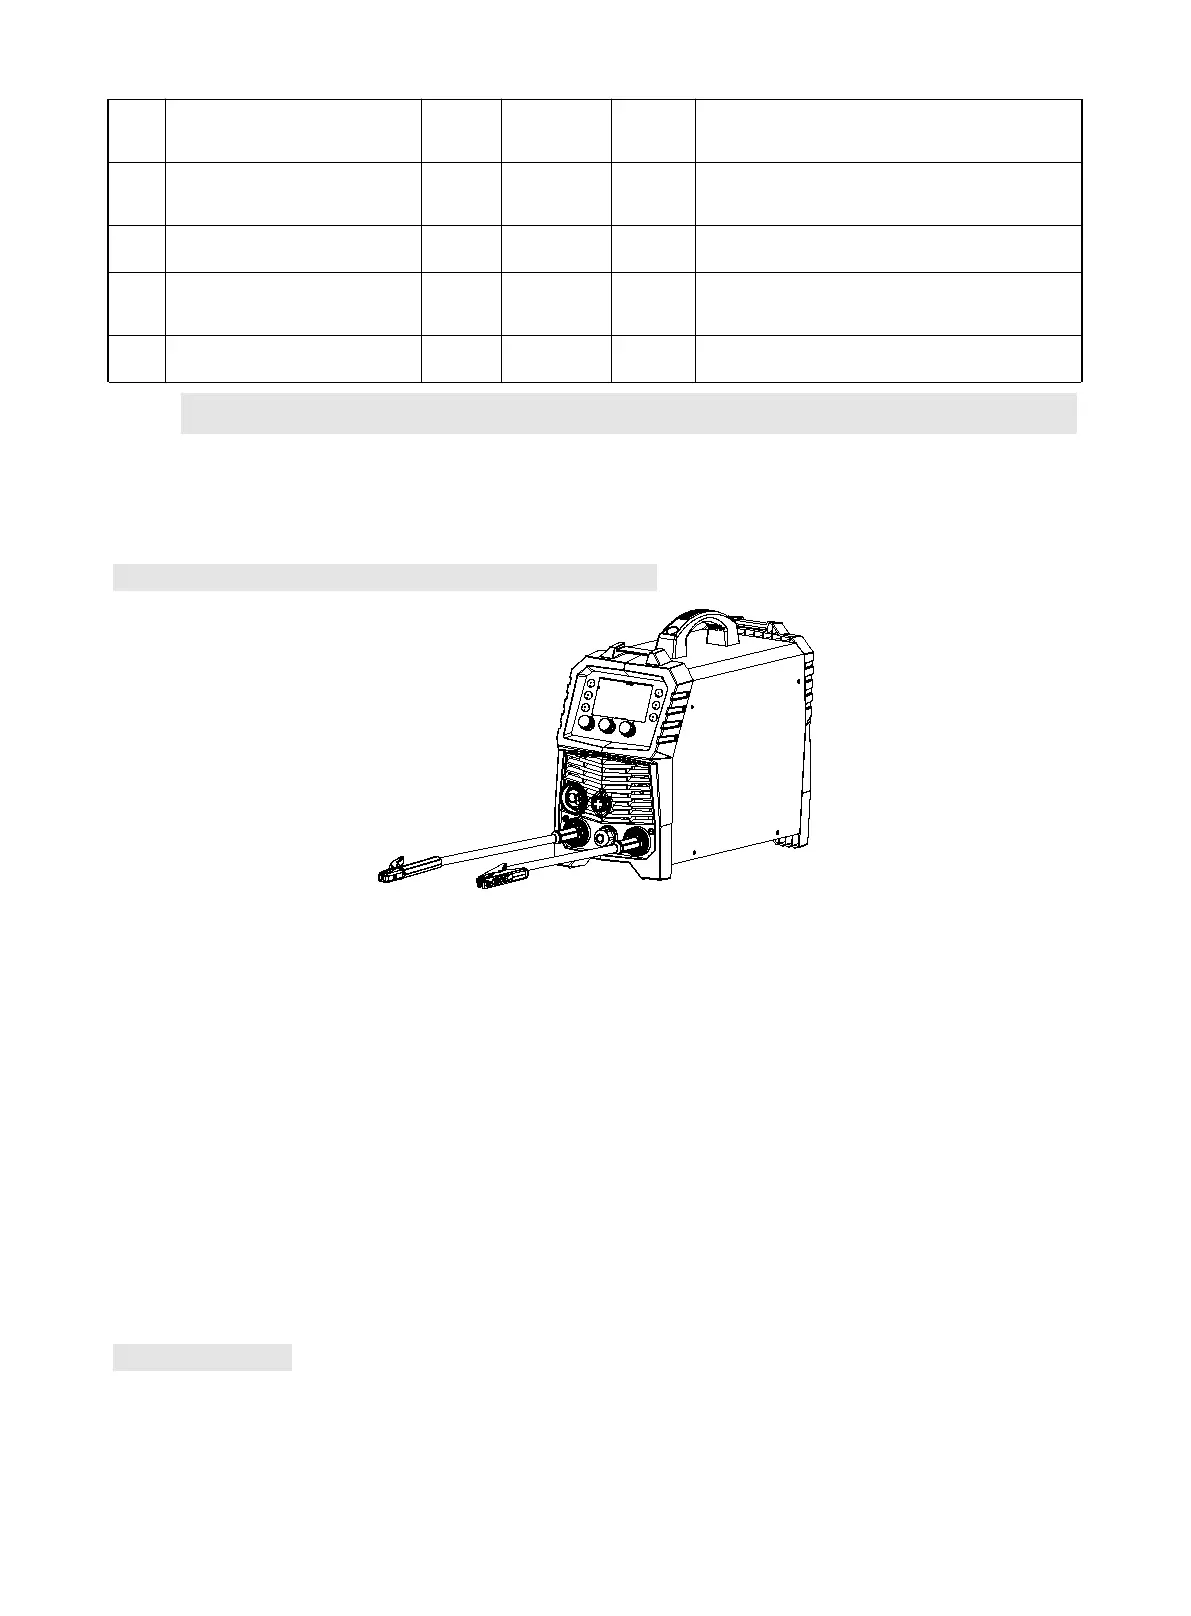
Sketch map of MMA Welding
1) A primary power supply cable is available for a welding machine. Well connect the primary cable to
the according voltage level based on input voltage of the machine.
2) The primary cable should be tightly connected to the according power line terminal or socket to avoid
oxidization.
3) Check whether the voltage value varies in acceptable range with a multi-meter.
4) Insert the cable plug with electrode holder into the “+” socket on the front panel of the welding
machine, and tighten it clockwise.
5) Insert the cable plug with earth clamp into the “-” socket on the front panel of the welding machine,
and tighten it clockwise.
6) Ground connection is needed for safety purpose.
10.2 Operation
1) After being installed according to the above method, and the power switch being switched on, the
machine is started with the power LED on and the fan working.
2) Pay attention to the polarity when connecting. There are two ways of wiring on DC welder: DCNP and