12
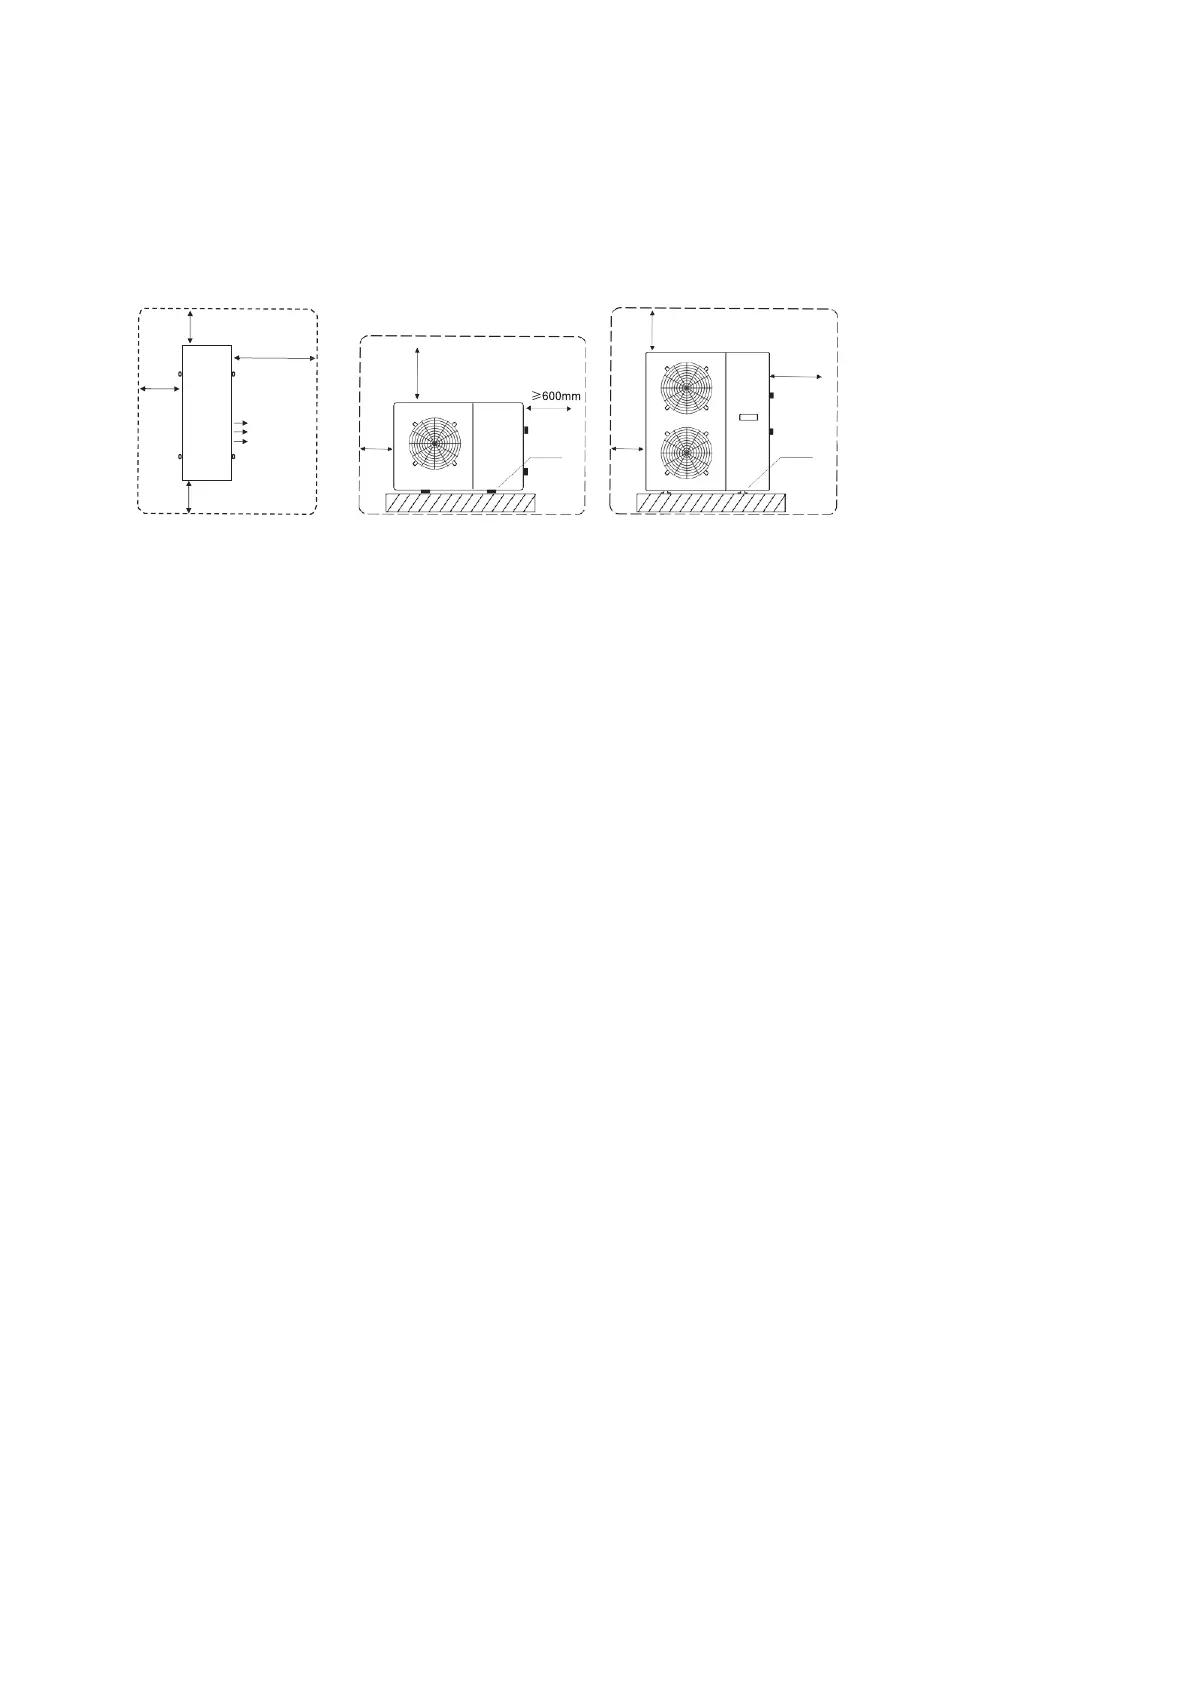
Installation Space Requirements:
Buffer Tank Installation
Site Selection
• The Buffer tank should be installed indoors
• When there is a chance of freezing, glycol/water mixture should be used in the buffer tank.
• The buffer tanks should be installed on a concrete pad and comply with local codes, so the tanks remain
upright and stable.
• Some building codes require seismic restraint. Consider restraining the buffer tanks with stainless steel bands.
• Ensure the specification label is visible.
• A pressure limiting valve (pressure release valve) must be fitted with buffer tanks, consult local building
codes.
• A pressure and temperature relief valve must be supplied with the domestic hot water tank, consult local
building codes
• A tempering (mixing?) valve for hot water supply to bathrooms may be required by some local codes
• A drain must be included to allow full and complete draining of the tank.
• It is recommended that the hot water outlet pipes are fully insulated with weather proof insulation such
as Armaflex or equivalent, to prevent heat loss externally
• The hot water outlet pipes should be angled down by 15 deg C minimum for the first 250mm (10 inches)
after exiting from the hot water storage or buffer tanks. This will create a heat trap that will avoid any
thermal siphoning from the tanks.
• Fill the storage and buffer tanks by opening the pressure release or air release valve on top of tank to
release buildup of air pressure in the tank as fluid volume enters tank. Check all pipes for any signs of leaks.
Power should not be turned on until the tanks are completely filled with water.