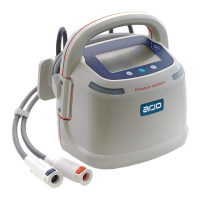
Figure 30
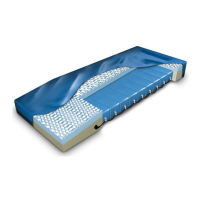
Figure 31
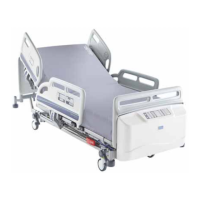
Figure 32
ASSEMBLE THE AURALIS SYSTEM
27
5. Zip the cover onto the Auralis mattress overlay,
start from the head end. Do not trap any material
in the zip. Make sure the zip is fully closed.
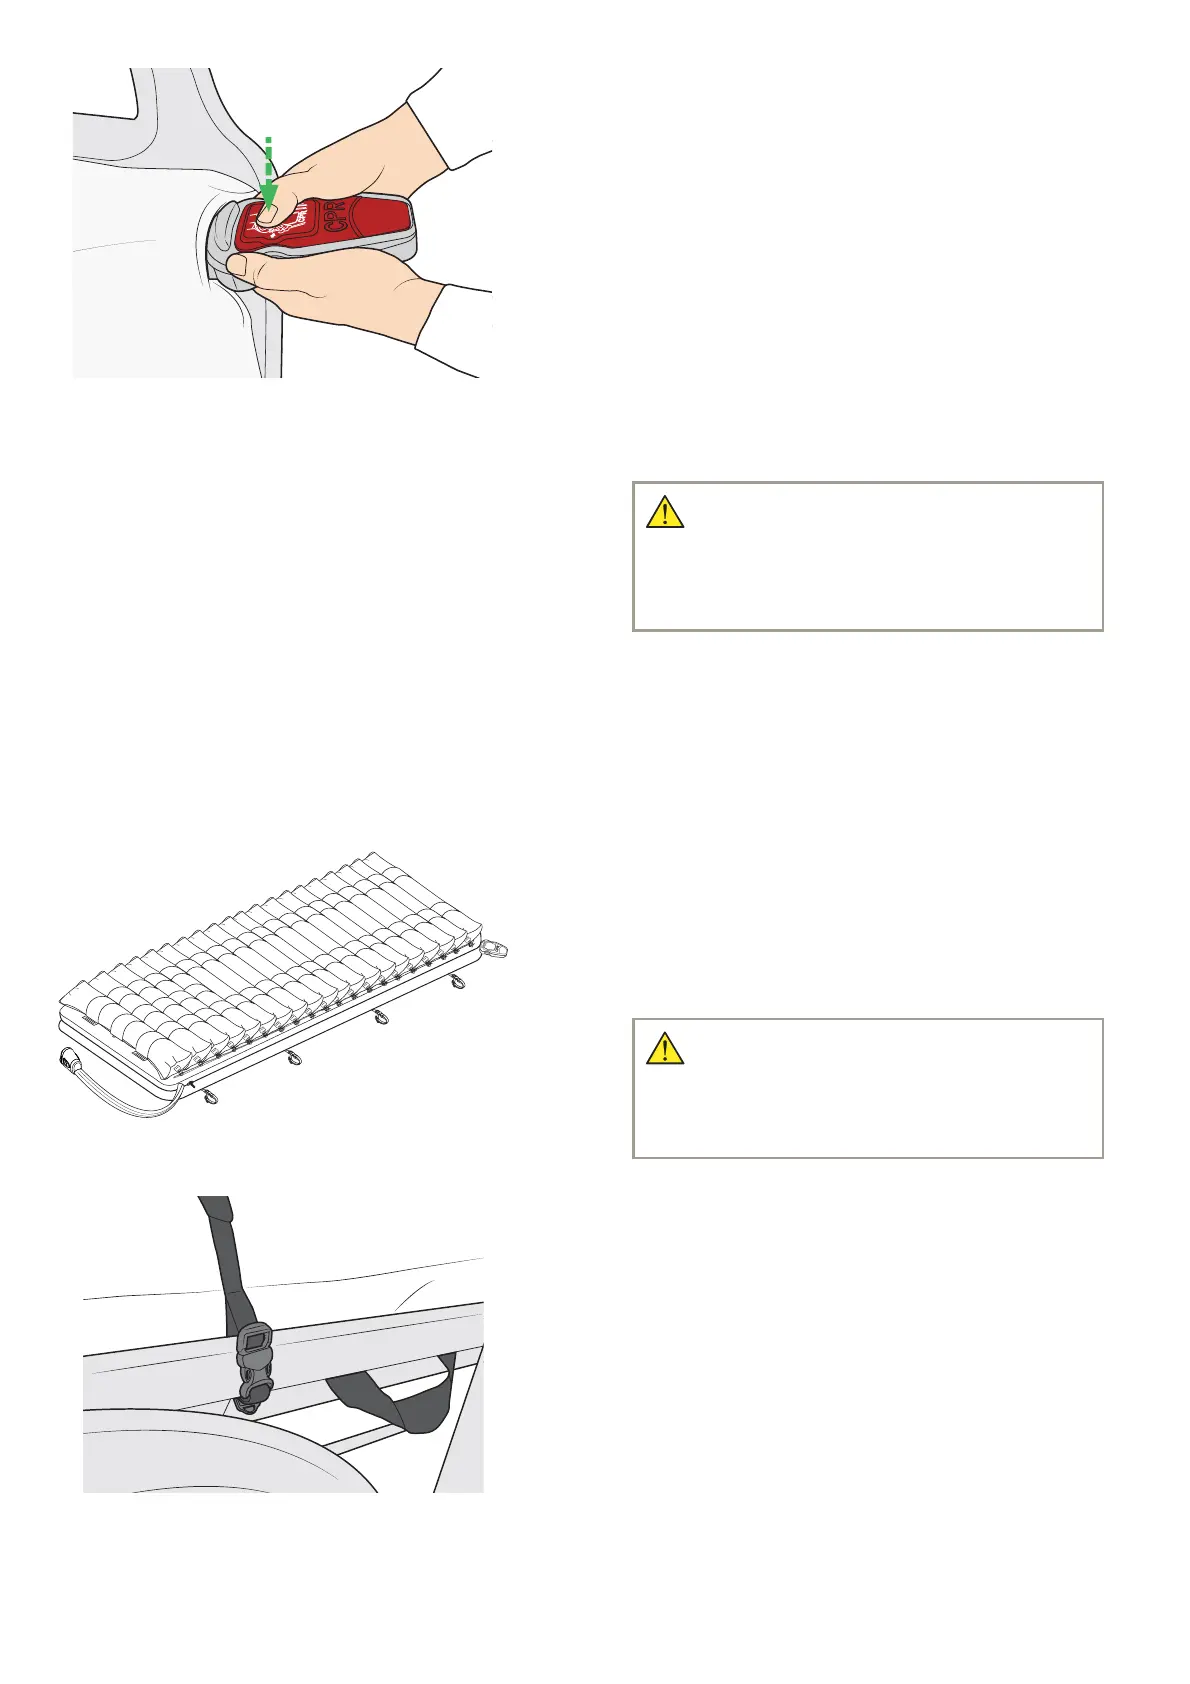
6. 0DNHVXUHWKDWWKH&35UDSLGGHÀDWLRQXQLWLVLQ
closed position. (See Figure 30.) The CPR rapid
GHÀDWLRQXQLWPXVWEHDFFHVVLEOHDWDOOWLPHV
Auralis 175, 200 and Plus mattress
replacement
(9 steps + 2 steps for Auralis Plus only)
1. Remove any existing mattress from the bed frame.
2. Check that there are no protruding sharp objects
on the bed frame surface.
3.
Select the correct Auralis mattress replacement
size for the bed. Make sure there are no gaps to
entrap a patient’s head or body. For mattress
VL]HVVHHVHFWLRQ³$XUDOLVPDWWUHVVHVDQGVHDW
FXVKLRQPHDVXUHPHQWV´RQSDJH
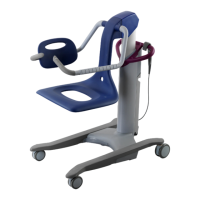
4. Position the Auralis mattress replacement on the
bed frame. Make sure that:
• WKH&35UDSLGGHÀDWLRQXQLWLVORFDWHGDWWKH
he
ad end
• check that the tube-set is positioned correctly
• the mattress cells are facing up.
See Figure 31
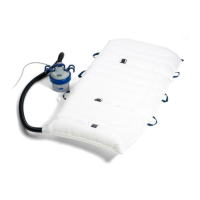
5.
Secure the Auralis mattress replacement by
attaching the eight securing straps to the bed
frame. See Figure 32
If the bed can be raised or lowered, attach the
Auralis mattress replacement to the movable parts
of the bed only.
6. $WWDFKWKHWKUHH¿[HGVHFXULQJVWUDSVDWWKHKHDG
end (Auralis Plus only).
Continue with steps on the next page.
WARNING
To avoid death or serious injury by
entrapment, always select the correct
Auralis mattress size for the bed.
WARNING
To avoid falling, make sure the Auralis
mattress is secured to the bed.