15A3356O 4
2.3 Cabling Procedures
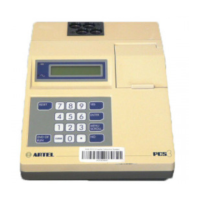
2.3.1 Connecting the Instrument to Power
The Instrument requires a three-prong electrical receptacle
supplying single-phase power from 100-250 VAC, 50/60 Hz in
which to plug the Power Supply. The same power source should be
used for the Instrument and the Printer. This power line should be
free from transients or voltage variations caused by other
equipment such as water baths or refrigerators.
Make sure that the Instrument Power Switch is off. Plug one end of
the Power Cord into the Power Supply and the other end of the
Power Cord into a grounded AC outlet. Insert the remaining plug
into the power receptacle found at the rear of the Instrument.
IMPORTANT Ensure that all above connections are firmly in place.
2.3.2 Connecting the Seiko Printer to Power
NOTE: If the STAR Dot Matrix Printer is being used, please refer to the STAR Printer
User’s Manual for printer connection and operation.
Plug the Printer AC adapter into an appropriate receptacle.
Plug the remaining end of the adapter into the power receptacle
located at the rear of the Printer.
2.3.3 Connecting the Printer to the Instrument
Make sure the Instrument and Printer are turned off. Plug one end
of the Printer cable into the Printer and the other into the
Instrument.
IMPORTANT When the Instrument and Printer are connected, the Instrument must be powered on to
operate the Printer.
2.4 Seiko Printer
2.4.1 Controls and Indicators:
Power Switch. When slid to the ON position, power is supplied to
the Printer and the POWER and ON LINE indicators illuminate.
When there is no paper loaded, the OFF LINE indicator flashes.