Rubber Track Loader
5. Operator Enclosure Disassembly and Assembly
5-4
Console Gauge/Warning Panel
Removal and Installation
The tools required for console gauge/warning panel
removal and installation are listed in Table 5-3. Use
manufacturer-recommended tools whenever possi-
ble.
Table 5-3
Required Tools
Combination wrench
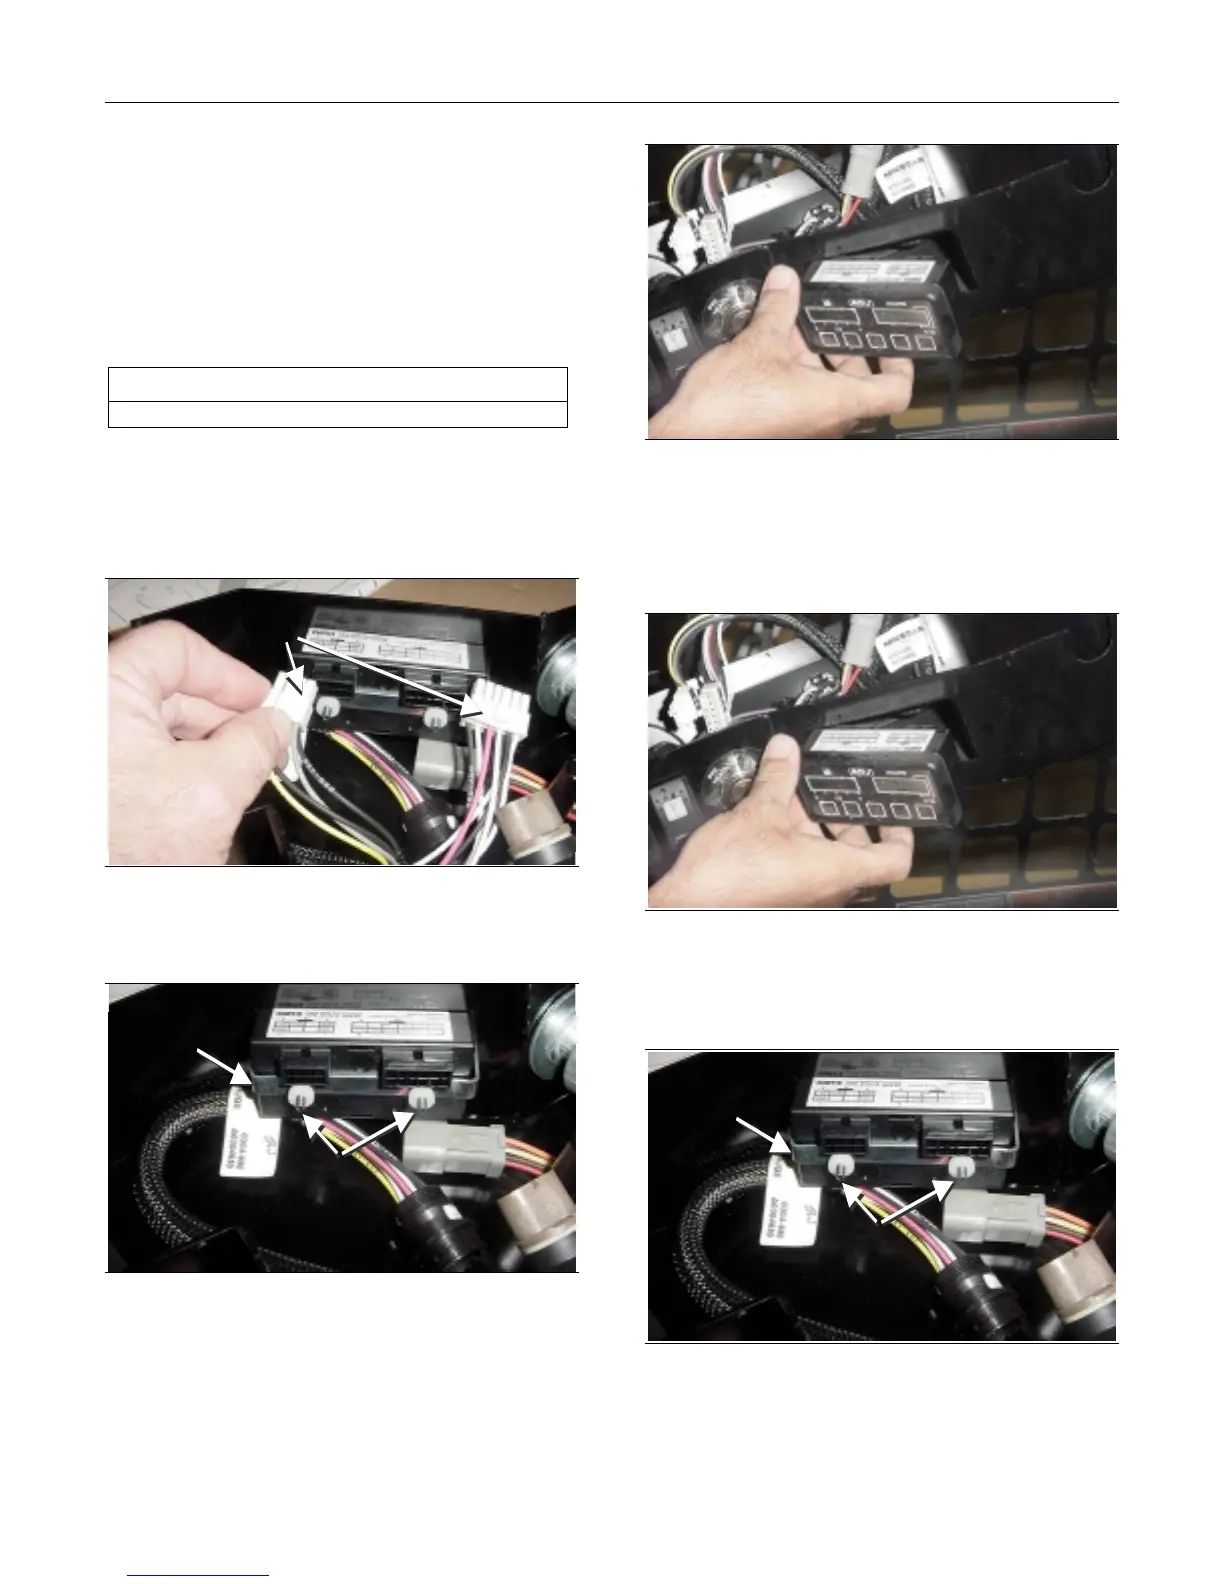
Console Gauge Removal
1. Lower the light bar. Refer to Chapter 5. Light Bar
Removal procedure.
Remove
Connectors
Figure 5-12
2. Remove the connectors from the console gauge.
Remove
Nuts
Retaining
Clip
Figure 5-13
3. Remove the two nuts that secure the console
gauge to the retaining clip.
Figure 5-14
4. Pull the console gauge out from the front of the
dash panel.
Console Gauge Installation
Figure 5-15
1. Insert the console gauge from the front of the
dash panel.
Install
Nuts
Retaining
Clip
Figure 5-16
2. Install the two nuts that secure the console
gauge to the retaining clip.

 Loading...