24
Installation
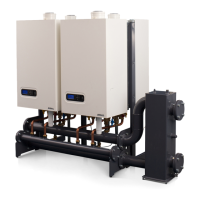
Connecting the boiler
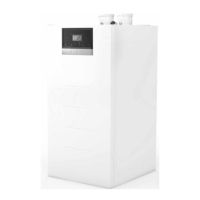
1-2. Keep the cap on the connections
WKDWDUHQRWXVHGRQWKHÀRZDQG
return headers:
Flow and return: 2" blind cap with
gasket (2 items/boiler).
Gas: 1 ¼" blind cap with gasket
(1 item/boiler).
For connections, use the supplied
gaskets. Check all connections for
leakage and gas-tightness.
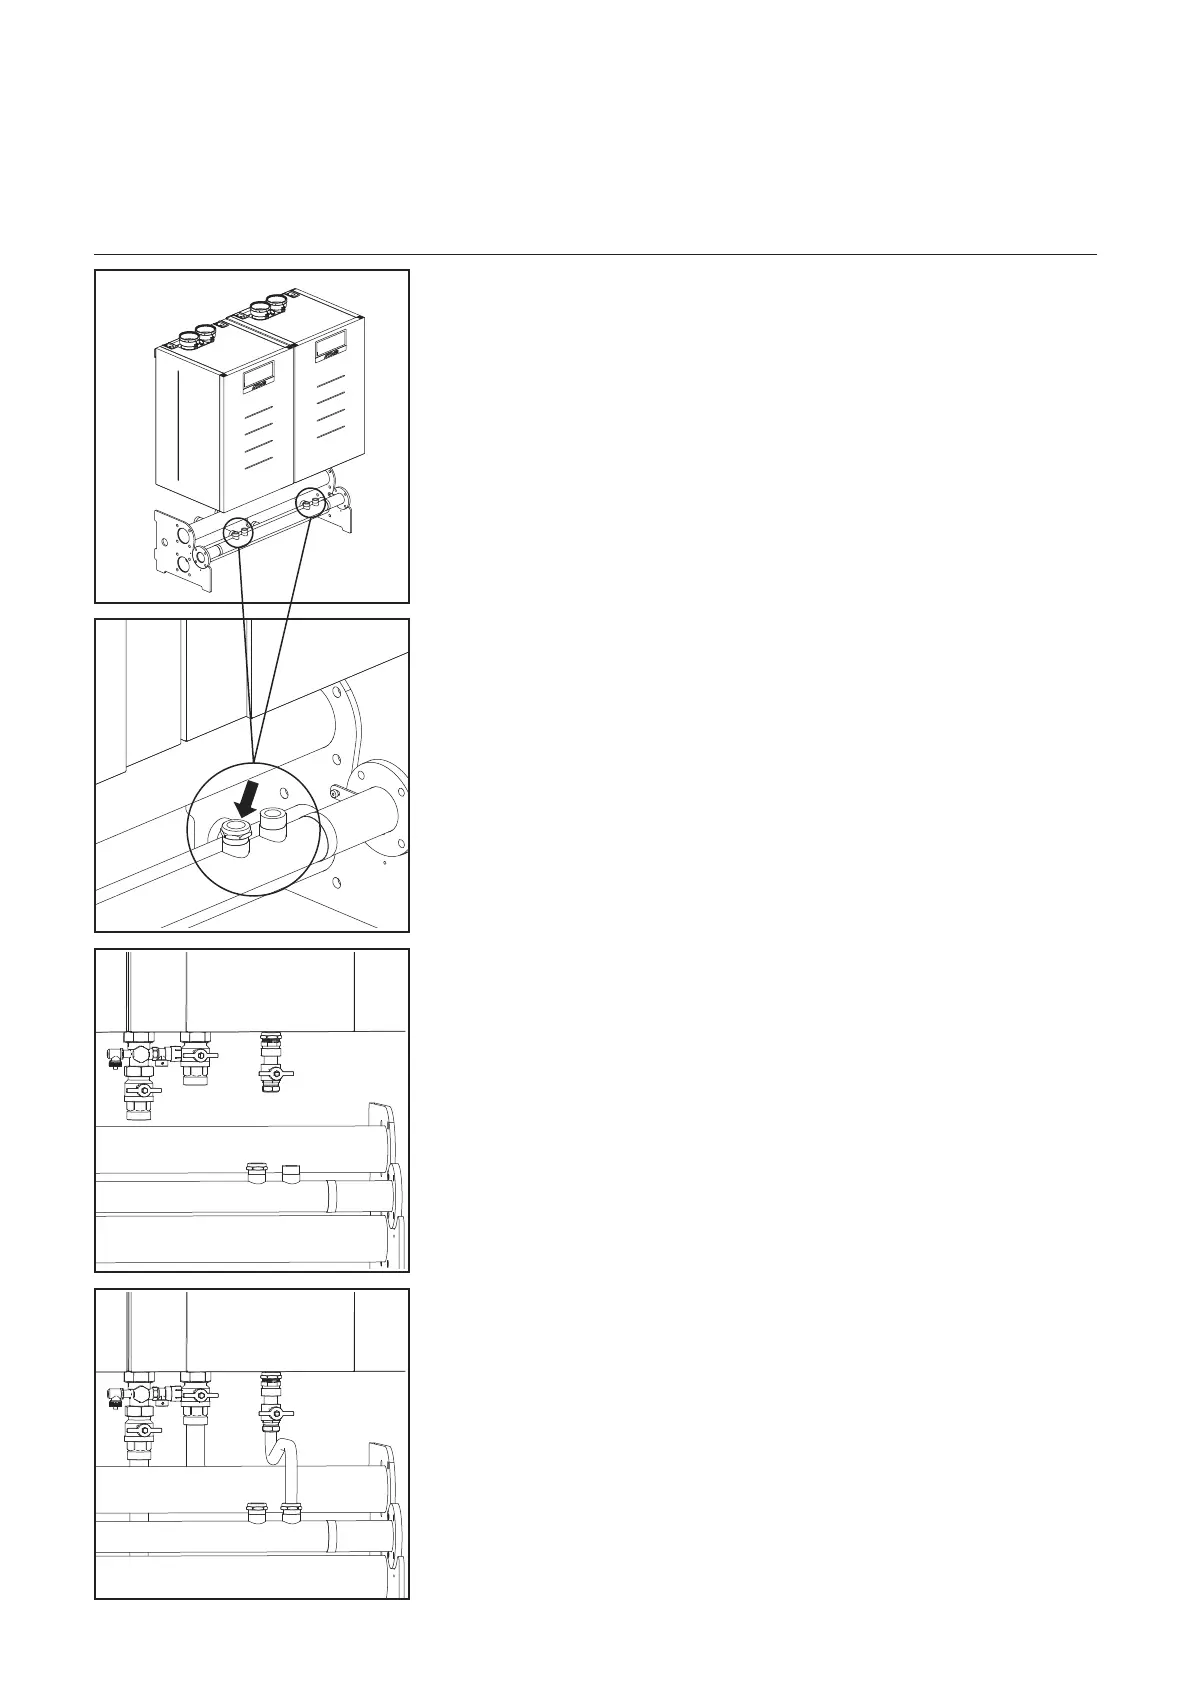
3. Connecting the isolation valves to
the boiler:
)ORZÀDWFRXSOLQJLVRODWLRQYDOYH
with red handle.
5HWXUQÀDWFRXSOLQJ¿WWLQJFURVV
XQLRQZLWK¿OOGUDLQYDOYHDQG
isolation valve with blue handle.
The boiler is supplied with a 3 and
6 bar safety valve.
$7$*UHFRPPHQGV¿WWLQJWKH
bar safety valve due to the control
VHWWLQJVVKXWWLQJWKHERLOHURႇDW
6 bar.
Gas: 1¼" gas isolation valve.
Dirty test water may be released
when removing the plastic caps
RQWKHERLOHUÀRZDQGUHWXUQ
)RUFRQQHFWLRQVXVHWKH
supplied gaskets. Check all
connections for leakage and
gas-tightness.
&RQQHFWWKHYDOYHVWRWKHÀRZDQG
return headers:
Flow: 45mm pipe pieces with
ÀDWFRXSOLQJ
Return: 45mm pipe pieces with
ÀDWFRXSOLQJ
*DVPPSLSHSLHFHZLWKóÀDW
DQGPPFRPSUHVVLRQ¿WWLQJ
)RUFRQQHFWLRQVXVHWKH
supplied gaskets. Check all
connections for leakage and
gas-tightness.
1
2
3
4
 Loading...