Installing a Second Module
Tab
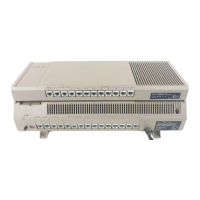
You can install either a 206 or 200 module as the second
module, using the following steps.
IMPORTANT:
If you are adding a Release 3 206 module to an existing
system, you must install it as the first module in order to
have access to Release 3 system features.
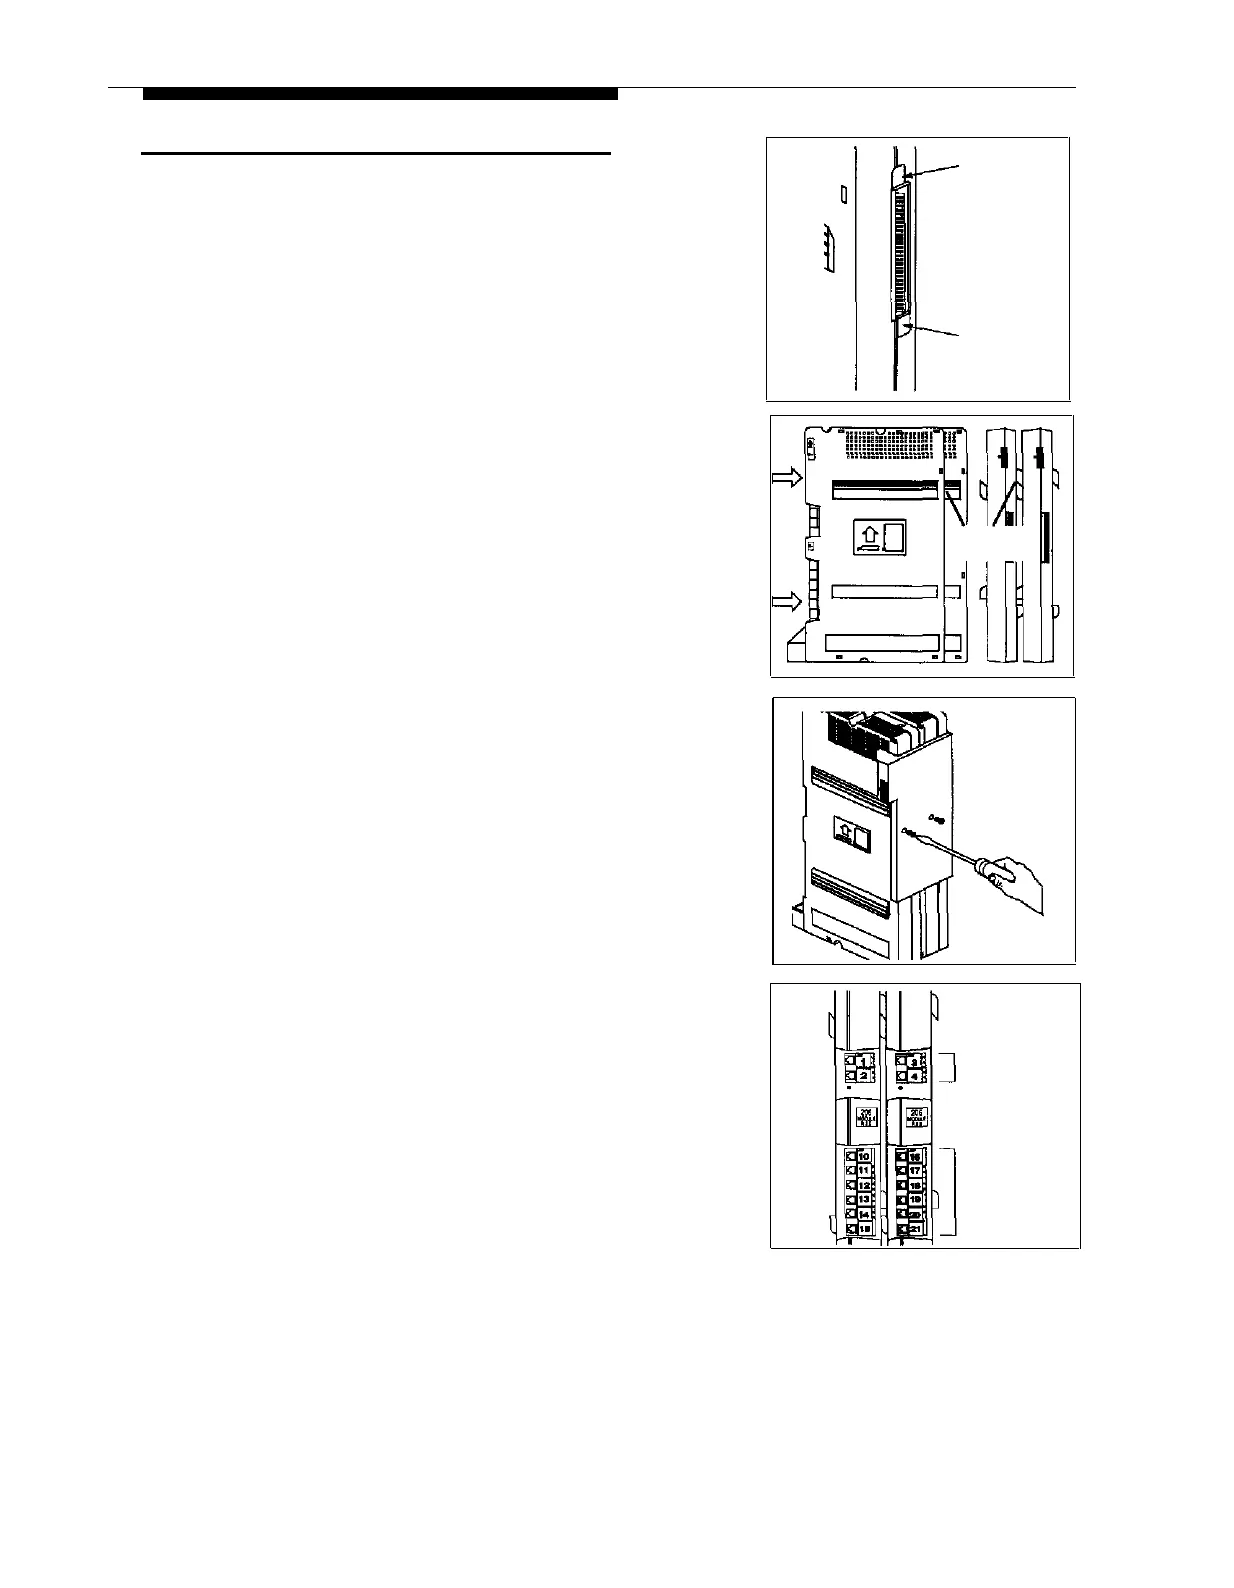
1
Remove the plastic protector (if present) from the
Tab
connector on the right side of the mounted 206 module:
grasp the tabs on the ends of the protector and lift.
2
Slide the second module onto the first module, making
sure the upper pairs of mounting tracks interlock, as
shown in the side view.
Mounting
Tracks
3
A)
B)
Attach the module connector to the top right side
of the two modules by aligning the connector
carefully and then pushing firmly until the
connector snaps into place.
Fasten the connector to the modules using two
of the self-tapping screws included with the
connector. (If lost, these screws are #4
panhead, sheet metal screws, 9/16" (1.4 cm.)
long.)
4
Label the line and extensions jacks as shown. (If your
second module is a 200 module, you will have lines 1–4
but only extensions 10–15.)
Lines
Extensions
Installation
C-9
 Loading...