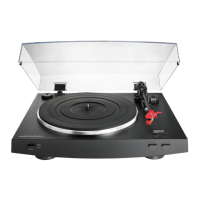
Installing a new replacement stylus
1. Mount the new replacement stylus to the cartridge.
2. Mount the headshell onto the tonearm.
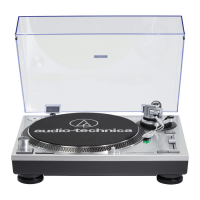
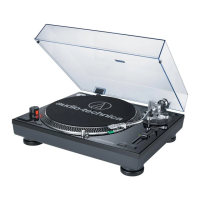
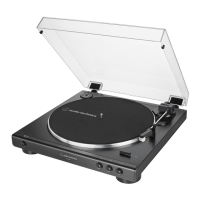
Replacing a cartridge
Refer to the user manual for the cartridge that you will be using if you are replacing the cartridge (AT-XP5) included with this product with another, commercially available cartridge. After you
replace the old cartridge with a new one, you must readjust the overhang and the tonearm’s balance and tracking force.
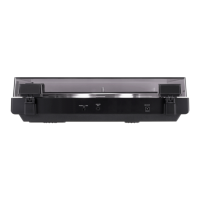
1. Release the headshell from the tonearm.
• Use the clamp to secure the tonearm and then remove the headshell gently.
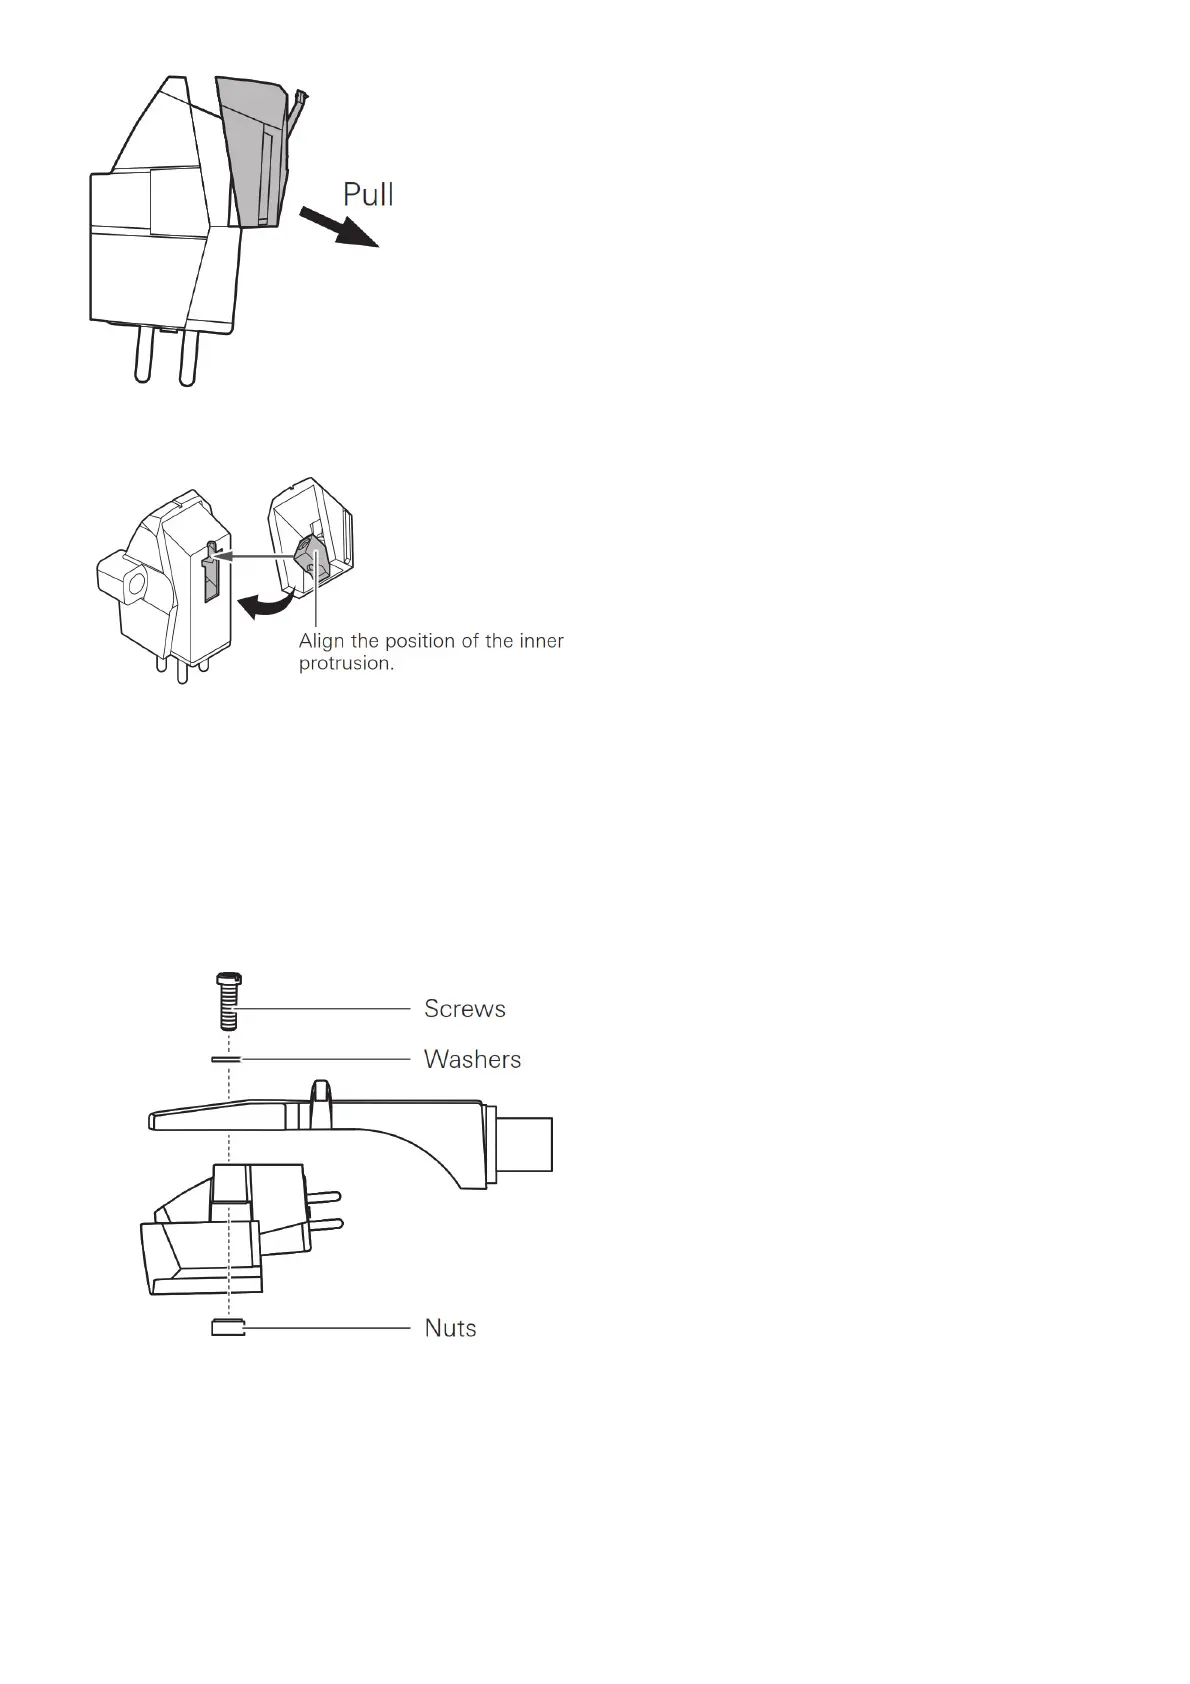
2. Remove the stylus from the cartridge.
• Refer to “Removing the stylus” on p. 11 (this page).
3. Remove the lead tips.
• Be careful not to damage the lead tips.
4. Using a commercially sold, non-magnetic slotted screwdriver, remove the installation screws, and then remove the cartridge from the headshell.
5. Refer to the user manual for the new cartridge for mounting instructions and connecting to the lead tips.
6. Using a commercially sold, non-magnetic slotted screwdriver, tighten the screws in both places, and then adjust the overhang.
• After the adjustments are complete, tighten the screws securely.
7. Attach the headshell to the tonearm.
8. Adjust the tonearm’s height.
• Refer to “Adjusting the tonearm’s height” on p. 12 while doing the adjustments.
9. Adjust the tonearm balance and tracking force.
• Refer to “Setting tonearm balance” and “Setting tracking force” on p. 7.
Adjusting the tonearm’s height
When installing a cartridge other than the one provided, you must maintain a suitable distance between the cartridge and the surface of the record. Place the stylus on the record and
confirm that the tonearm is parallel to the record’s surface. If it is not parallel, adjust the height of the tonearm.
1. Rotate the tonearm height lock to loosen the tonearm’s anchor.

 Loading...