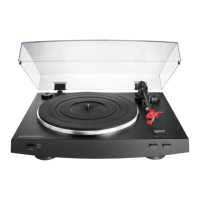
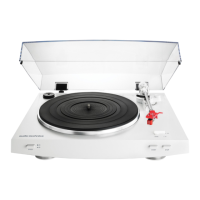
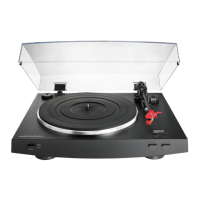
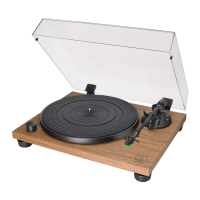
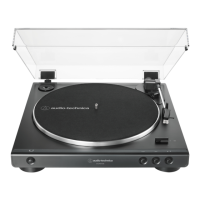
21. Counterweight
Balances the tonearm and provides adjustment for proper downward tracking force on the stylus.
22. Tracking force gauge ring
Use to adjust the tracking force.
23. Tonearm height lock
Locks the tonearm height setting.
• Always fully unlock before attempting to make a height adjustment.
24. Anti-skate control dial
While the record is playing, a force acts on the stylus tip to pull it inward.
This force can be counteracted by setting the same values for the anti-skate and the tracking force.
25. Tonearm lift control lever
Controls action of tonearm lift.
• Lift mechanism is hydraulically damped to slow tonearm descent.
26. Tonearm rest with clamp
Use the clamp to secure the tonearm so that it does not move.
27. Tonearm lift
Moves the tonearm vertically to and from the face of the record.
28. Tonearm height adjustment dial
Raises and lowers the tonearm to allow it to remain parallel to the record surface.
29. Locking ring
Rotate the ring to the left (counterclockwise) to secure the headshell. To remove the headshell, rotate the ring to the right.
30. Headshell
The cartridge (AT-XP5) is attached to the headshell (AT-HS1).
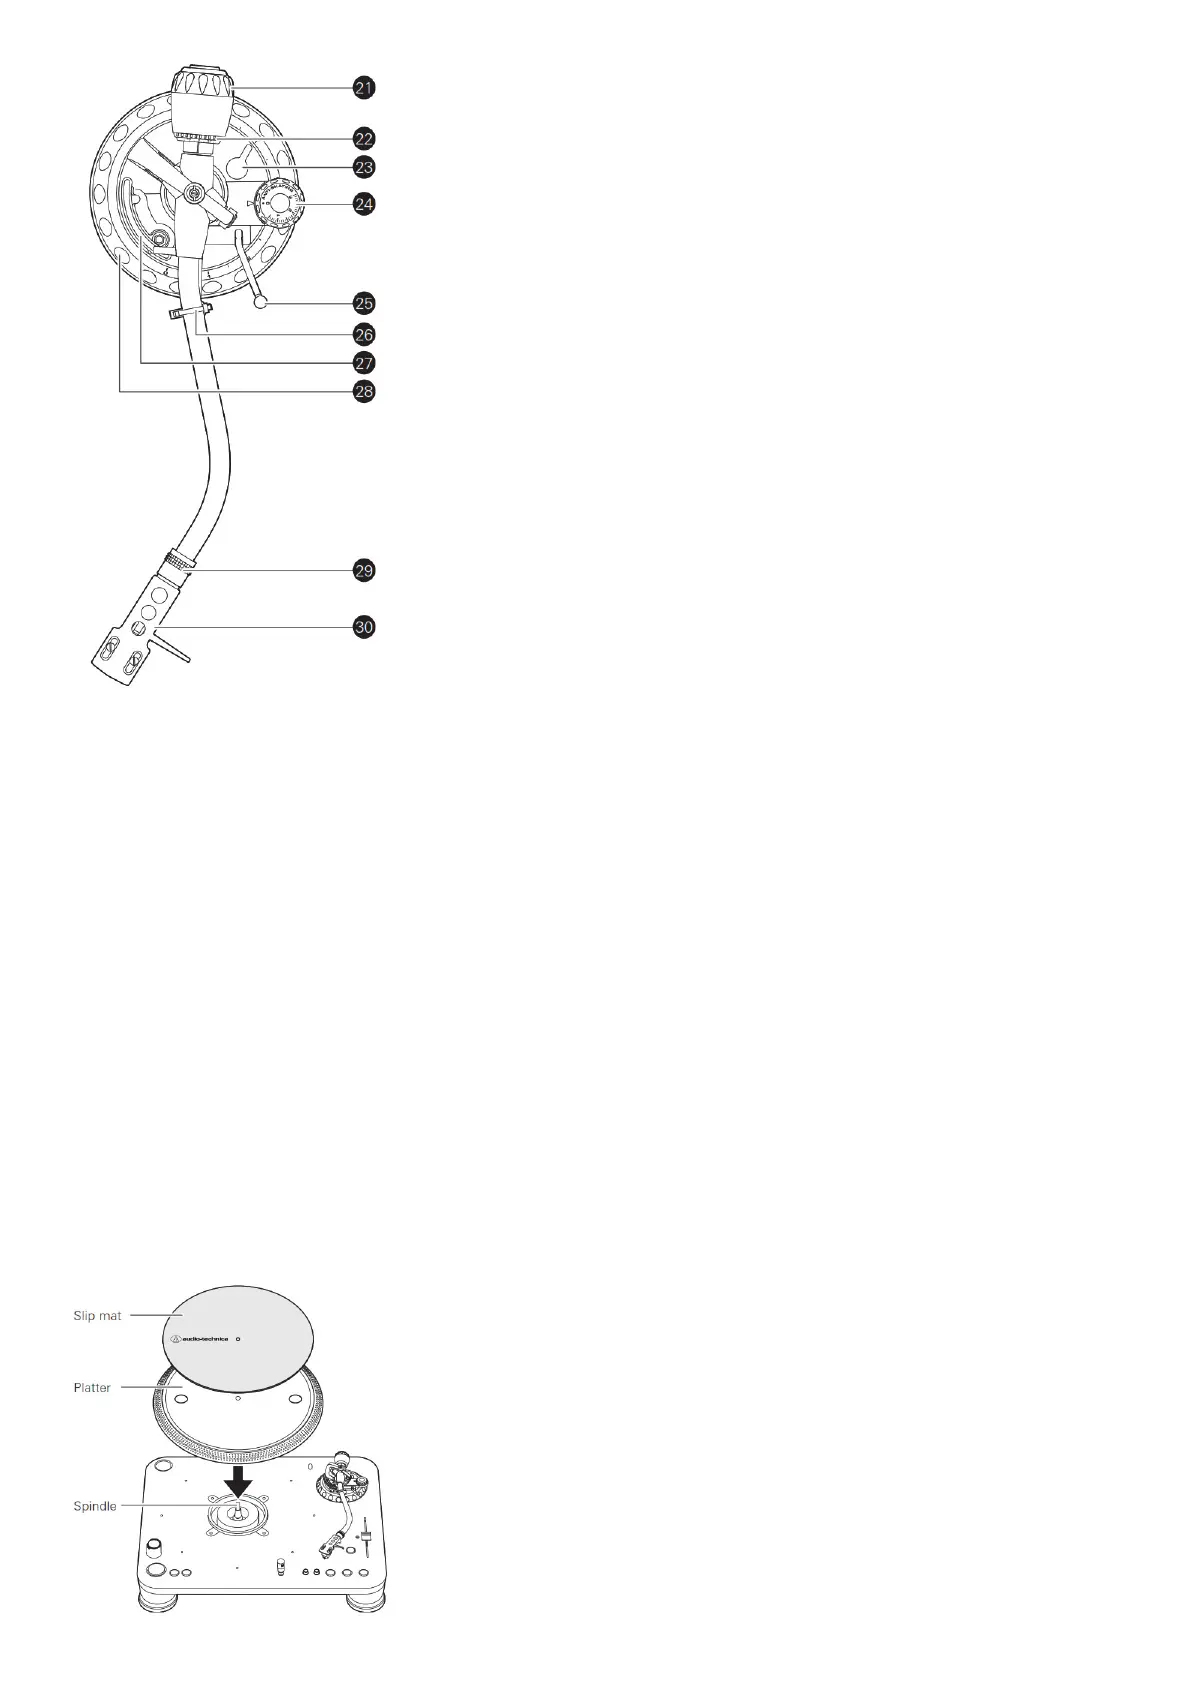
Preparation for use
Placing the platter
This product requires some assembly before using it for the first time.
Do not connect the power cable until assembly is complete.
1. Set the platter on the spindle.
• To avoid damaging the spindle when seating the platter, align the positions of the spindle and the platter’s hole, and then slowly seat the platter.
• Make certain that the platter is fully seated on the spindle.
2. Place the slip mat on top of the platter.
Setting up the turntable

 Loading...