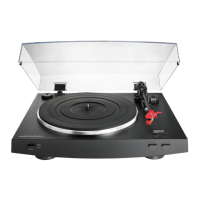
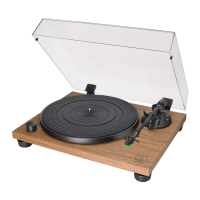
The product should be positioned on a flat, level surface.
Cartridge
Attach the protector to protect the stylus when the product is not in
use.
Do not touch the stylus of the cartridge with your finger.
Do not allow the cartridge’s stylus to bump against the platter or the edge of the record.
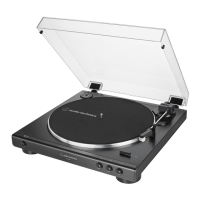
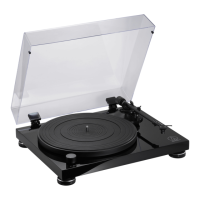
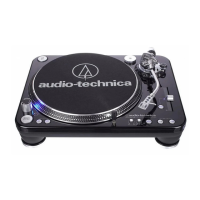
Part names and functions
Overall diagram
1. Power dial
Controls power to the unit.
2. Dual start/stop buttons
Engages and disengages the motor/platter.
3. Platter speed buttons
Select 33 or 45 RPM platter speed. 78 RPM is selected by pressing both the 33 and 45 buttons simultaneously; both buttons should be illuminated.
4. Platter
Cast aluminum platter mounts directly to center spindle/motor shaft.
5. Strobe dots (on platter edge)
Operate in conjunction with stroboscopic light located under the power dial to provide a visual indication of accurate platter speeds.
6. Spindle
7. The removable stylus target light
Provides illumination directed at the stylus position for easier cueing in low light. Easily plugs into a jack on top of turntable deck.
8. Start control knob
Rotate the start control knob to increase or decrease the platter start time between 0.2 – 6.0 seconds. (Minimum setting is the quickest start; the maximum setting is the slowest start to
reach selected speed.)
9. Brake control knob
Rotate the brake control knob to increase or decrease platter brake time between 0.2 – 6.0 seconds. (Minimum setting is the quickest stop; maximum setting is slowest.)
10. Reverse control button
Controls the platter’s rotational direction.
11. Speed range button
Select +/- 10 or 20% speed range.
• +/-50% is selected by pressing both the 10 and 20 buttons simultaneously.
12. Quartz button
Turns the pitch function on and off. When the quartz is activated the platter will hold the RPMs at 0% pitch, regardless of the pitch slider position and speed range control settings.
13. Pitch adjust slide control
Use in conjunction with the pitch button to vary the platter’s rotational speed. In the center detent, position quartz lock is active.
14. 45-RPM adapter
Adapt 7″ records with large center holes to the fixed center spindle
15. Feet
Adjust the level of the product.
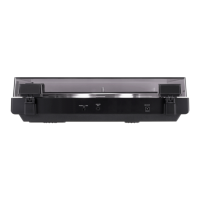
16. Stereo output terminals
Connect the RCA audio cable. Connect it to either the amplifier’s (DJ mixer’s) PHONO input jack or its line input jack. The red terminal is the right channel and the white terminal is the
left channel.
17. Ground (earth) terminal
Connect the amplifier’s ground (earth) terminal to this terminal using the RCA audio cable’s ground line.
18. Pre-amplifier selector switch
If connecting to an amplifier’s (DJ mixer’s) PHONO input jack, set this switch to the PHONO position. If connecting to the LINE/AUX jack of an amplifier (DJ mixer), set this switch to the
LINE position.
19. USB output
Use this output to connect your turntable to the USB input of your computer.
20. AC inlet
Use to connect the included power cable.
Part names and functions
Tonearm
 Loading...