page 2 – 7
R-55e / July 2004
QUAD MIC PREAMP
Installing the Optional Second QMP-4 Mic Preamp
The optional second QMP-4 comes complete with mounting hardware.
The ribbon cable, installed at the factory to provide power to the pre-installed
QMP-4 card, also includes a second plug (“Connector” on the picture above)
for connecting the optional QMP-4 card. Handle the 10-pin plug on the ribbon
cable assembly with care. Perform the following steps to install the QMP-4:
• turn off the power to the console;
• swing the meterbridge up and back until it rests in a fully opened position;
• plug in the ribbon cable connector to the 10-pin boxed header on the
QMP-4 board (CT7);
• attach the QMP-4 preamp assembly directly to the right of the factory
installed preamp (located at the lefthand end of the meterbridge), using four
type 4-40x1/4 pan head screws and four nylon standoffs through the four
predrilled holes on the meterbridge rear (“Optional QMP-4 Area” on the
picture above); orient it to match the factory installed QMP-4;
• connect the required audio wiring to the 12-pin plug terminals on the
QMP-4 card, referring to the “Hook-Ups” chart (see pages 2-3 - 2-5);
• close the meterbridge.
This completes the optional QMP-4 installation procedure.
NOTE: There is not enough room for an optional QMP-4 Mic Preamp in
the 8 input 12-position frame.
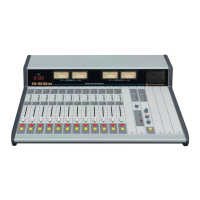
Connector
Optional
QMP-4 Area
R-55e / May 2008