Installation
10 | P a g e
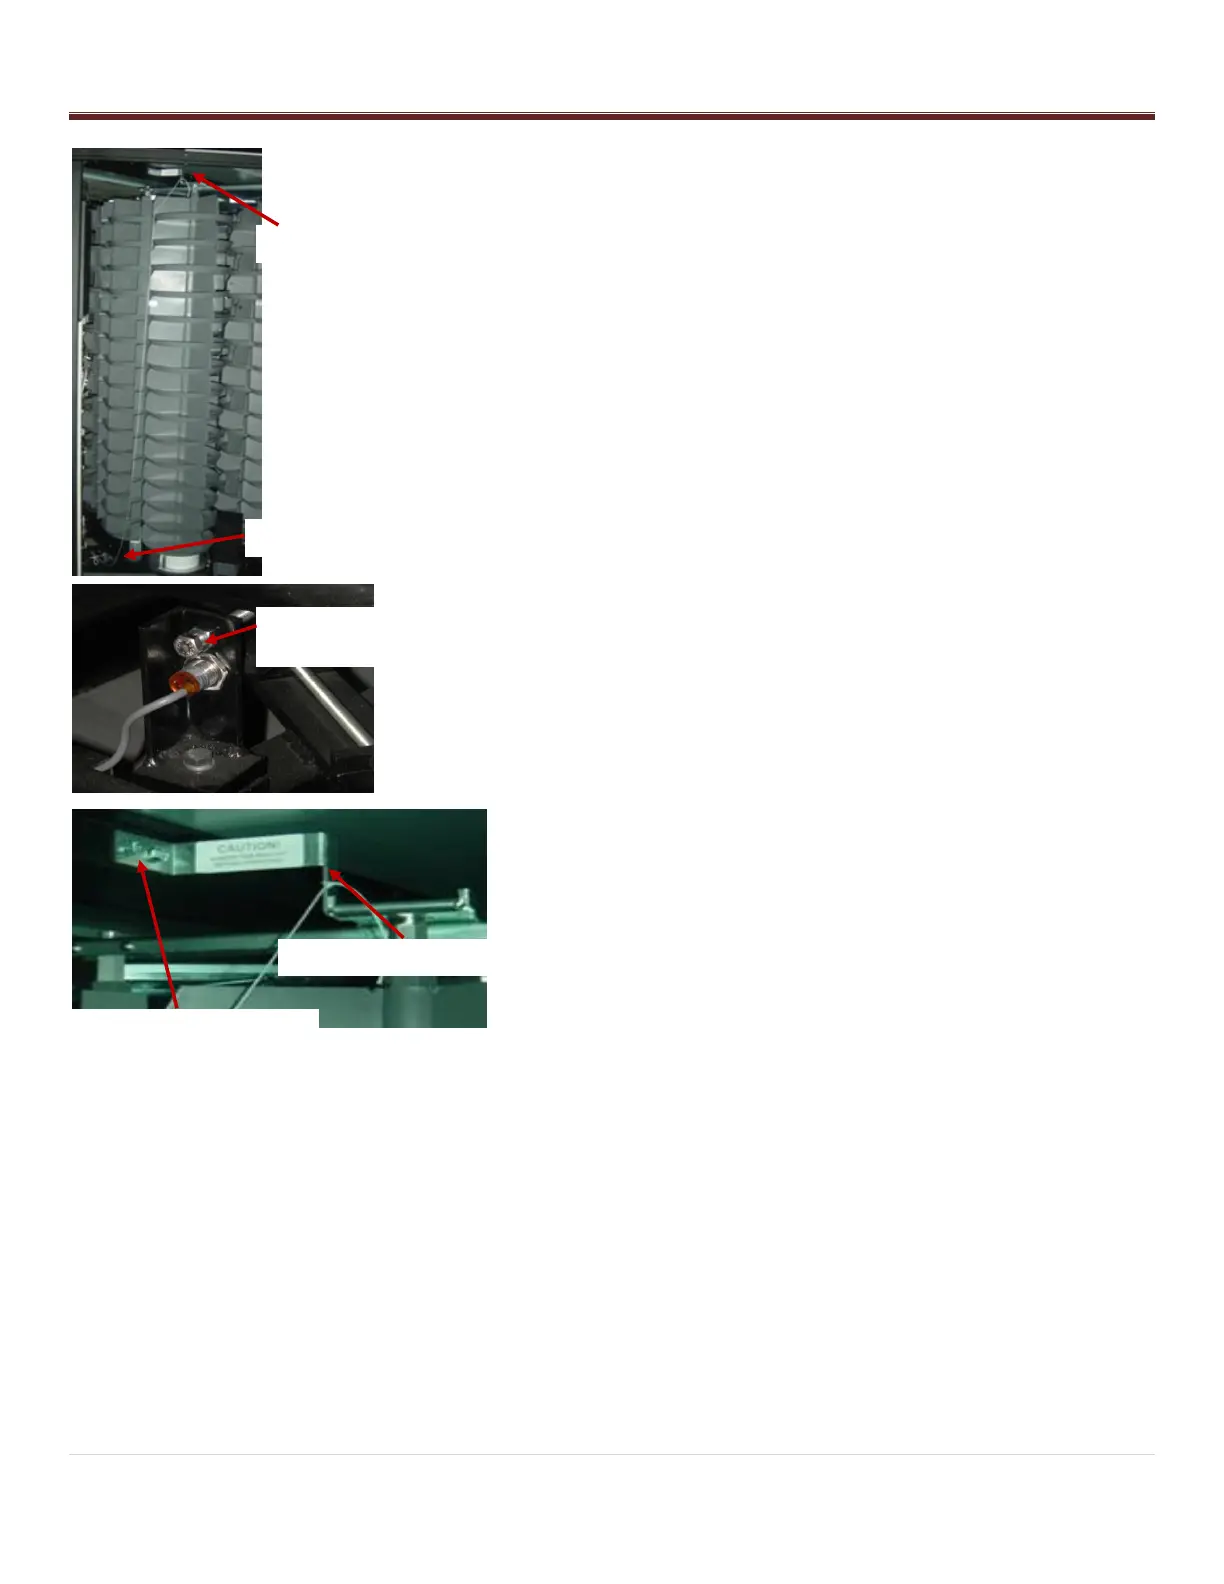
7. Remove the safety shipping locks. They are tied together with
a string to make them easy to identify.
Remove the Top Arm Lock by removing the two 3/8 hex
bolts that hold the lock bracket to the crossbar. The
bracket slides off the end of the stack support arm.
Retain the bolts, brackets, and nuts for possible future use.
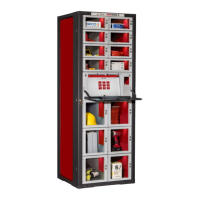
Removing Main Platter Locking Bolt and Clamp
- The Main platter locking bolt and clamp is located on the
sensor bracket below bin door #1.
- Loosen the lock nuts and unscrew the bolt using two 9/16
wrenches.
Removing Top Arm Lock
- Remove the Top Arm Lock by removing the two 3/8 hex bolts
that hold the lock bracket to the crossbar. The bracket slides
off the end of the stack support arm.
- Retain the bolts, brackets, and nuts for possible future use.
Main Platter Bolt & Clamp
Remove bolt with 9/16
open end wrenches
Top Lock Bolts 3/8” Hex
Driver or Slot Screwdriver