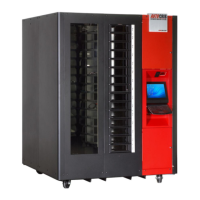
The AutoCrib unit is assembled and packed so that a minimum amount
of time is necessary for preparation to install it on location. The
following steps are recommended to insure correct unpacking.
1. Shipping Damage: Thoroughly inspect the exterior of the crate
and/or wrapping for damage, which may have occurred during
shipment.
Verify “TipNTell” is intact.
Note any damage or irregularities on shipping document.
Report any damage to delivering carrier and follow their
instructions.
2. Uncrate the machine.
Using a cordless drill with a #2 Phillips head bit, remove
screws on crate.
Retain the screws and crate in case there is damage to the
machine.
3. Use a forklift to place the RoboCrib and pallet near the final
location.
4. Undo the hold-down straps and lift the RoboCrib from the pallet with
the forklift frame.
Do not lift on the Main platter. It is important that the feet of
the forklift are completely inserted into the fork points.
Unwrap the unit and roll the RoboCrib to its final location.
Store the pallet and straps for possible future use.
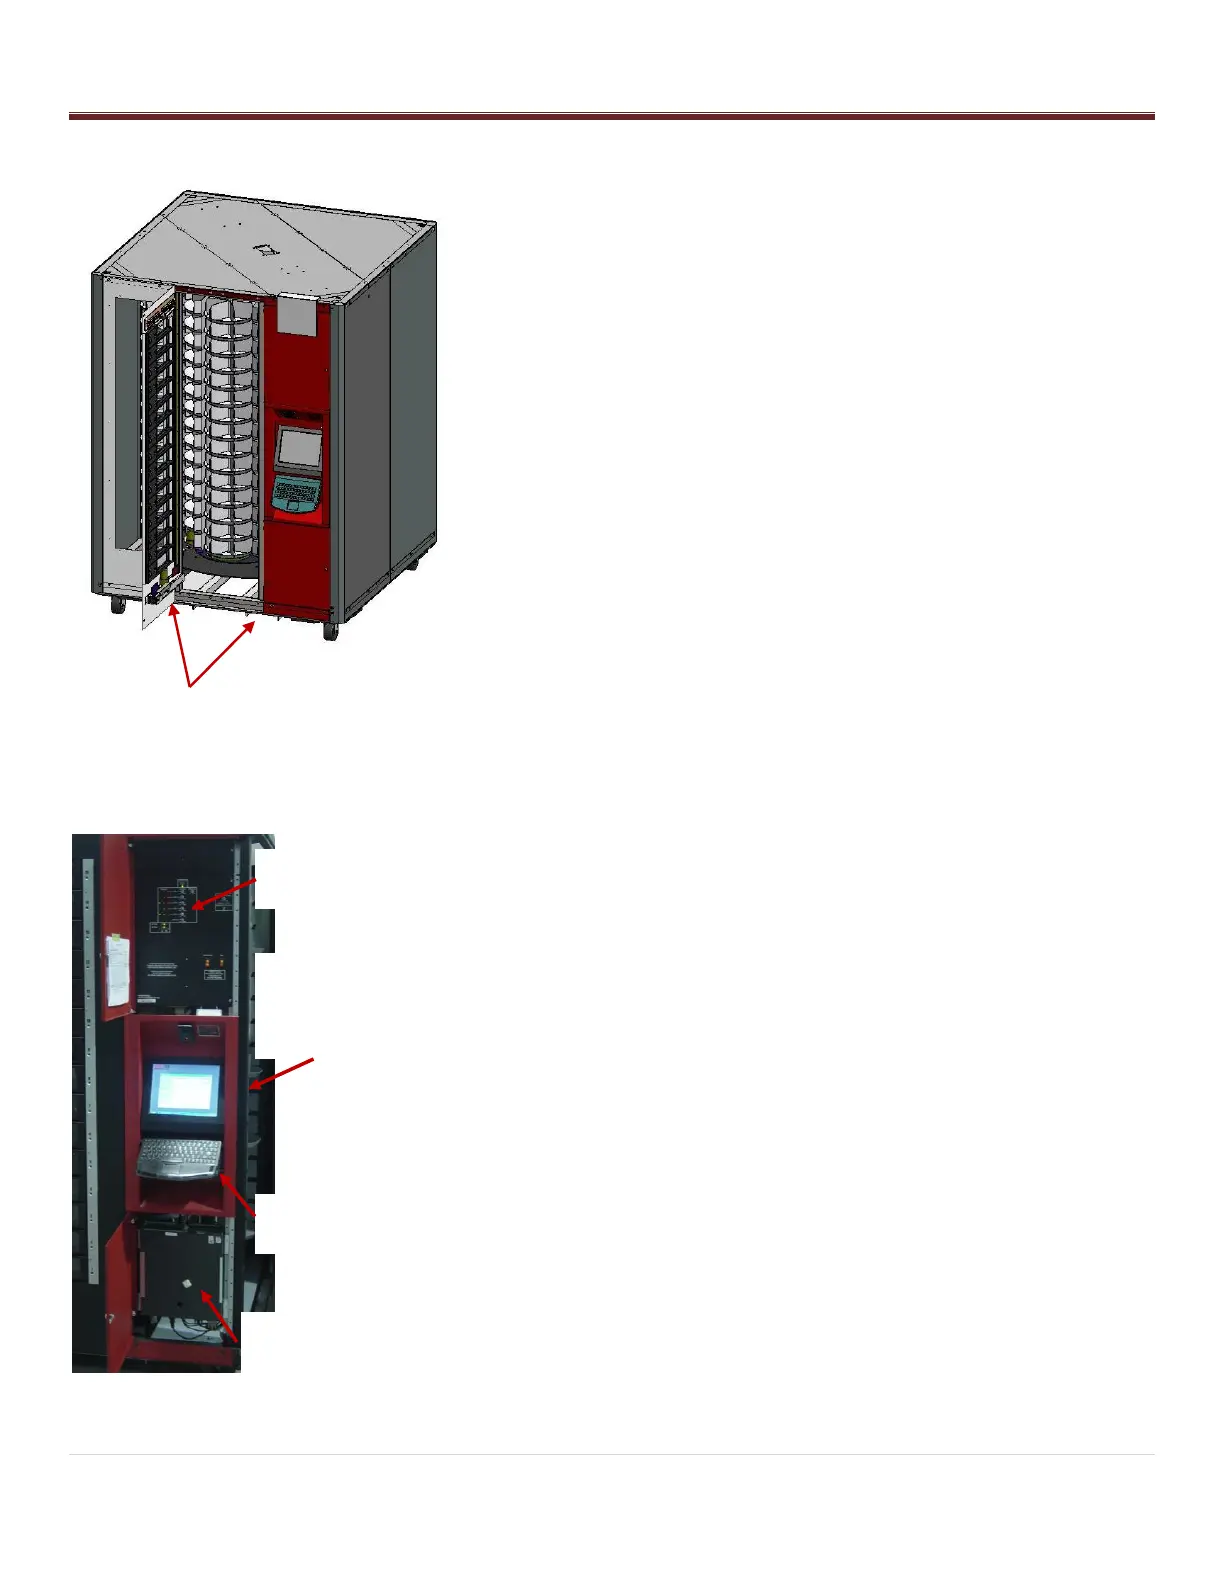
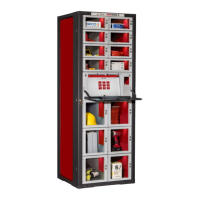
Installation
1. Locate the keys attached to the keyboard plate by zip tie.
2. Unlock the Controller Access Door and the Computer Access
Door.
3. Remove the Logo Sign, pin-in-hex driver and leveling feet stored in
a box behind the computer. (The box will also contain a spare
door, network hub, CAT5 cables, and spare fasteners.) Install the
leveling feet.
Use a forklift to lift the RoboCrib off the ground.
Install feet into the threaded plates at each corner.
4. Place the RoboCrib in its final location and adjust the nuts, using a
¾” open-end wrench, to level the machine. Use a spirit level to
make sure the RoboCrib is level on each side. Lock the nuts in
place.
5. Install the Logo Sign on the Controller Access Door using the
screws provided.
6. Remove the Right Front wall panel using a 7/16 wrench to remove
the screws. Lift up on the panel to disengage the tabs located on
edges and pull out on the panel to remove it.