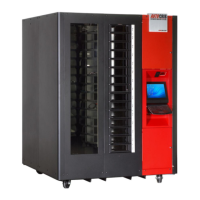
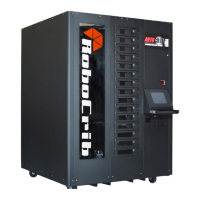
Test Doors
1. Using the RoboCrib software, insert the supervisor badge number
and PIN.
If a supervisor has not yet been created, create a new
employee in the Database > Employees module of the
AutoCrib software and check “Supervisor” and “Stocker”.
2. Select the Console button in the RoboCrib software.
At the command prompt, enter the “LON” command followed
by each door number. i.e. LON 01 to open door #1. Continue
until all doors are open.
NOTE: Bin Doors may be opened manually as shown. The door
should open with ease and the “open door” indicator light should
illuminate until the door has been closed.
Due to movement during shipment, the alignment of the doors
may have shifted. If a door is not opening with ease,
adjustments of the door will be necessary to ensure free
operation. Open the door panel and manually open the door.
o Swing the door back and forth to loosen the spring.
o Look to see if the plunger is aligned with the door latch. If
the alignment is off, adjust the door up or down depending
on how the door shifted during shipment.
o While the doors are closed, there should be an equal
amount of space between the top and bottom of each
door.
o See further Bin Door troubleshooting documents in
the Appendix.
Reassemble the front panel on the machine.
Congratulations, you are ready to start stocking!!!
STEP 4 – Create a purchase order
- Use the Robo New PO tab. This can be found in the Purchase
Orders module within the Purchasing menu.
- Select the crib, supplier, and method for reordering.
- If all items should be ordered up to max, select “Purchase All”.
Otherwise, insert the individual quantities into the Purchase
field.
- Once satisfied with the purchase quantities, click the „Apply‟
button.