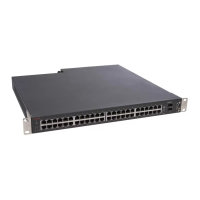
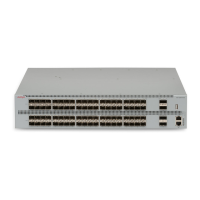
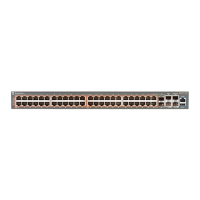
Switch installation on the wall
You can mount 5000 Series switches on a wall. See Mounting on a wall on page 48, to mount
the switch on a wall.
Do not install a switch on a wall if the switch has a height greater than 1 rack unit (U).
Switch installation in an equipment rack, front mount option
You can mount 5000 Series switches in a rack with the front panel at the front of the rack. See
Installing a front mounted switch in an equipment rack on page 50, to install the switch in a
rack.
Before you begin this procedure, ensure that the equipment rack meets the following
requirements:
• A space equivalent to the rack height of the switch is provided for each switch in an EIA
or IEC standard 19-inch (48.2 centimeter) or TIA 23-inch (58.4 centimeter) equipment
rack.
• The rack is bolted to the floor and braced if necessary.
• The rack is grounded to the same grounding electrode used by the power service in the
area. The ground path must be permanent and must not exceed 1 ohm of resistance from
the rack to the grounding electrode.
Caution:
When you mount the switch in a rack, do not stack units directly on top of one another in the
rack. Each unit must be secured to the rack with the appropriate mounting brackets.
Mounting brackets are not designed to support multiple units.
Switch installation in an equipment rack, rear mount option
You can mount 5000 Series switches in a rack with the rear panel at the front of the rack. See
Installing a rear mounted switch in an equipment rack on page 52, to install the switch in a
rack.
Placement options and cables
Installing Avaya Ethernet Routing Switch 5000 Series December 2013 17

 Loading...


