Figure 12: Wall mount mounting screw location
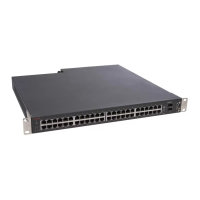
Installing a front mounted switch in an equipment rack
This procedure describes how to install a front mounted switch in a rack.
Prerequisites
#2 Phillips screwdriver
1. Attach a bracket to each side of the switch using a #2 Phillips screwdriver as
illustrated in Figure 13: Bracket installation on page 67. The bracket with the round
holes goes on the right side of the switch, where the round fan vents are located.
2. Slide the switch into the rack as illustrated in Figure 14: Rack mount on page 68.
Insert and tighten the rack-mount screws with a #2 Phillips screwdriver.
Job Aid
The following figures show the bracket installation.
Procedures for installation of the switch
66 Avaya Ethernet Routing Switch 5000 Series Installation December 2010
 Loading...


