48
VSI-Pro VIDEO SERIAL INTERFACE
Figure 82: UPLOAD SETUP Sub-Menu & Display
The data transfer will begin and you will have a screen count down of the status that reads:
The count will end at 100. When this prompt clears the screen, the data transfer is complete. Press “Reset” to exit
this menu on both VSI-Pro’s.
Now go to the main-menu of the previously UNPROGRAMMED VSI-Pro on the right side of the screen. Enter the
EXCEPTIONS menu. You should see your exceptions and other programmed data just as they were on the original
PROGRAMMED VSI-Pro.
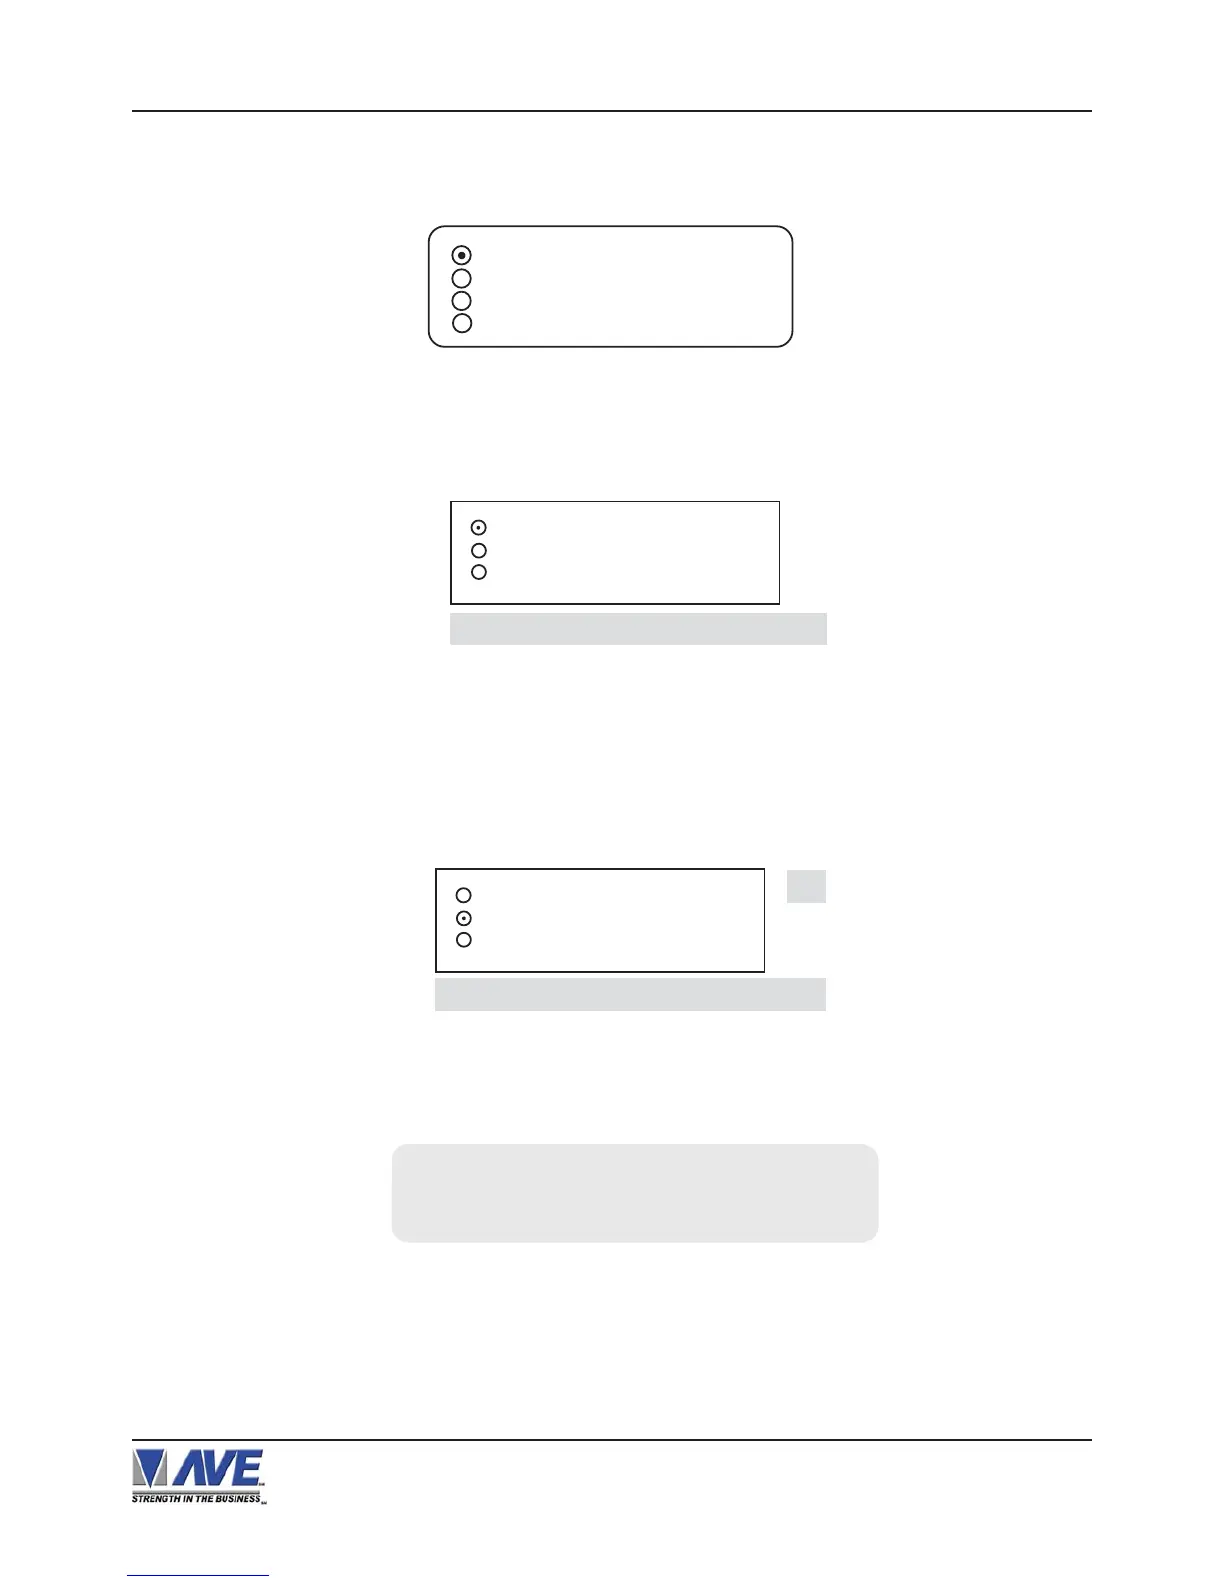
Now go to the main-menu of the PROGRAMMED VSI-Pro and follow the previous instructions to get to “UPLOAD
SETUP” and press “Set”. The following sub-menu will appear. Move to the cursor to “UPLOAD SETUP” and press
“Set” and the display “UPLOAD SETUP...” will appear:
UPLOAD SETUP ...
01
DOWNLOAD SETUP
UPLOAD SETUP
EXIT
Programmed VSI Unprogrammed VSI
UPLOADING ... DOWNLOADING ...
The UNPROGRAMMED VSI-Pro is now waiting to receive data from the PROGRAMMED VSI-Pro.
Figure 81: DOWNLOAD SETUP Sub-Menu & Display
DOWNLOAD SETUP
UPLOAD SETUP
EXIT
DOWNLOAD SETUP ...
Figure 80: DOWNLOAD/UPLOAD SETUP Sub-Menu
DOWNLOAD SETUP
UPLOAD SETUP
UPDATE FIRMWARE
EXIT
To proceed with the DOWNLOAD/UPLOAD SETUP, we will configure the UNPROGRAMMED VSI-Pro first. From
the main-menu, press the “Up” or “Down” button to move the cursor to “DOWNLOAD/UPLOAD SETUP” and press
“Set”. The following sub-menu will appear:
Press the “Up” or “Down” button to move the cursor to “DOWNLOAD SETUP” and press “Set”. The following sub-
menu will appear. Move to the cursor to “DOWNLOAD SETUP” and press “Set” and the display “DOWNLOAD
SETUP...” will appear:
PROGRAMMING