35146AJ
29
Note You will need the System Serial Number and System ID
displayed in the Settings > Licensing tab to register your
software, or on the product label on the recorder.
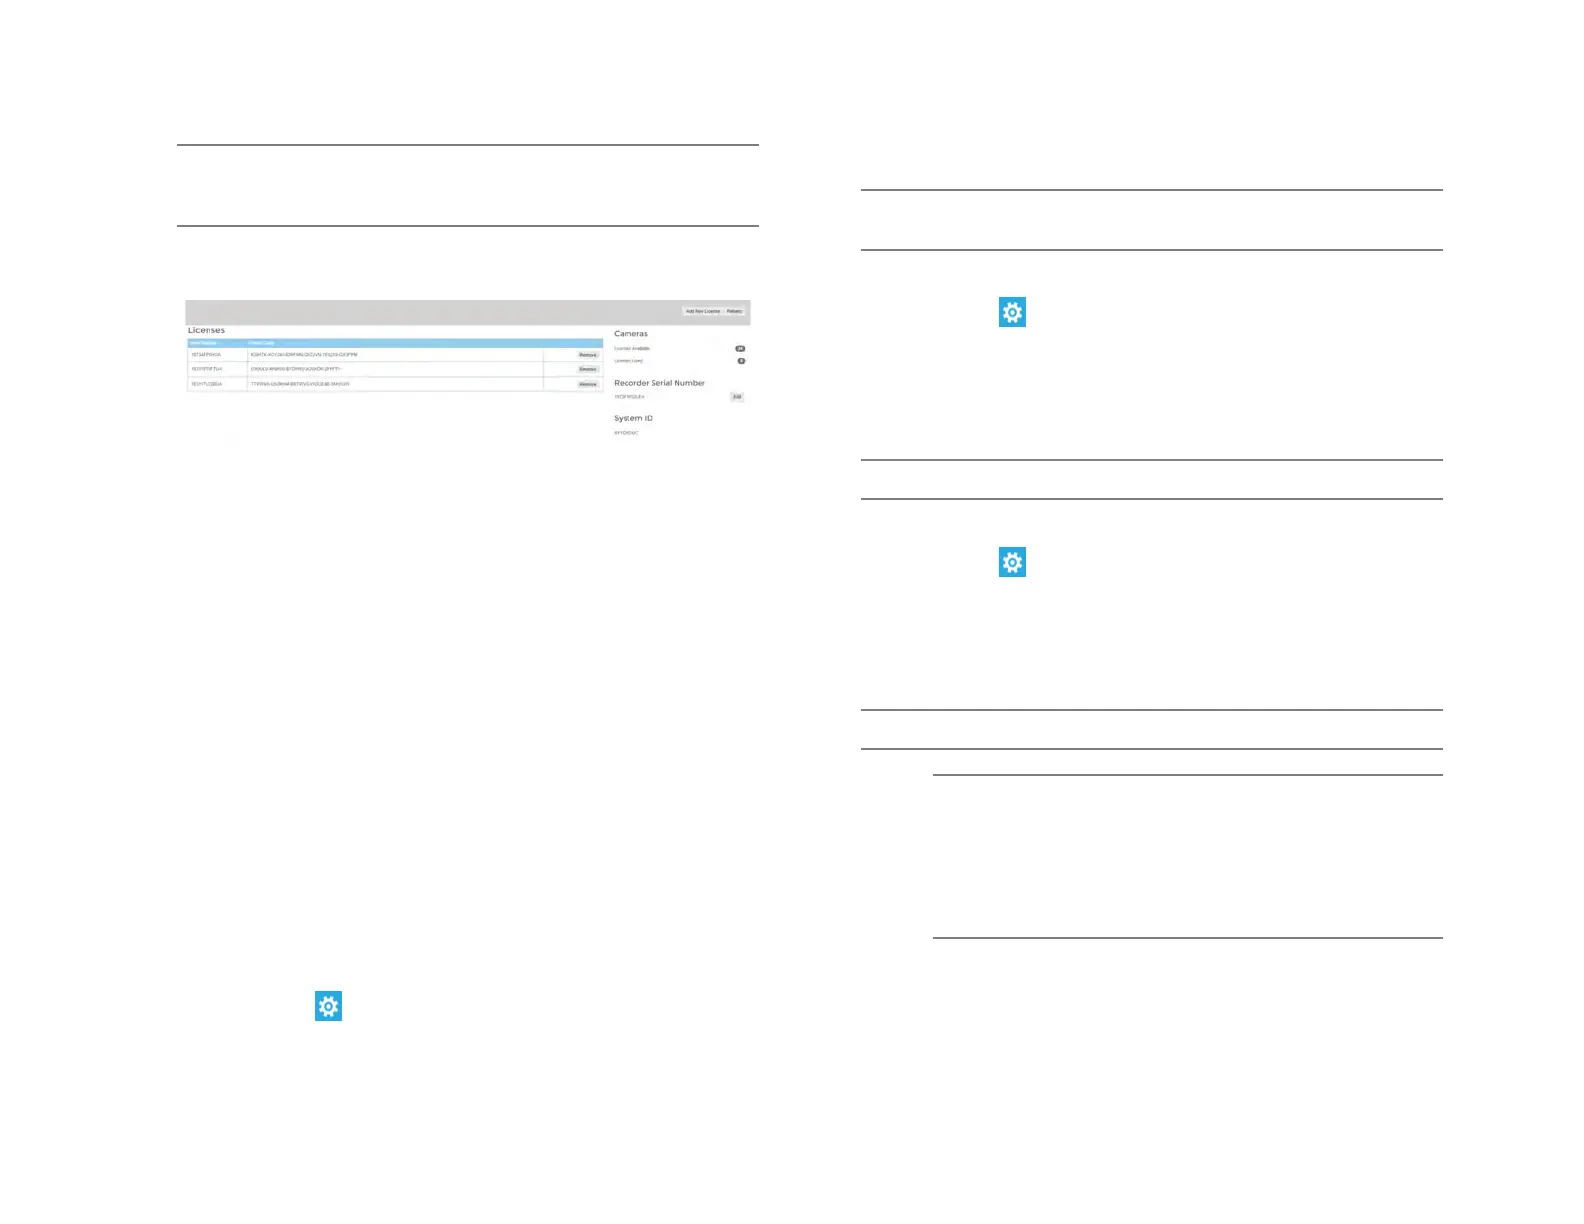
4. Enter the License Serial Number and the Unlock Code, and then
click Next.
Serial Number – The software serial number tied to the software
license.
Unlock Code – A code generated on registration that unlocks a specific
software feature set.
Remove – Remove this license from the recorder.
Add New License – Adds a new license to the recorder.
Refresh – Refreshes the license set by checking with web services for
any updates.
Licenses Available – The number of camera licenses unlocked.
Licenses Used – The number of camera licenses currently being used.
Recorder Serial Number – The Serial Number of the licensed recorder.
System ID – Unique ID generated for use with manual licensing based
on the hardware the software is installed on.
Software Update
By default, ProConnect will allow you to download and install updates
direct from AvertX Connect. Updates can also be performed manually
via selected files or custom URLs. If an update is available, the user will
see a message along with an option to install. The message will display
the update version and whether the update is recommended or critical.
Update via AvertX Connect
1. Click Setup , and then click Settings.
2. Click the Software Upgrade tab.
3. Click the Check For Update link.
4. Click Install if an update is available.
Note ProConnect checks for updates on startup, every 6 hours, or
when the Check For Update link is clicked.
Update via Manually Selected File
1. Click Setup , and then Settings.
2. Click the Software Upgrade tab.
3. Click Show More Options.
4. Click Select File then navigate to the location of the .ssp upgrade
file.
5. Click Install.
Note Do not leave this page until the update is complete
Update via Custom URL
1. Click Setup , and then Settings.
2. Click the Software Upgrade tab.
3. Click Show More Options.
4. Click Specify URL.
5. Type or copy the URL where the upgrade file is located.
6. Click Install.
Note Do not leave this page until the update is complete.
Note AvertX strongly recommends that users be
managed through AvertX Connect rather than on the
local recorder. If the device is AvertX Connect
enabled, it will be necessary to log in to AvertX
Connect User Management to manage users who
have access to the recorder. Users added this way
will have an AvertX Connect account.