Avery
®
Personal Label Printer
11
• Once the Spool has been loaded into the Top Door, verify that the labels are rotating
over the top of the Spool. If the labels are coming from under
the roll, remove the
Spool from the door, disassemble the Spool, turn the label roll over, reassemble the
Spool, and replace the Spool into the door.
• The Avery
®
Personal Label Printer is equipped with an auto-load feature. In order to
load labels into the print mechanism, the unit must be powered and the Power
Switch must be ON.
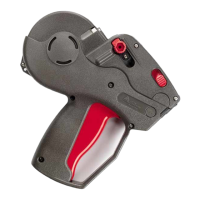
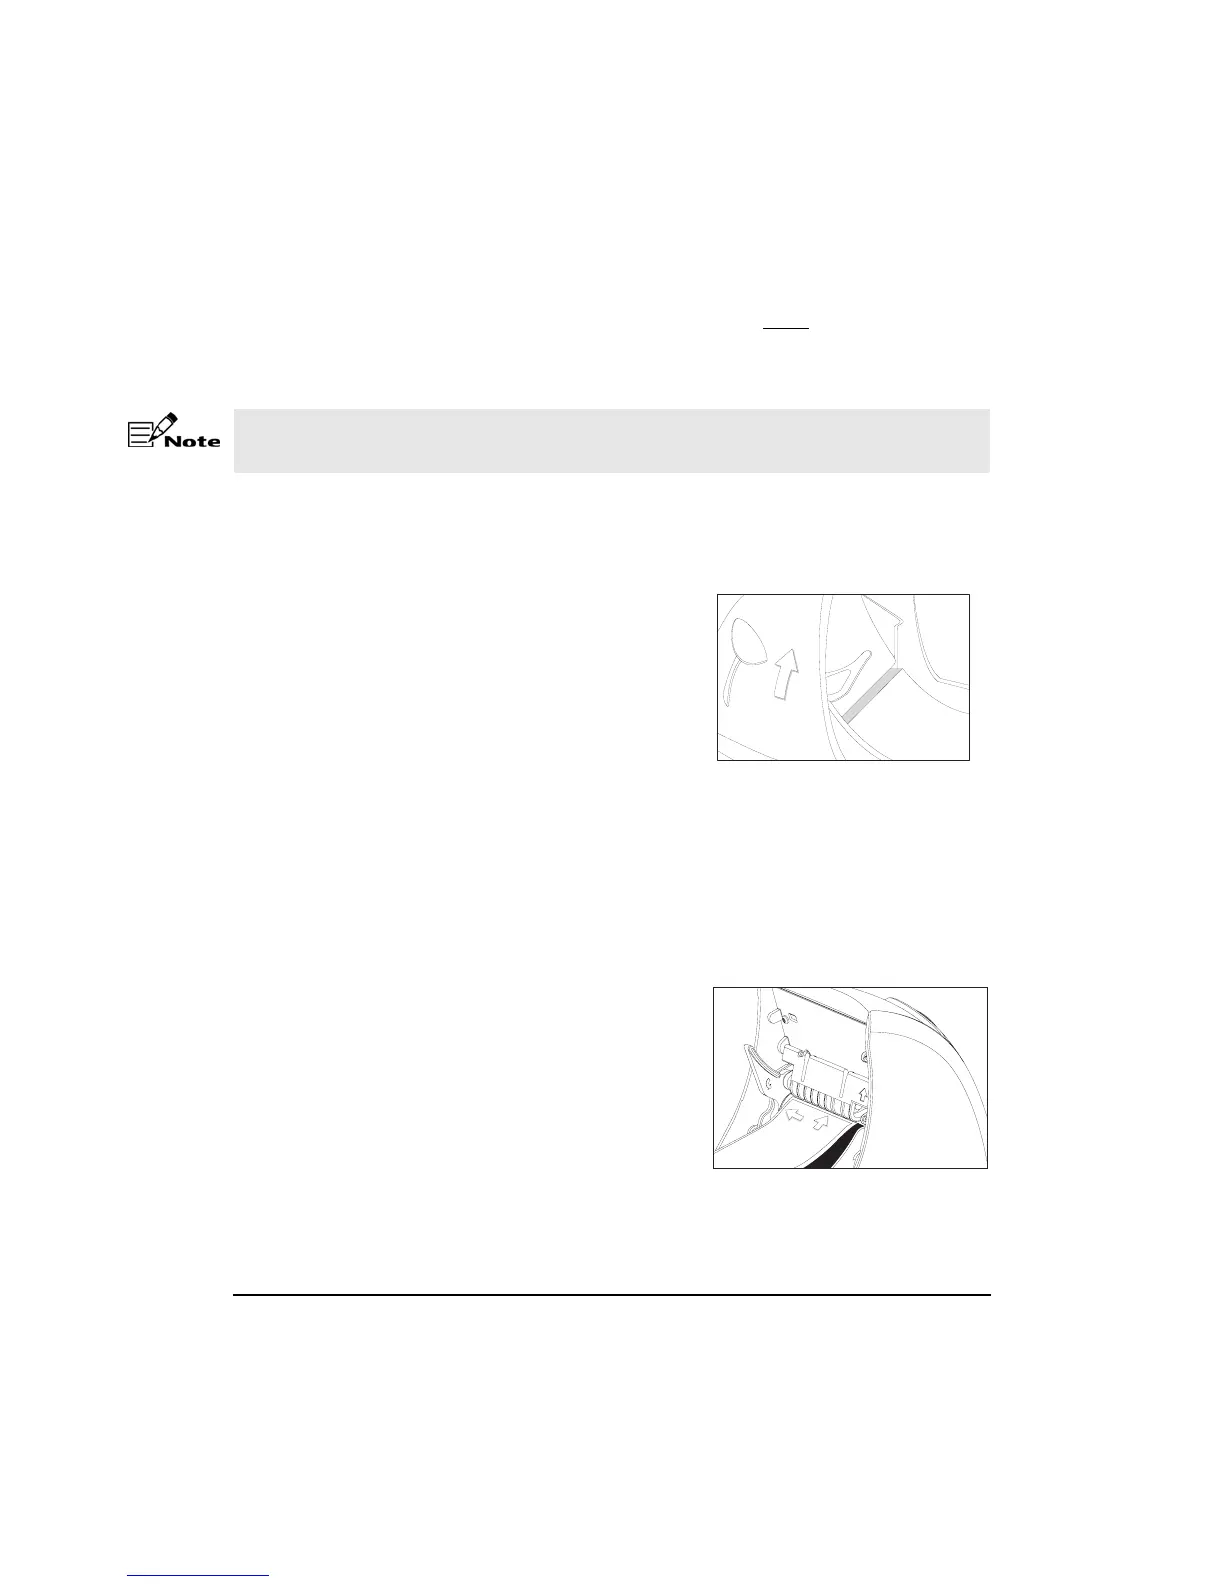
• Make sure that the Peel Lever is in the
inactive (up) position. (See graphic)
• The Label Guide should be down and locked
when loading labels.
• Now that the label roll is in the machine
properly, you can finish the loading process
by threading the leading edge of the label roll
into the Print Head Opening.
• The Avery
®
Personal Label Printer is designed to work with a variety of label sizes
up to 2 1/8” wide. To accommodate varying label widths, it is important that the
smaller labels be justified (pushed to one side) toward the left side of the machine.
• Align the left edge of the label roll against the edge guide located on the left side of
the Print Head Opening. (See graphic)
• Gently slide the leading edge of the label roll
into the Print Head Opening until it stops.
(See graphic) Once the label slides into the
print mechanism, a sensor is activated after 3
seconds and the drive roller will pull the
leading edge through the machine and
register the roll for printing.
The labels must be loaded properly onto the Spool and into the door before proceeding.
Improperly loaded labels can cause damage to the Print Head Opening.