Avery
®
Personal Label Printer
24
7. Use the formatting tools within the Avery
®
Assistant
TM
screen to design the label text.
8. Click Next.
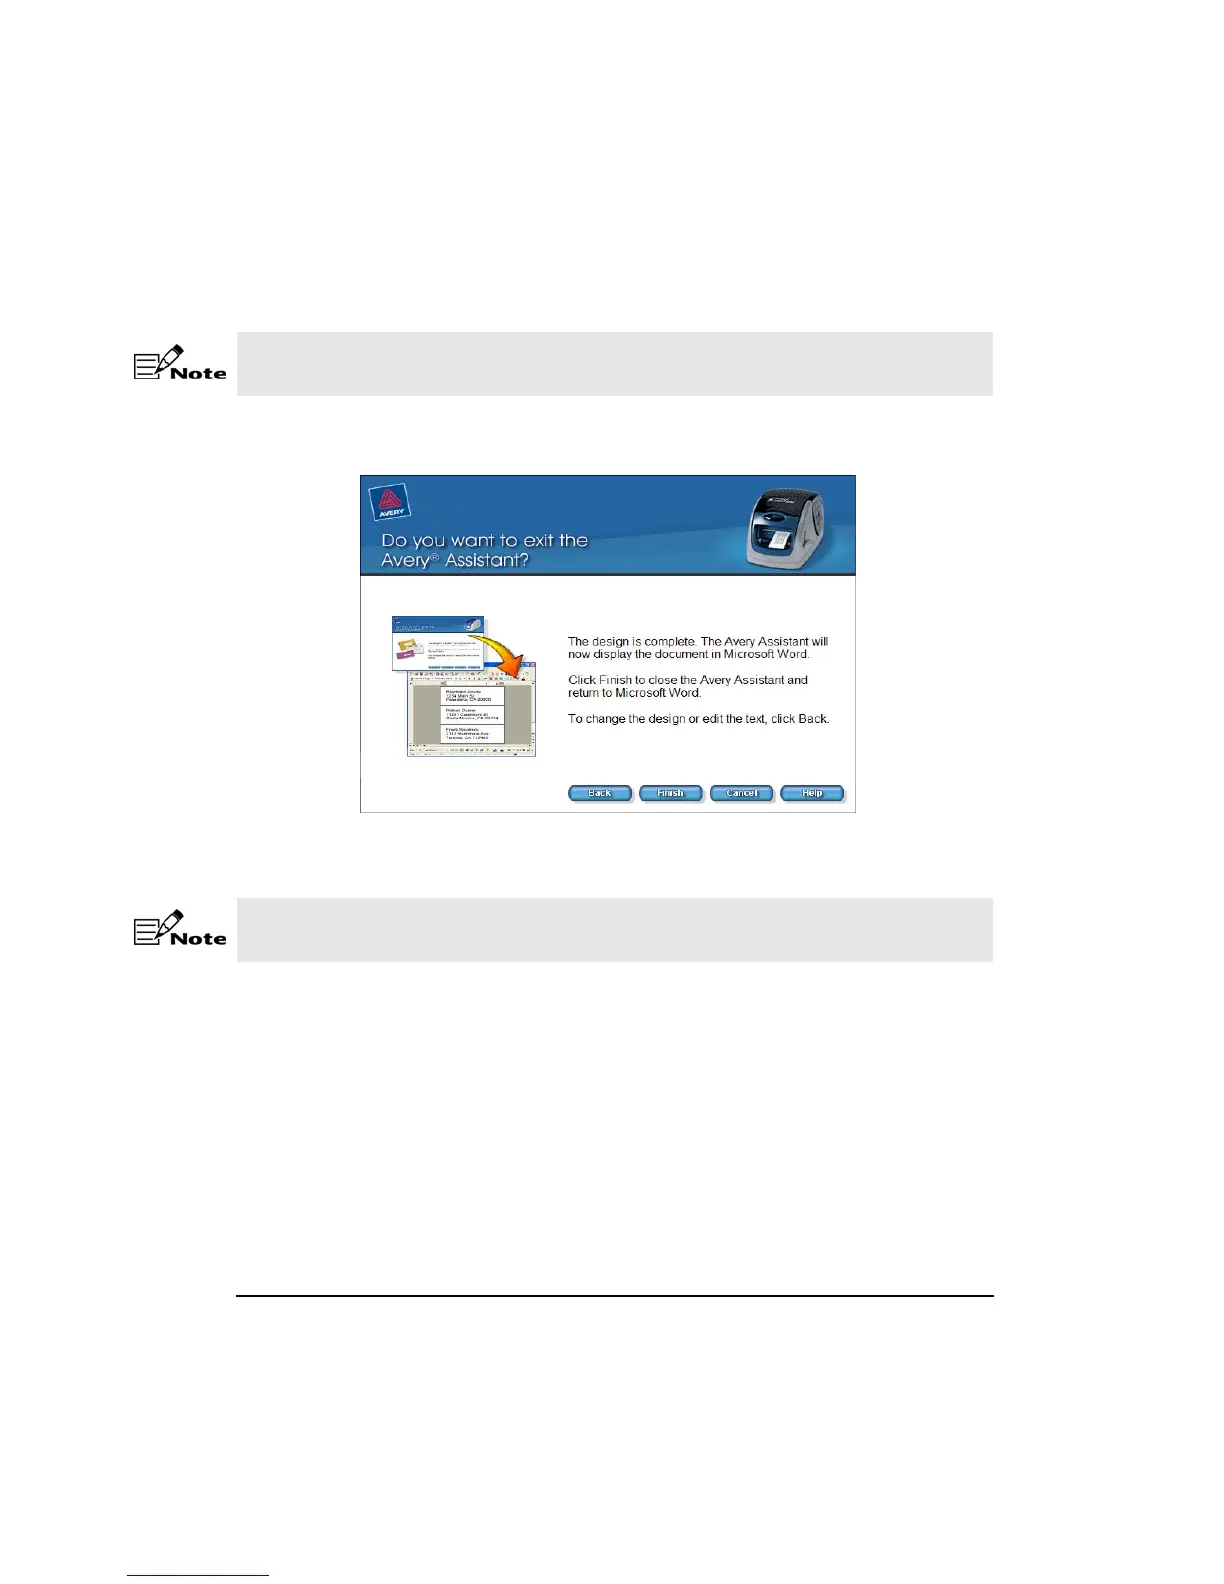
9. If no additional changes are necessary, click Finish. The label is displayed in the Microsoft
®
Word typing screen.
10. To save a completed label project, select File > Save in the Microsoft
®
Word typing screen.
11. Navigate to the drive and folder where the label project is to be saved.
12. Type the File name and click Save.
13. Select File > Print. Change the Printer Name to Personal Label Printer from the drop
down list.
14. Click OK to print the label.
To have multiple copies of the same name and address, enter the number desired in the
Number of copies field.
Once you leave the Avery
®
Assistant
TM
, you cannot go back to edit the label(s). Additional
formatting and editing changes can be made within the Microsoft
®
Word typing screen.