Pro Tools | MTRX Studio Installation Guide6
Connecting Cables
Once you have installed MTRX Studio in a rack (optional), you are ready to start connecting cables.
Connect Power
Connect the included IEC cable to MTRX Studio. Then connect the cable to a grounded AC power outlet.
It is recommended that you connect to a grounded power switch or power conditioner.
Connect Ethernet
Connect the MTRX Studio directly to your computer or to your computer’s network using a GigaBit
Ethernet cable (not included) (see “Network Configuration” on page 8).
Connect DigiLink
Connect one or two DigiLink Mini cables (not included) to the DigiLink Mini ports on MTRX Studio.
Then connect the other end of these cables to an HDX card, or an HD Native card or HD Native Thunder-
bolt box. See Chapter 3, “Connecting Pro Tools | MTRX Studio to an HDX or HD Native System.”
Connect Clock Sync
If you are installing Pro Tools | MTRX Studio in a system with multiple audio interfaces (such as HD I/O)
and/or a synchronization peripheral (such as SYNC HD), make the appropriate Loop Sync or Word Clock
cable connections using the included BNC cables.
Connect Audio
Make sure that your sound system is powered off. Make the appropriate analog and digital audio cable con-
nections for your system.
Connect a Footswitch
You can connect a footswitch (optional) to the back of MTRX Studio (1/4-inch jack) to control monitor
profiles or talkback.
In order to meet EMC requirements and in order to obtain the highest performance of MTRX Studio, use
high-quality, properly shielded cables for all external connections when installing MTRX Studio. For the
power connection, a normal unshielded power cable with a proper protective earth conductor can be used.
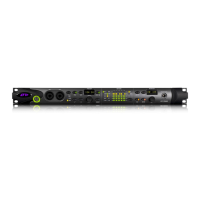
To orient yourself with MTRX Studio back panel connections, see Chapter 5, “Pro Tools | MTRX Studio
Front and Back Panels.”