3. Check if the default settings meet your requirements. If not, change the scan
settings to fit your specific scanning task.
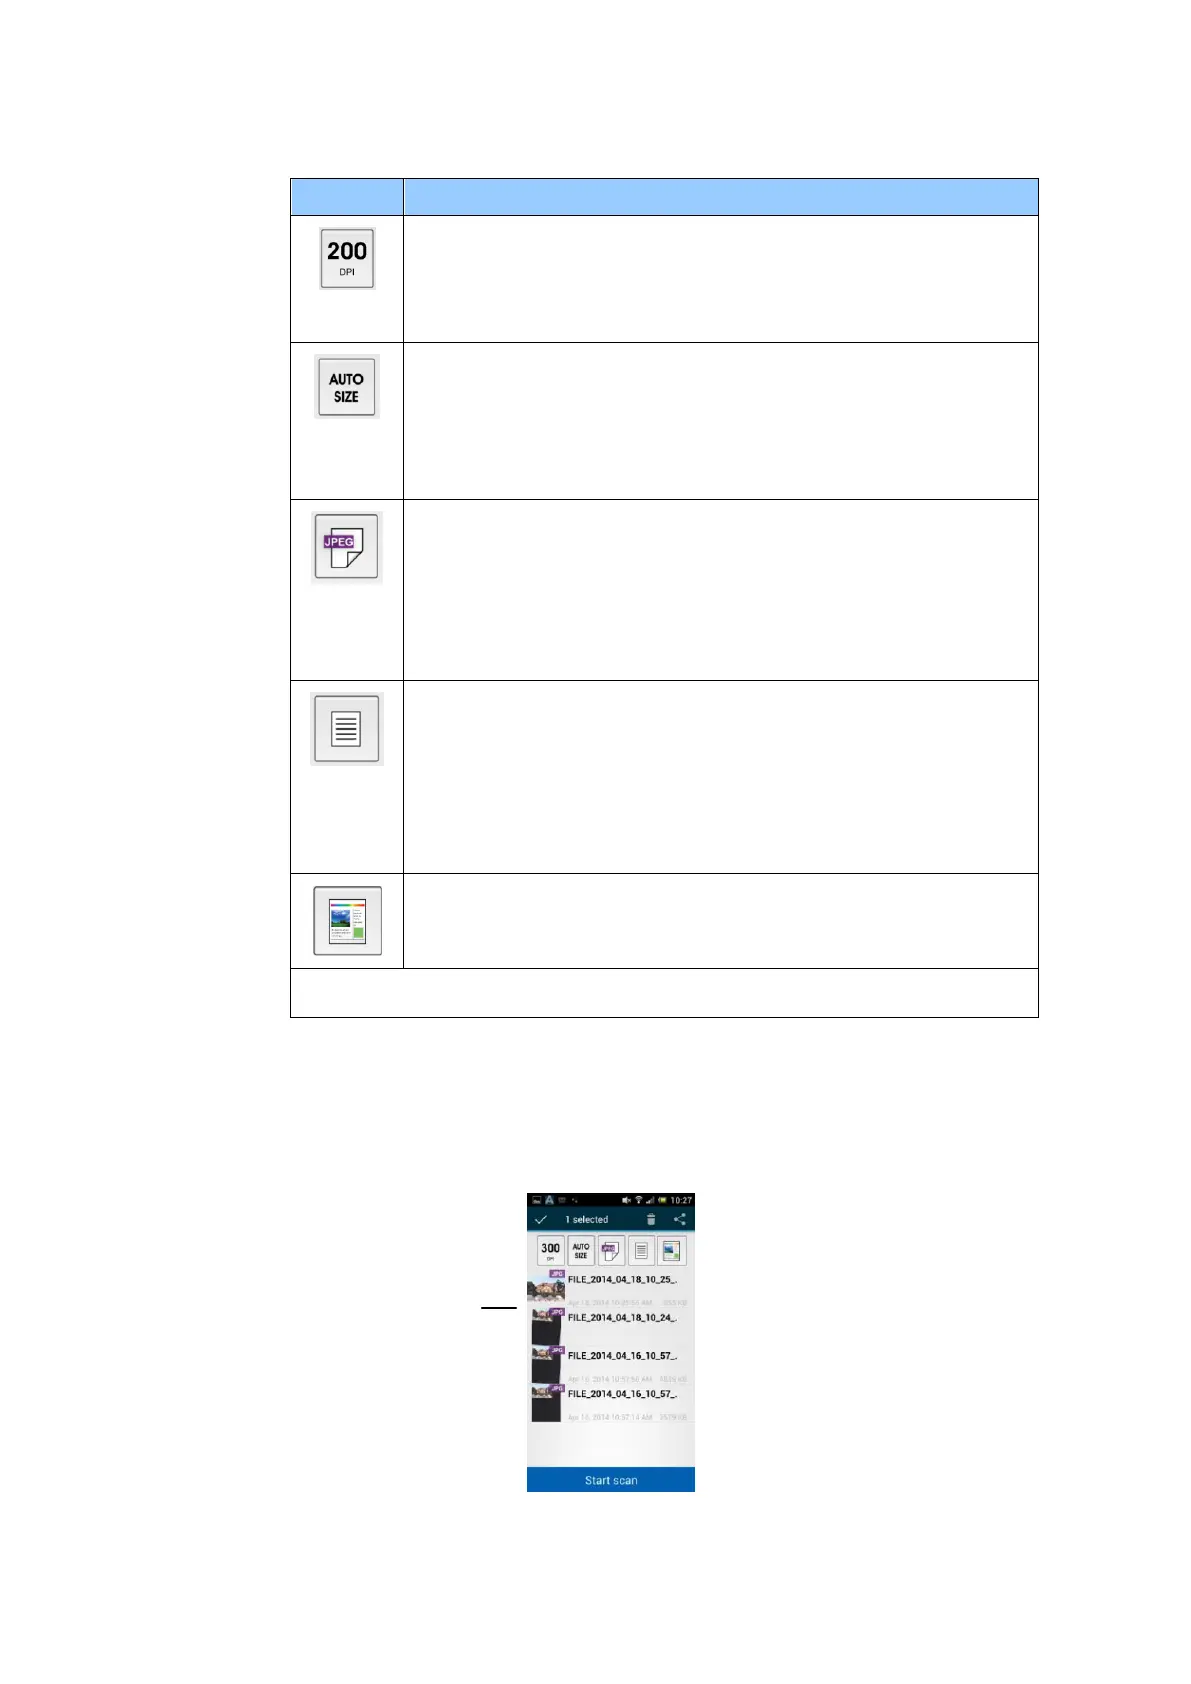
Resolution: Select your desired resolution. The higher
resolution, the greater the image quality and disk space.
Choice: *150, 200, 300 dpi
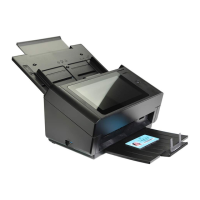
Scan Size: Select your paper size or you may choose Auto
to let the scanner detect your document size automatically.
Choice: *Auto size, A4, LTR (Letter), LGL (Legal), 4x6,
5x7
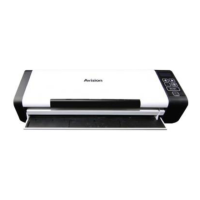
File Format: Select the file format for your image.
Choice: *JPEG, PDF, TIFF
Note:
The JPEG file does not support the B&W image.
The TIFF file format supports only the B&W image.
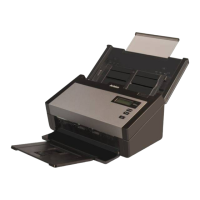
Select to scan the front side (simplex) or both the front side
and the rear side (duplex) of your document.
Choice: *Simplex, Duplex
Note: The duplex mode is available to scan from the auto
document feeder only.
Color Mode: Select your desired image mode.
Choice: *Color, B&W, Gray
4. Load a page to the auto document or place a page on the flat bed.
5. Tap the [Start scan] button. (Choose your scanner if there is more than
one scanner connected to the network). In a second, the scanner begins
scanning the document and the thumbnail scanned image will be
displayed.
6. Tap the thumbnail image to view the entire image.