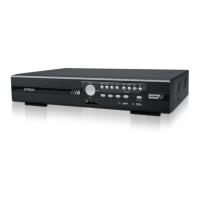
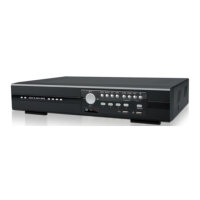
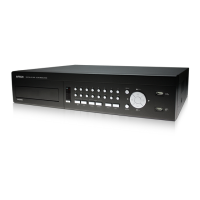
CONNECTION AND SETUP
7
STEP 3: Twist the RS485-A and RS485-B wires of the RJ11 cable and the speed dome camera together.
Twist the RS485-A (red) and RS485-B (green) wires of the RJ11 cable to the RS485-A (brown) and
RS485-B (orange) wires of the speed dome camera. To protect the naked wires, use the insulation tape
to cover on the twisted wires.
STEP 4: Connect the other end of the RJ11 cable to DVR.
Solder the RS485-A (red) and RS485-B (green) wires of the RJ11 cable to the corresponding pins on the
DVR rear panel.
STEP 5: Set the camera at the DVR side.
Right click to show the main menu in the live view, and go to “ ” (ADVANCED CONFIG) “DEVICES”
to set the camera.
a) Select the device to “PTZ”.
b) Set the ID to the value the same as the one set in the camera. The default ID of the camera is 000.
c) Select the protocol to “NORMAL”.
d) Set the baud rate to the value the same as the one set in the camera. The default baud rate of the
camera is 2400.
ADVANCED CONFIG
C A M E R A CH1 CH2
RECORD
DEVICES
DCCS
IVS
NOTIFY
EXIT
2.3 External Device Connection
Some DVR models support external device connection with RS485 and alarm I/O ports, allowing users to connect
control devices such as a keyboard controller, or connect alarm devices such as a magnetic contact or buzzer.
Check the user manual of your external device to know which pin(s) should be used, and connect it to the
corresponding pins on the DVR rear panel.
2.4 DVR Power On
This device should be operated only with the type of power source indicated on the manufacturer’s label. Connect
the indicated AC power cord to the power adapter, and plug into an electrical outlet.
If your device has a power switch on the rear panel, turn it to “—“. The power LED will be on. If your device doesn’t
have a power switch on its rear panel, the power is on once the power source is connected.
Note: Before the DVR is powered on, make sure (1) the cameras are connected and power-supplied for
the detection of the camera video system to be correct, and (2) a HDMI monitor is connected to
the DVR for correct video output detection.
Note: To ensure that your DVR works constantly and properly, it's recommended to use an UPS,
Uninterruptible Power Supply (Optional), for continuously operation.