22
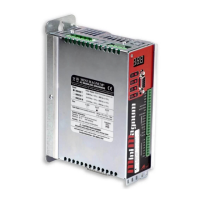
AXOR Industries Service Manual MiniMagnum
TM
ver.1 rev.05/'15
This procedure must be done only by qualified personel which are familiar with drives. If
you need more information contact Axor.
a) Power off all the supplies of the electrical box.
b) Verify:
the drive-motor coupling the stall current (I
o
) of the motor should be equal to/or greater
than the nominal output current of the drive;
the positioning of the drive into the electrical box;
the pollution level and the ventilation;
the connection to earth of the electrical box where the drive is installed (see "2.5 Connection
to ground and earth").
c) Execute the wiring following this order, avoiding that wiring's pieces, cables, wires, screws, conduc-
tive objects, etc. do not enter into the drive through its slits:
1- First connect earth.
2- Connect the cables for the motor's power (U, V, W) and the lter 3x1.2mH, if the cable
length is greater than 20/25m.
3- Connect the earth of the motor's power (PE) and, if necessary, connect the cables of the
electromechanical brake.
4- Connect the external shield of the motor's cable: it must be shielded utilising a u-clamp to
the zinced panel of the electrical box (see "2.6 Note about cable shielding").
5- If an external braking resistor is used, connect it between pins +R and -R by using a cable
as short as possible. If the cable length is greater than 20/30 cm, the cable must be twisted and
shielded, besides the shield must be connected to ground on both ends utilising u-clamps to the
zinced panel of the electrical box.
6- Connect the motor's feedback cable to the drive's J1 connector
7- Connect the main power supply cable (L1-L2-L3) and the earth cable (PE).
Always insert a power relay or a thermal magnet on every phase of the products power
supply.
(For single phase power supply use L1 and L2.)
8- Connect the auxiliary supply cable (+24V).
Use an external power supply, that must be stabilized and galvanically isolated from the main
supply.
9- Connect the PC to the drive utilising the RS232 cable.
10- Supply the drive with the auxiliary supply and then main supply following the procedure
illustrated at the end of the chapter.
11- Open the Speeder One interface.
12- Execute the tests on the drive and the motor.
In the following page there is an example of a basic connection.
2.7 Base installation procedure
 Loading...