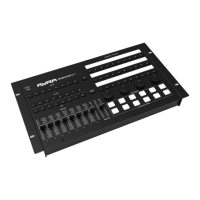
Installation and connection requirements
Now that you know how the Compar Kit FX1 works, it's important to know how to use it correctly and safely
according to the installation and connection requirements.
Make sure the device and connection cables are out of reach of
children, and if children are present, that they are under adult
supervision at all times. The device can be used when standing up or
suspended and if children pull on the cables, it could cause the
device to fall on top of them. To avoid injury, it is important to pay
close attention to the position and/or installation of the device.
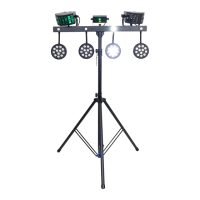
Stand-up use
When you want use the Compar Kit FX1 in a standing position make
sure to use the included stand. Ensure that the feet of the stand are
fully extended in order to create a stable base. Extend the pole of the
stand as much as required. Bear in mind that the further the pole is
extended, the less stable the stand will be. Lock the stand in position
using the safety pin and the tightening knob, but don't use too much
force. This will ensure a stable base for the light set.
Place the light bar on top of the stand using the 35 mm flange
adapter. Use the tightening knob to secure the light to the stand so
that it can't turn or fall off accidentally.
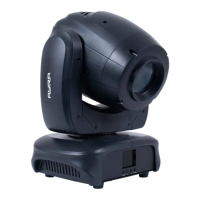
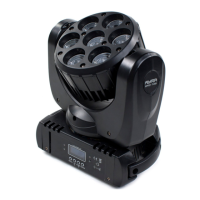
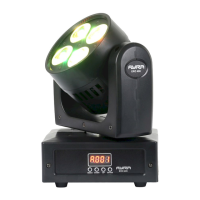
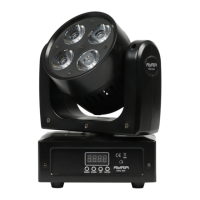
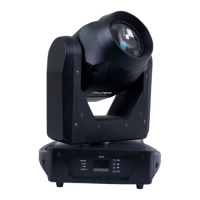
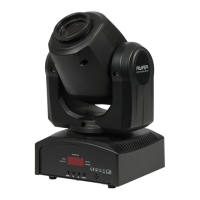
Connecting the light effects
The Compar Kit FX1 comes with two LED derby light effects and a laser that make your light show more
dynamic. They can be mounted on top of the light bar using the holes you'll find there.
The correct mounting sequence is: tightening knob - light effect bracket - ring - bar
This ensures the light effect bracket mounts easily and doesn't scratch the light bar.
Then connect each device to the appropriate connector (named on the connection panel). There's only one
way to do this and then the connection can be sealed by turning the ring of the connector. This ensures the
connection won't be accidentally disconnected.
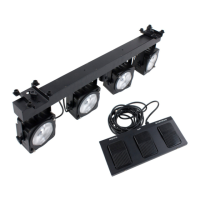
The Compar Kit FX1 can also be used without the extra light effects. If already mounted, everything needs to
be unmounted by reversing the order in which things were mounted. The connectors should never be used
for other devices!
Suspended use (hooks)
If you want to suspend the Compar Kit FX1, the steps described below should be followed.
The two derby light effects and the laser need to be unmounted. Make sure you have appropriate hooks
which you can buy from a dealer. You'll need two for the light bar, two for the derby effects and a small hook
for the laser. With this hardware, you'll be able to use the light set with a truss system, a light bridge or any
another piece of equipment that's suitable for holding light fixtures.
Hardware for mounting the Compar Kit FX1 on a wall, ceiling or beam is not included. What's more,
mounting this product on such surfaces is strongly discouraged.
When the Compar Kit FX1 is suspended for use, a safety cable should be attached to the fixture. This is not
included, but you'll find one at your local dealer. Always choose the shortest safety cable possible to ensure
the bar won't fall far in the event of an incident. Place the safety cable around the base it is attached to (such
as a truss) and the bar itself, between one of the spotlights.
By ensuring that the safety cable is as short as possible and because the spotlights have fixed goosenecks,
even if one of the hooks breaks, the light set can not fall.
The information in this user manual is subject to change at any time without notice.
Version:
1.0
Date of creation and author's initials:30-04-2018 RV Revision date and author's initials: -