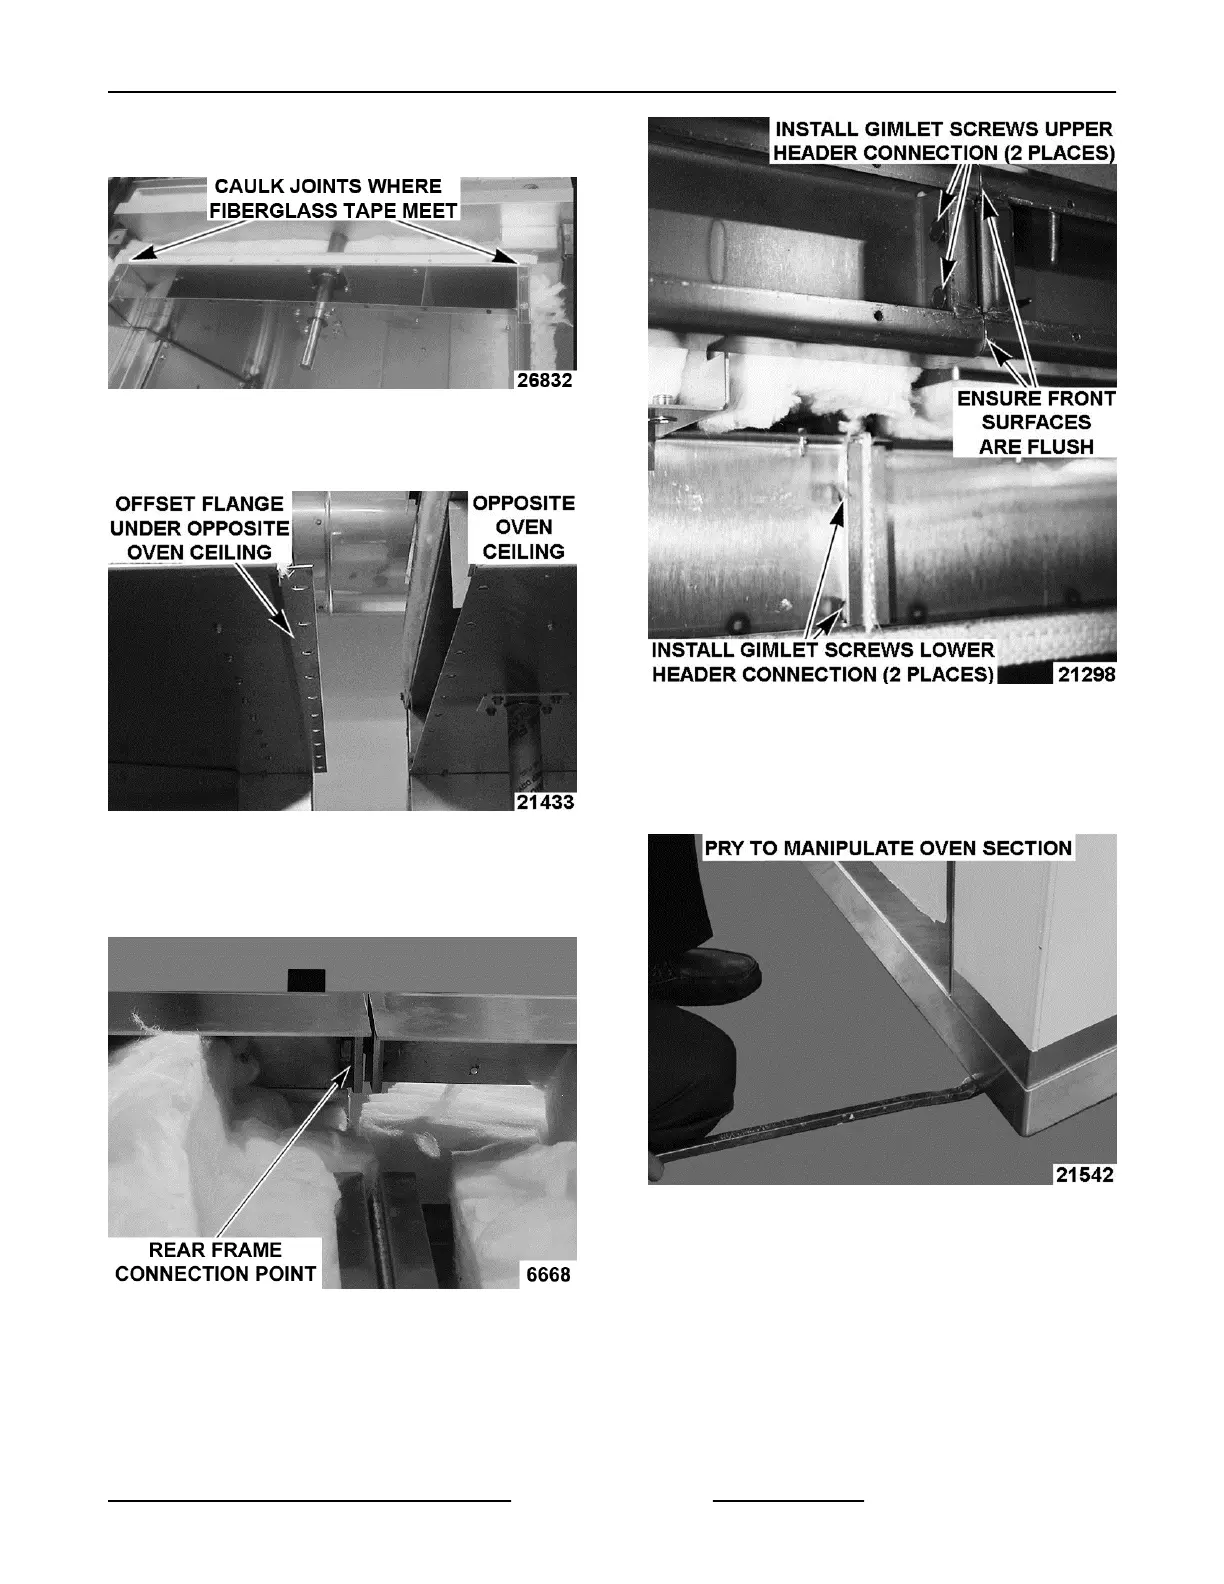
NOTE: Caulk inner seam before placing halves
together.
Fig. 12
NOTE: Ensure ceiling offset flange slides under
opposite oven section ceiling.
Fig. 13
6. Install ½-13
x 1-1/2" bolt with lock washer and nut
in rear frame connection points of oven, both top
and bottom.
Fig. 14
7. Install 5/16-18
x 1" gimlet screws in upper & lower
header connections.
NOTE: Ensure oven sections upper header front
surfaces are flush.
Fig. 15
NOTE: If you have trouble aligning the holes in the
rear frame, you may have to manipulate the oven
sections using the levelers, using shims, or by prying.
Use care not to damage building floor.
Fig. 16
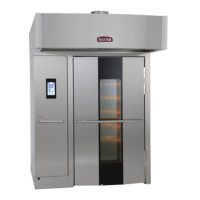
INSTALLATION INSTRUCTIONS OV500-EE SERIES GAS RACK OVENS AND OV500 SERIES ELECTRIC RACK
OVENS - INSTALLING OVEN
Page 19 of 49 F45469 Rev. D (1019)