16
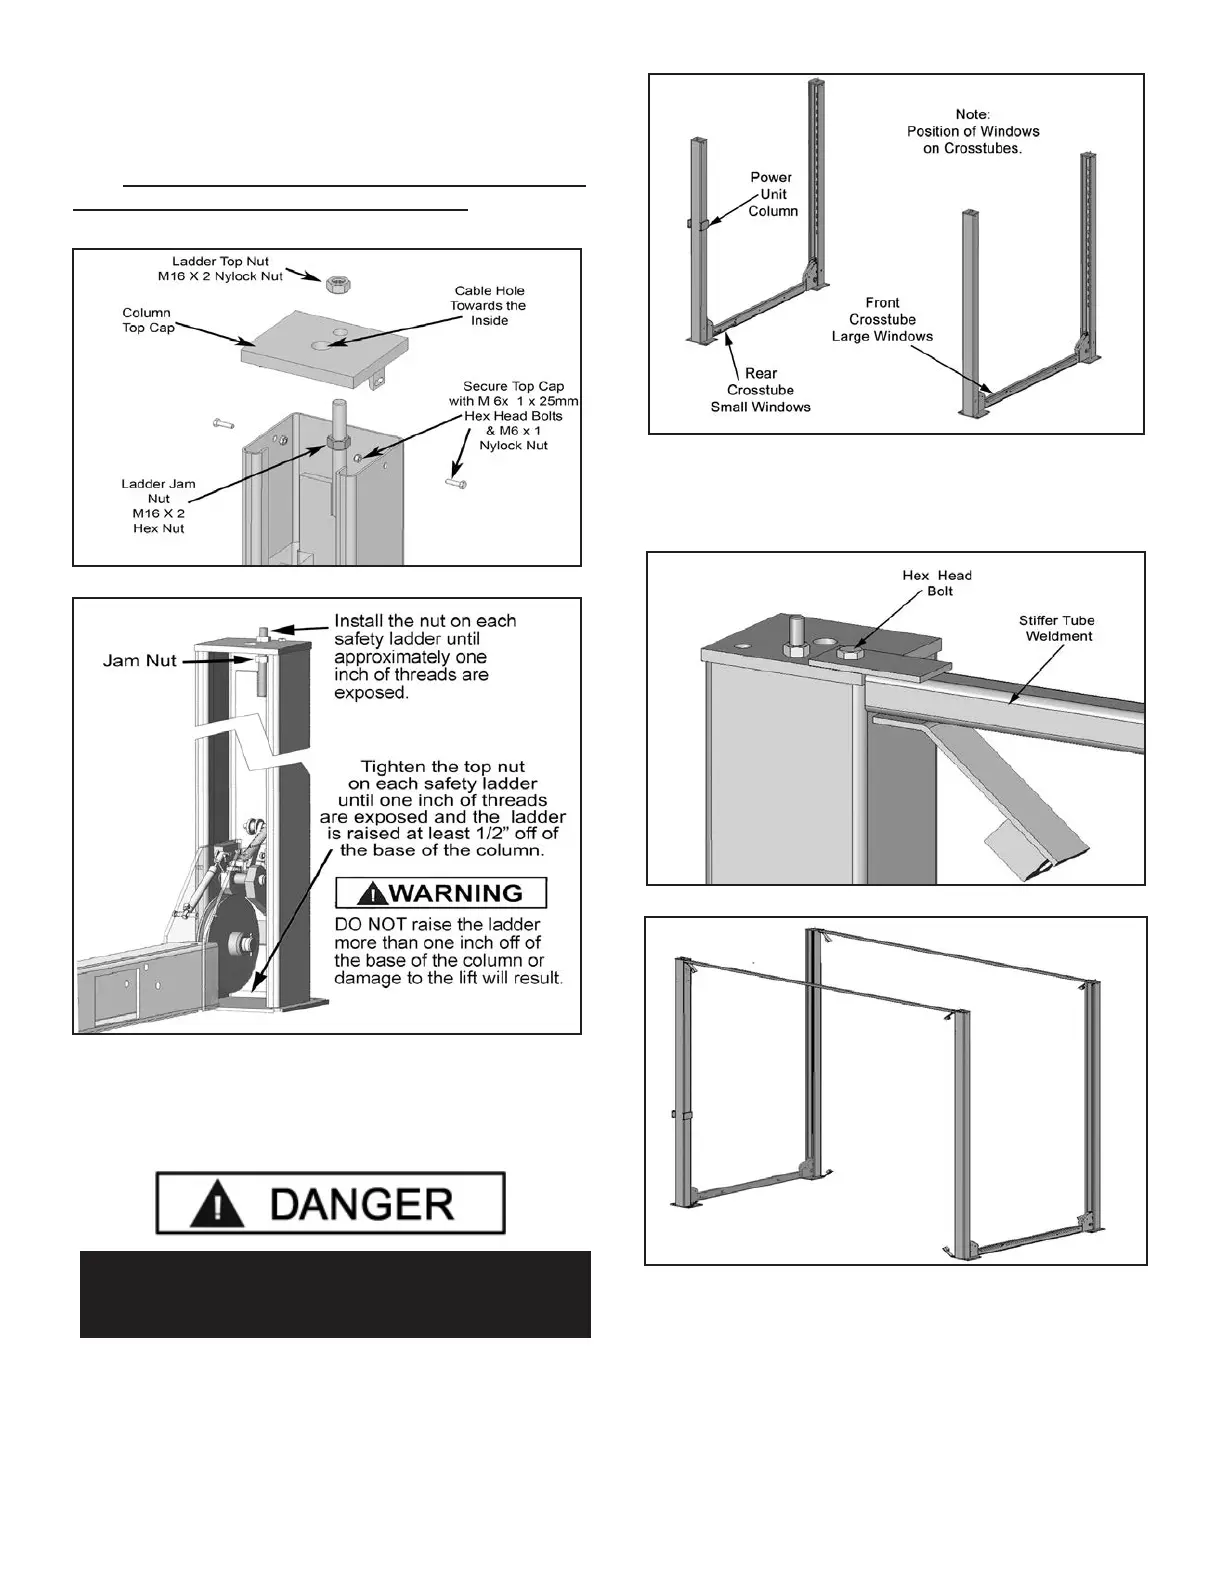
5. Install the Column TOP CAPS using the M16 x 2 nuts
and M8 Hex Bolts, nuts & washers. Install the nut on each
Safety Ladder until 1” of threads are exposed and the
Ladder is raised at least 1/2” off of the base of the Col-
umn. NOTE: Raise the Ladder at least 1/2” off of the base
of the column or damage to the lift will occur. Be sure to
position the cable hole INWARD. (See Fig. 3.6 - 3.7)
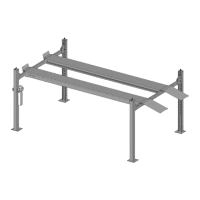
6. Tilt up the Column and Cross Tube assemblies, lining
the base plates up with the chalk lines made earlier.
DO NOT BOLT DOWN THE COLUMNS AT THIS TIME.
(See Fig 3.8)
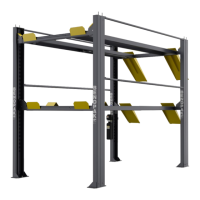
7. For HD-7PXW models: Bolt both Stiffener Tubes to
the Top Caps with the Hex Head Bolts and Nuts.
(See Fig 3.8 and 3.9)
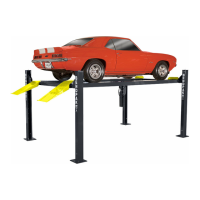
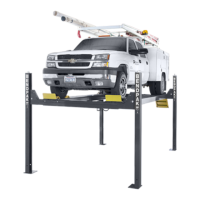
8. The Columns and Cross Tubes will now be in position
and spaced properly for the Runways.
DANGER!
Be careful not to disturb the Columns and Cross Tubes
as they may tip over causing personal injury or harm.
Fig 3.6
Fig 3.7
Fig 3.8
Fig 3.9
Fig 3.10